|
|
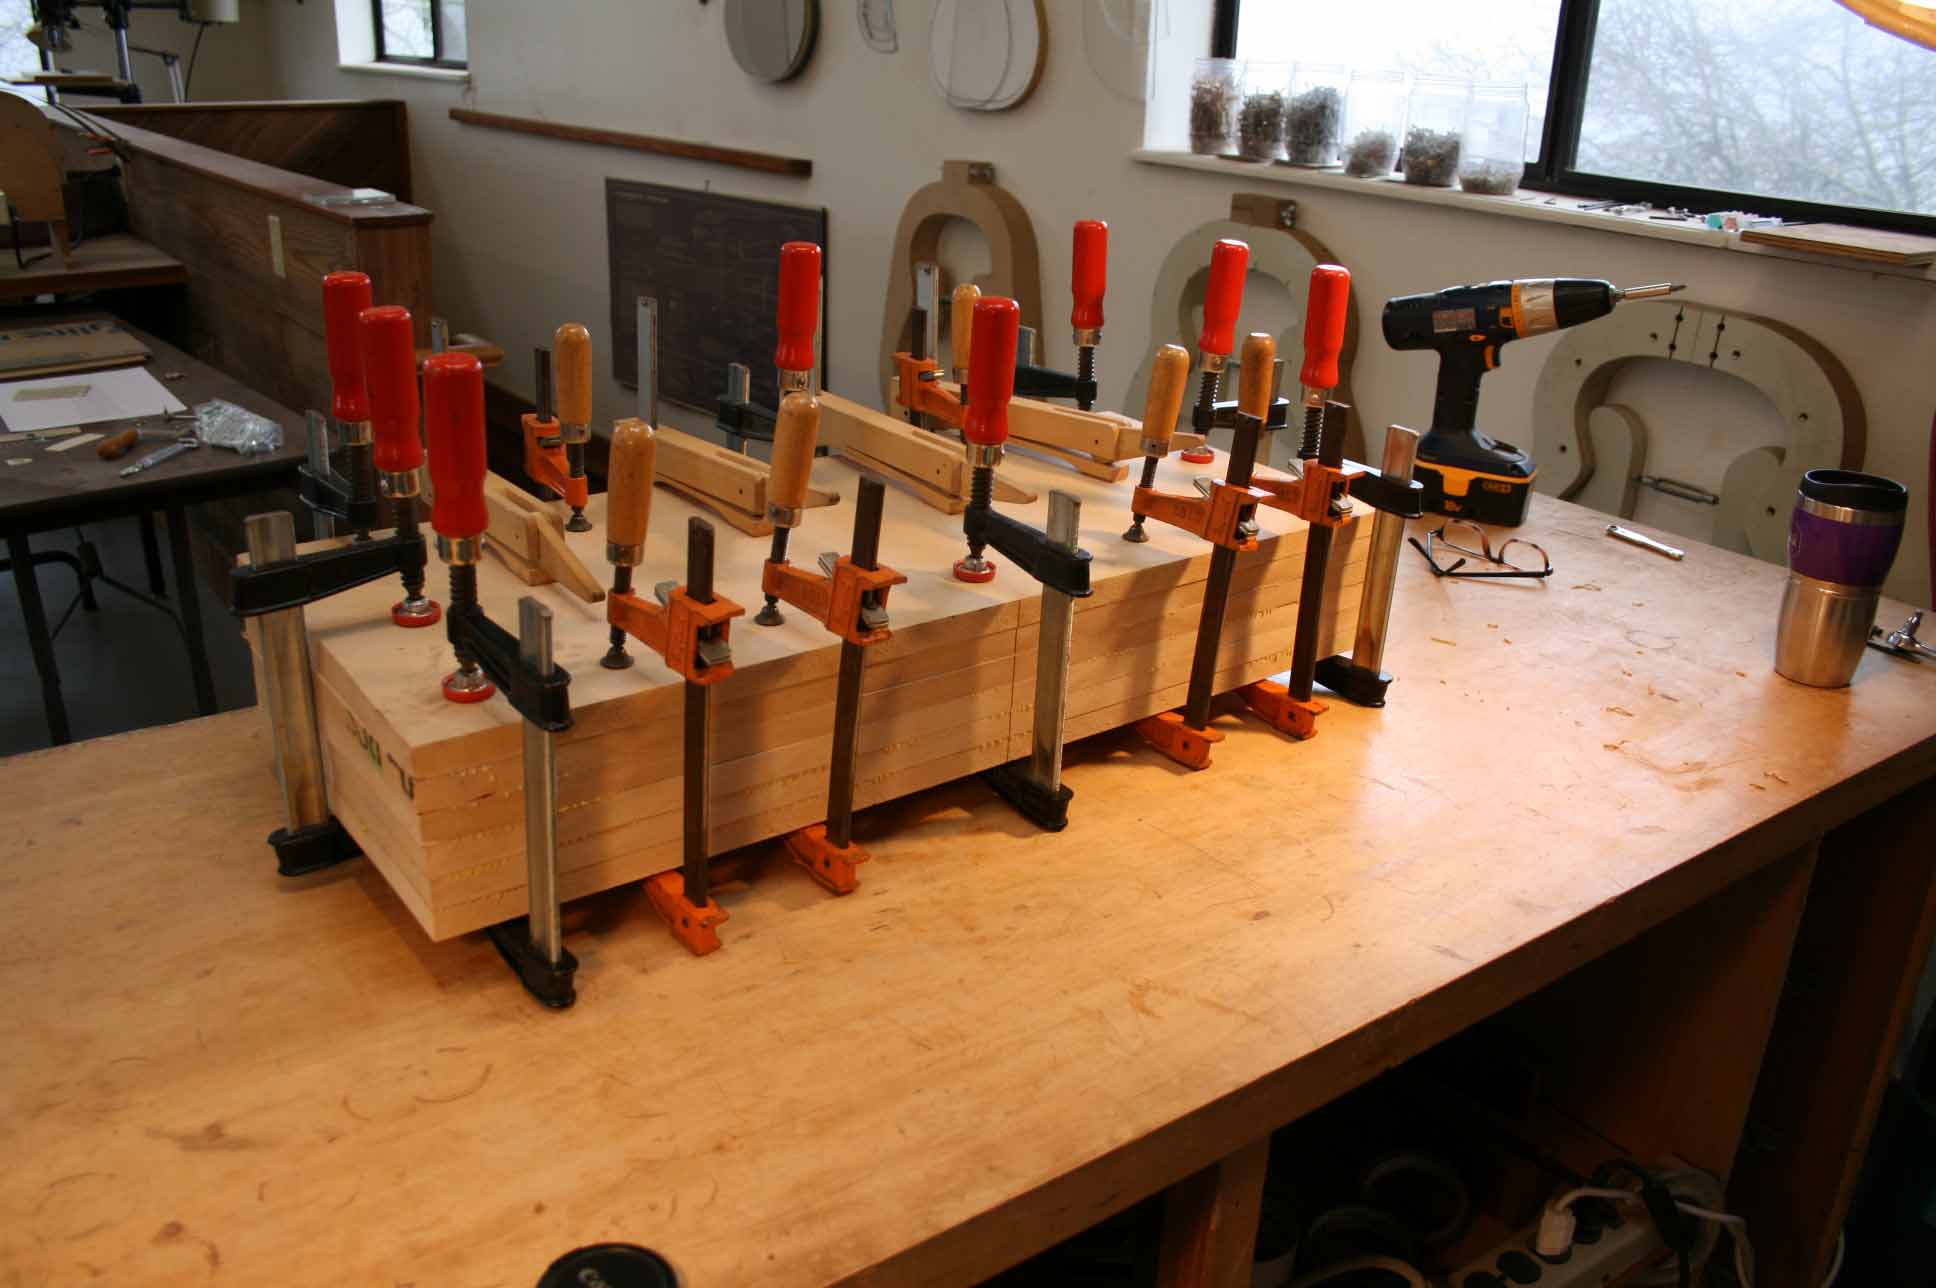
(Step 1 on the mold drawing) Glue and clamp 5 or 6 pieces of MDF. I was making a deeper body guitar so I used 6 pieces. Use a couple of long screws to keep the laminations from sliding around. |
|
|
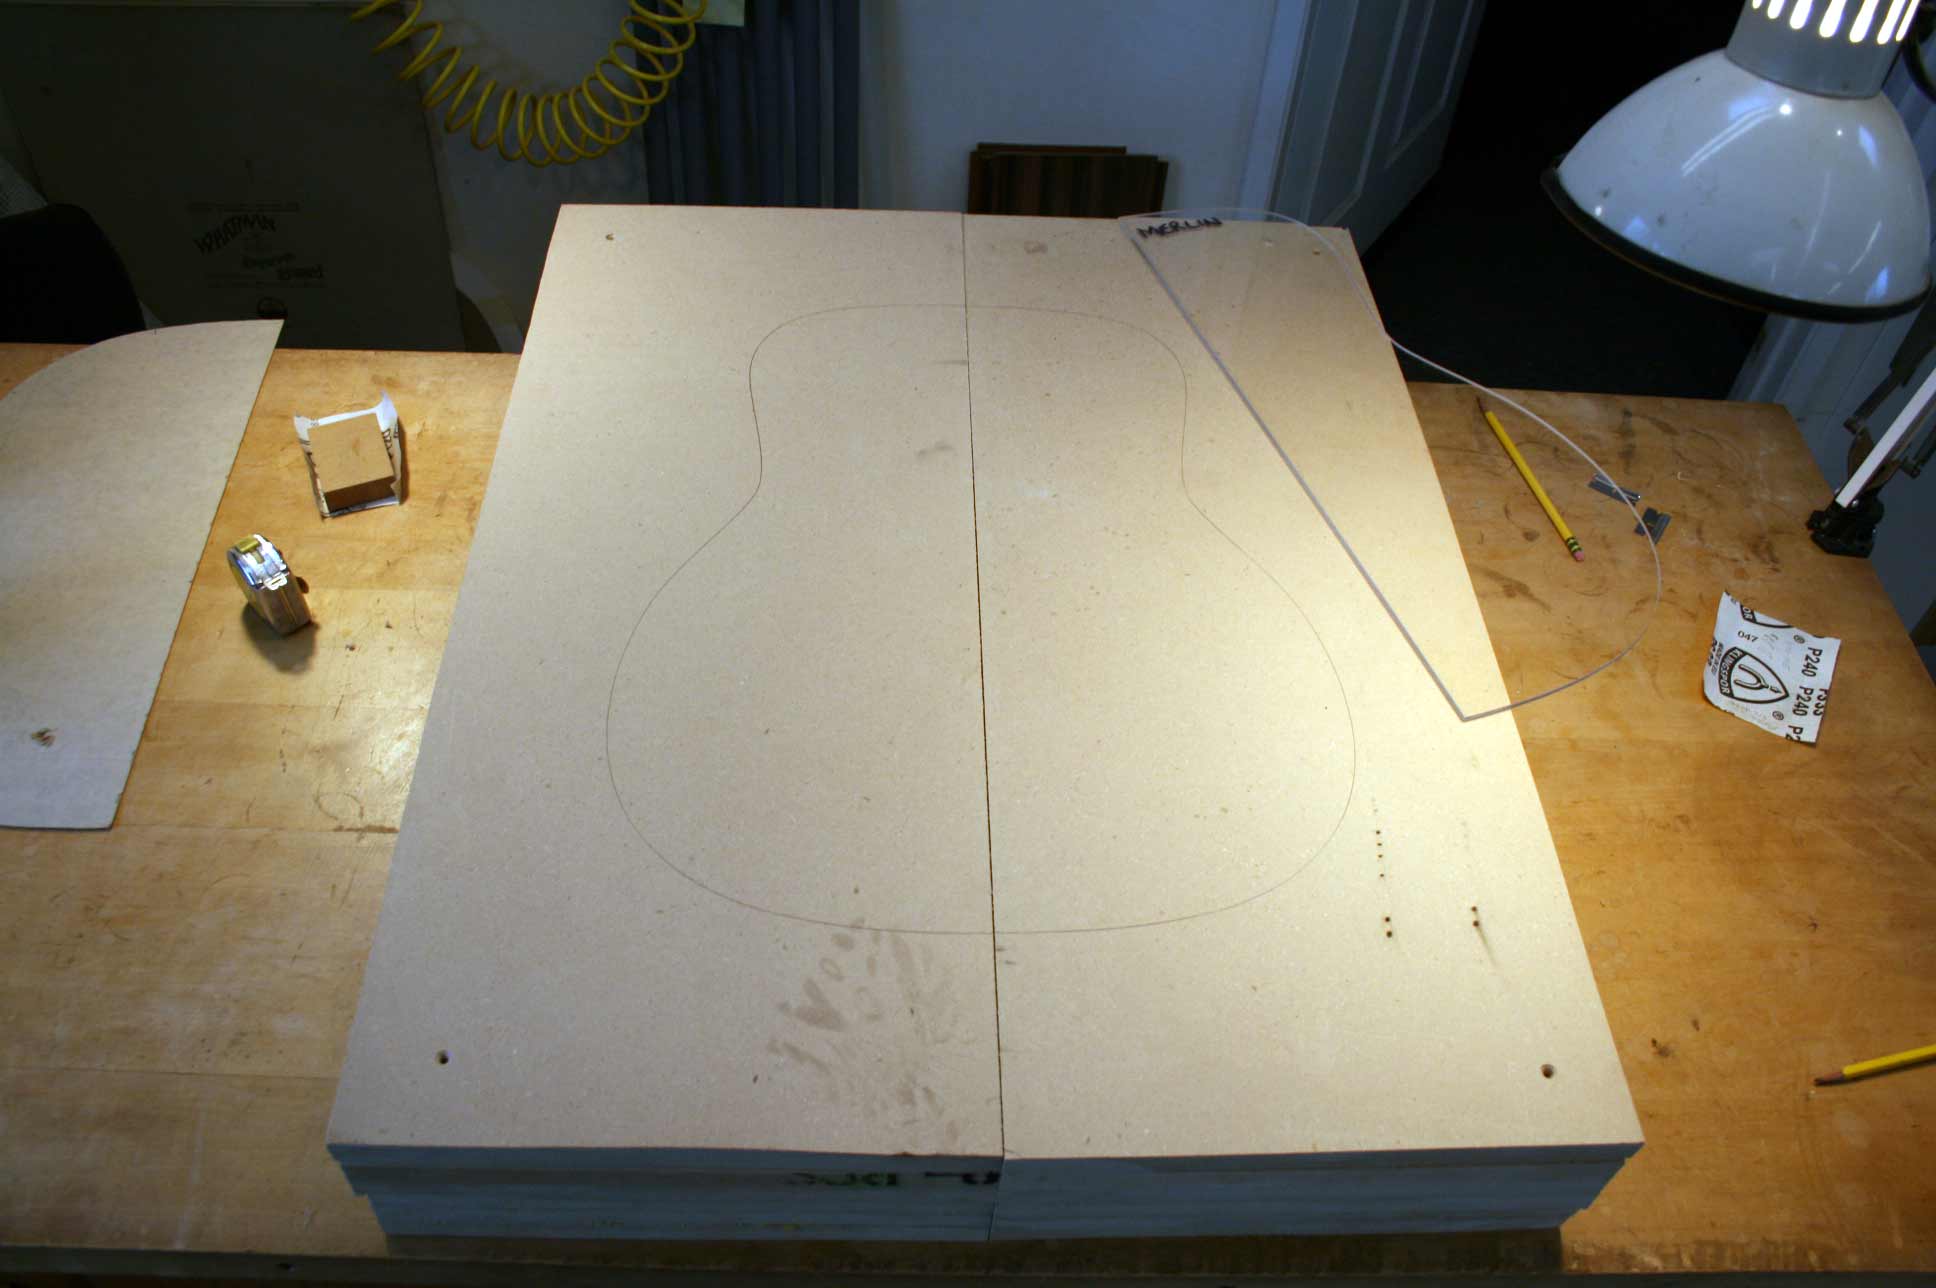
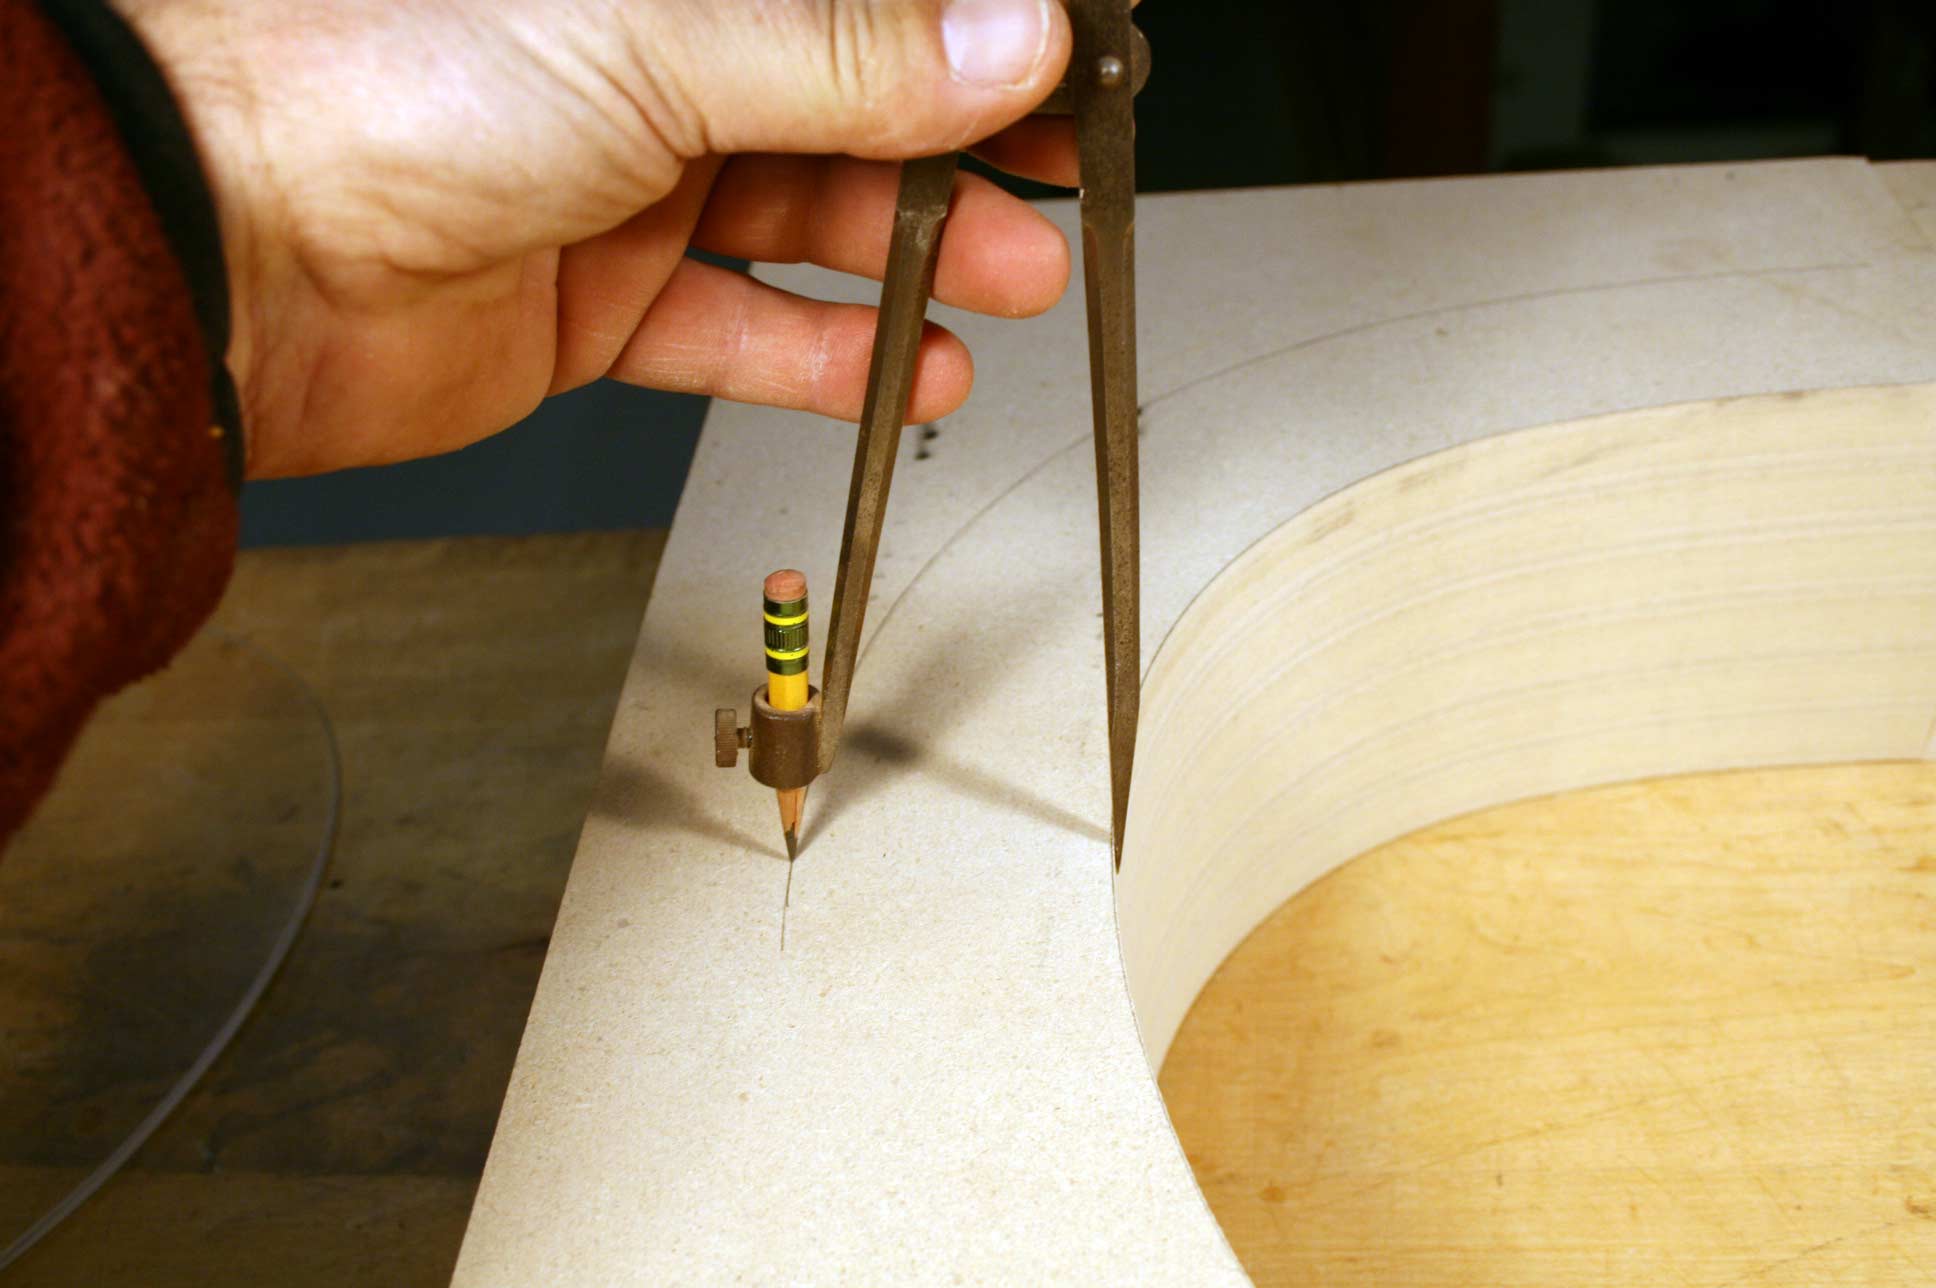
(Step 2). |
 |
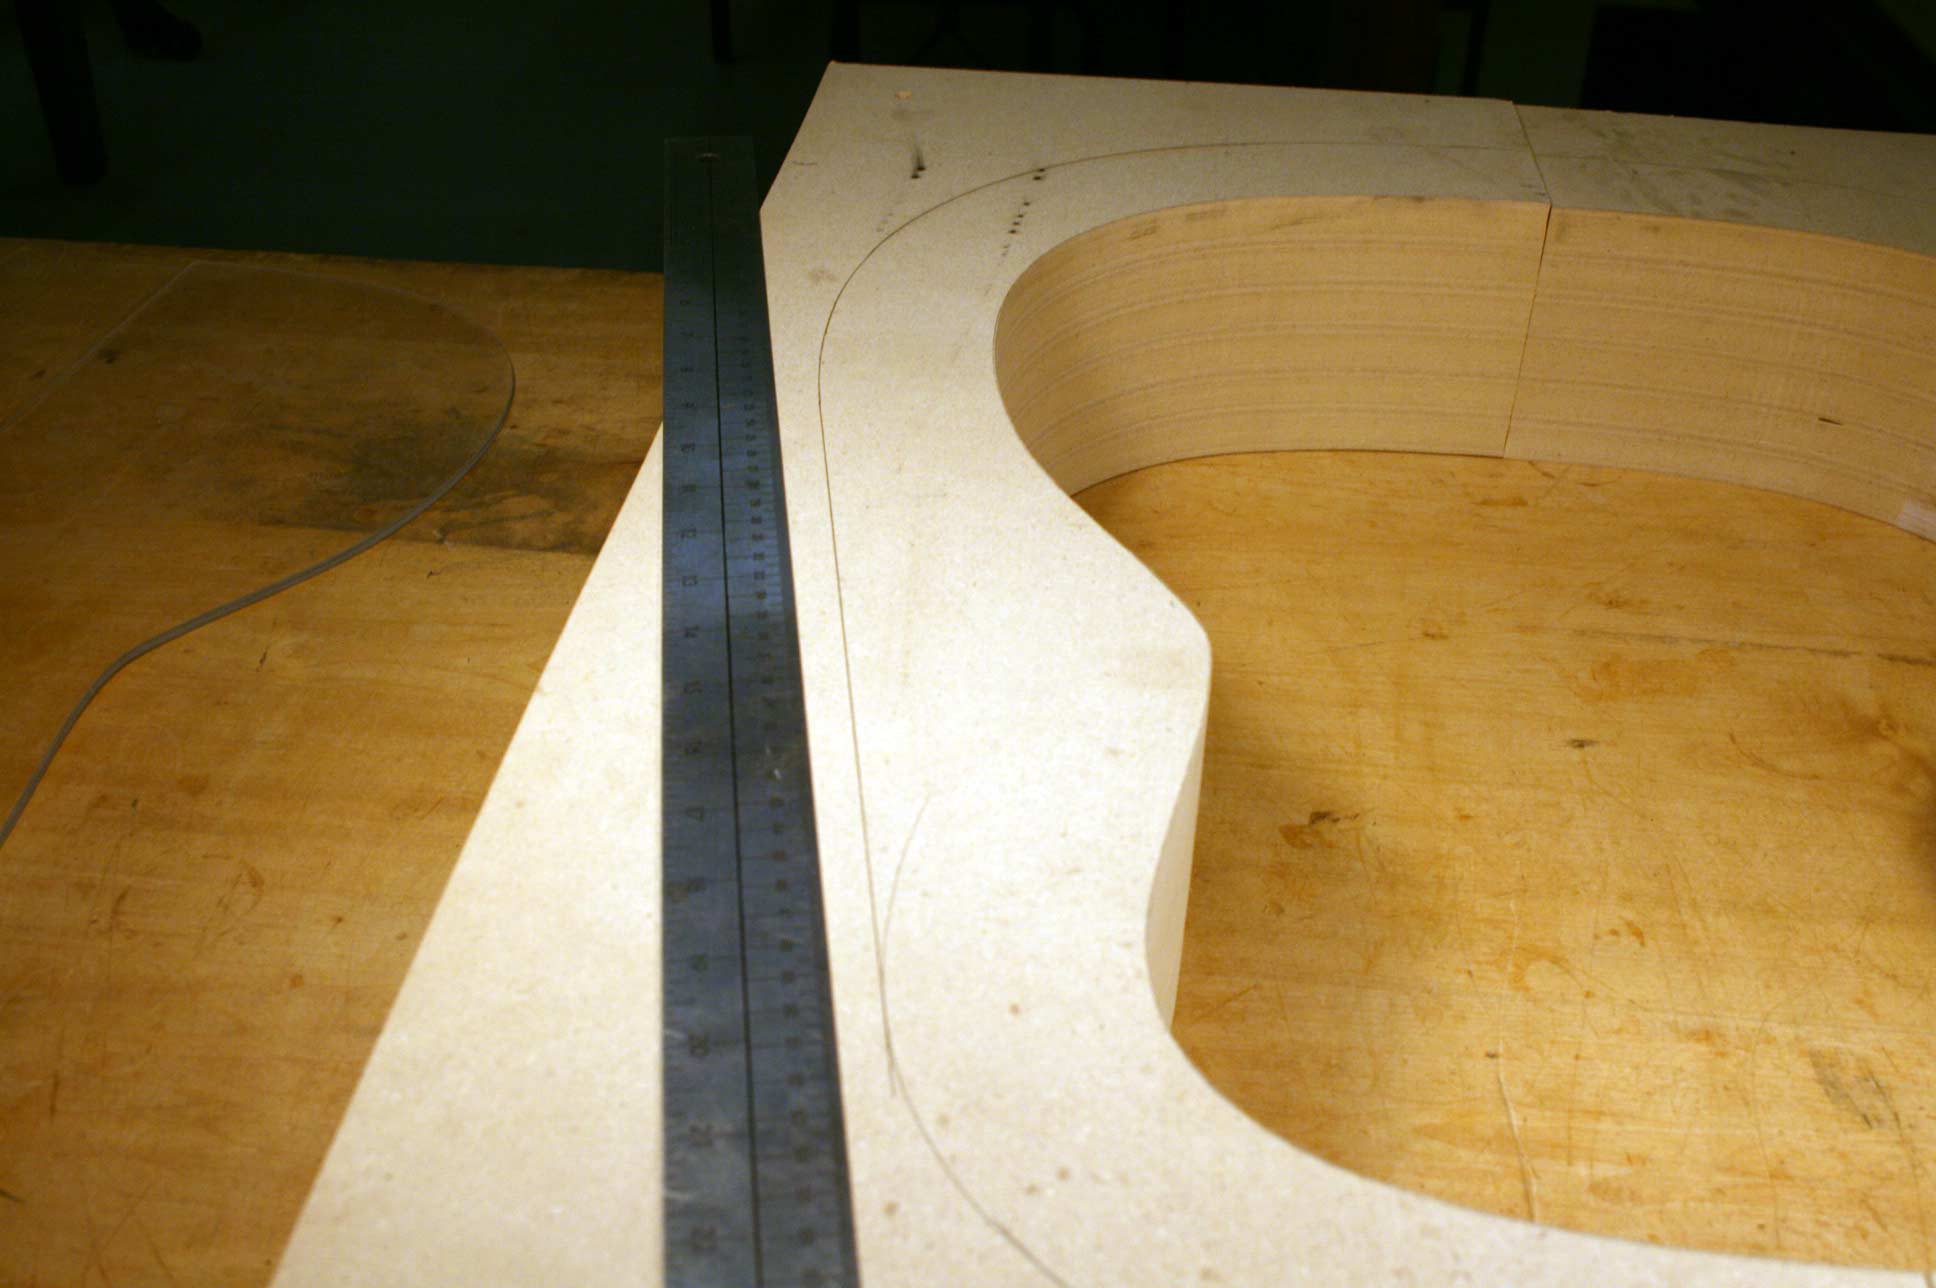
(Step 3) After cutting out on the bandsaw, sand to the line. This would be a nice time to have a very tall oscillating spindle sander. I had to use my dough roller chucked up in the drill press. |
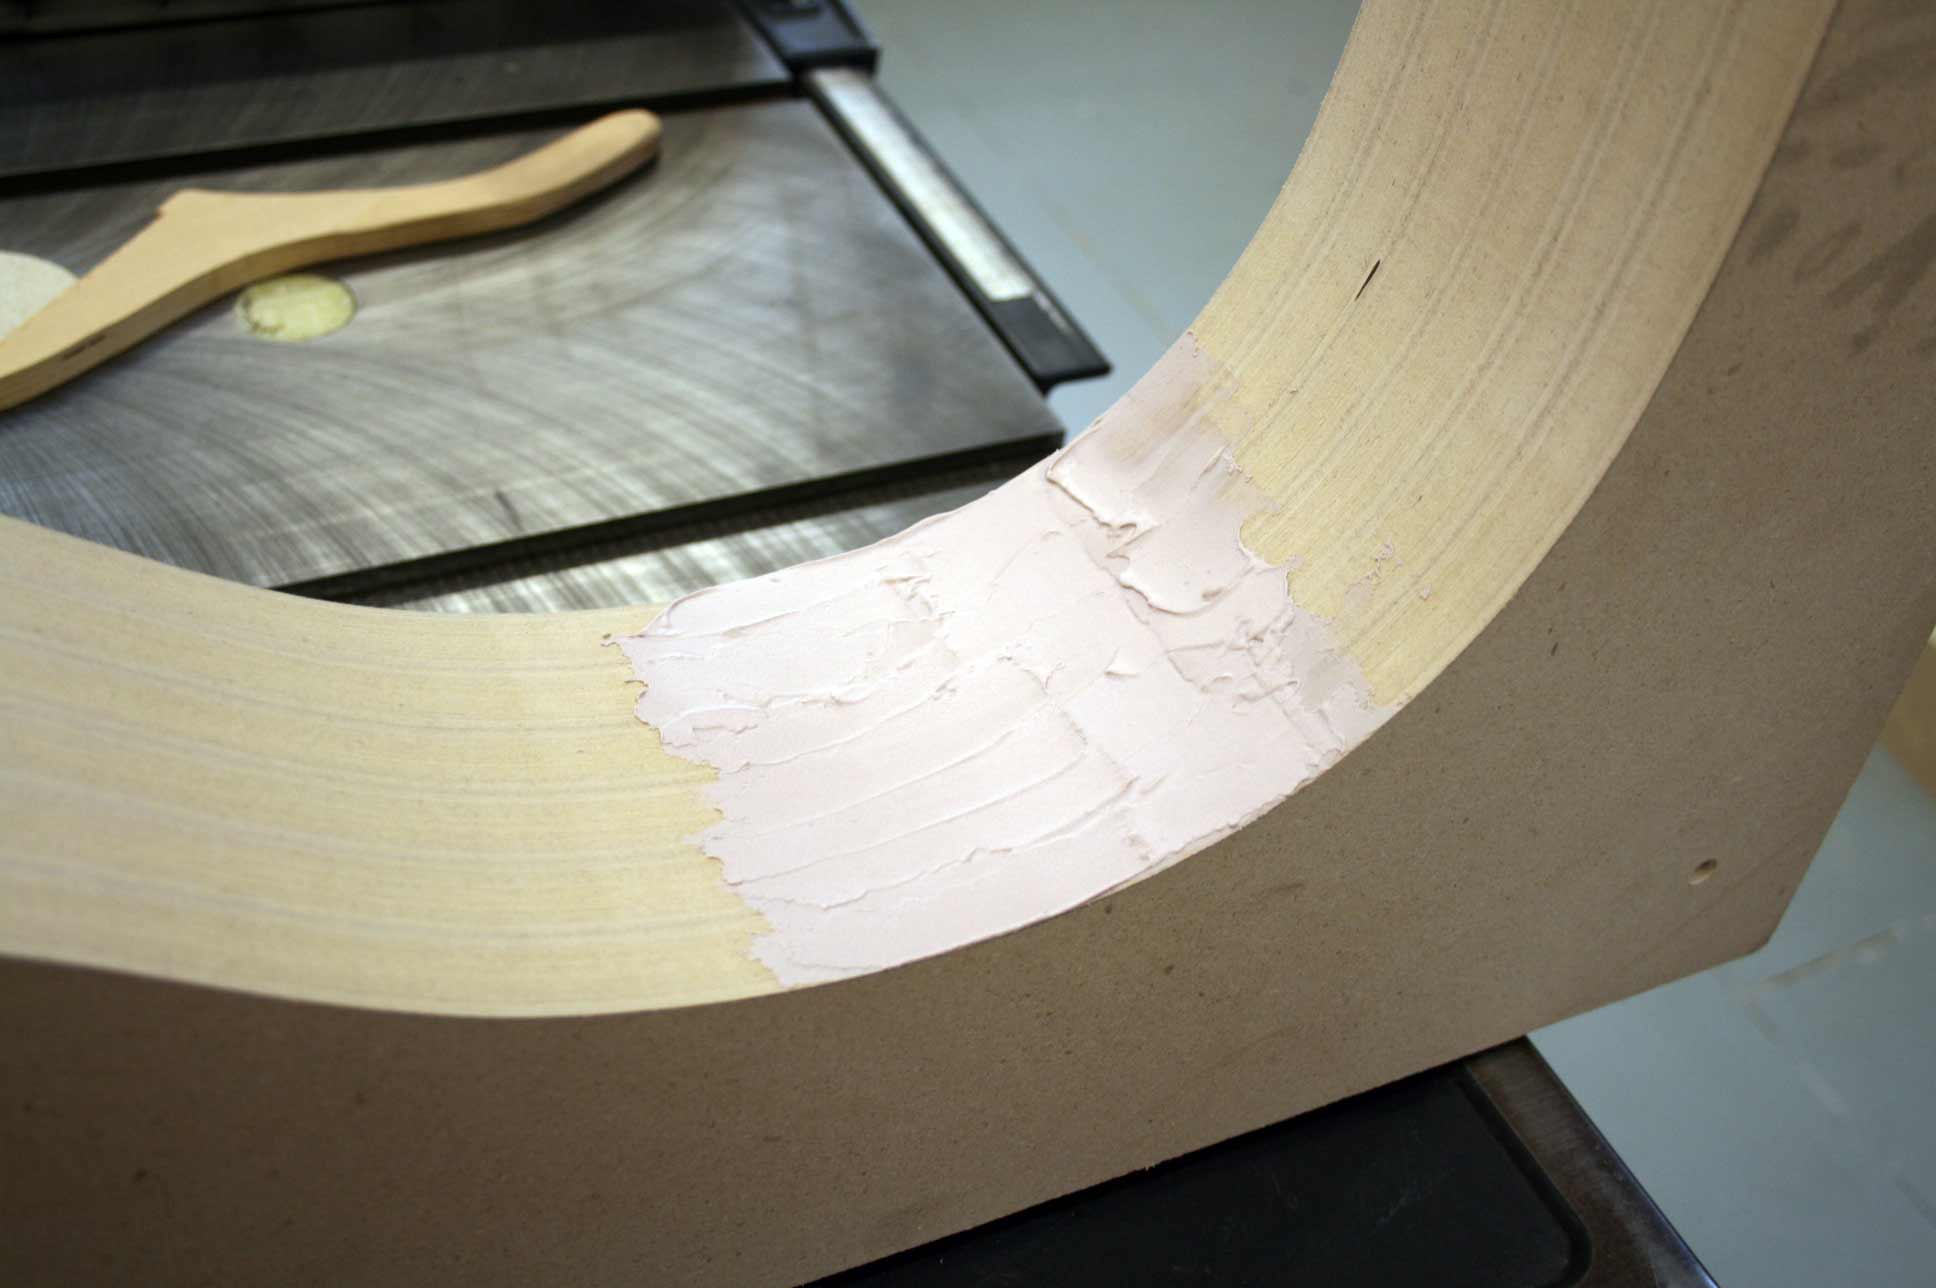 |
My bandsaw decided to derail during the cut so I applied some Bondo. This is a great thing to keep in the shop for minor tragedies like this one. |
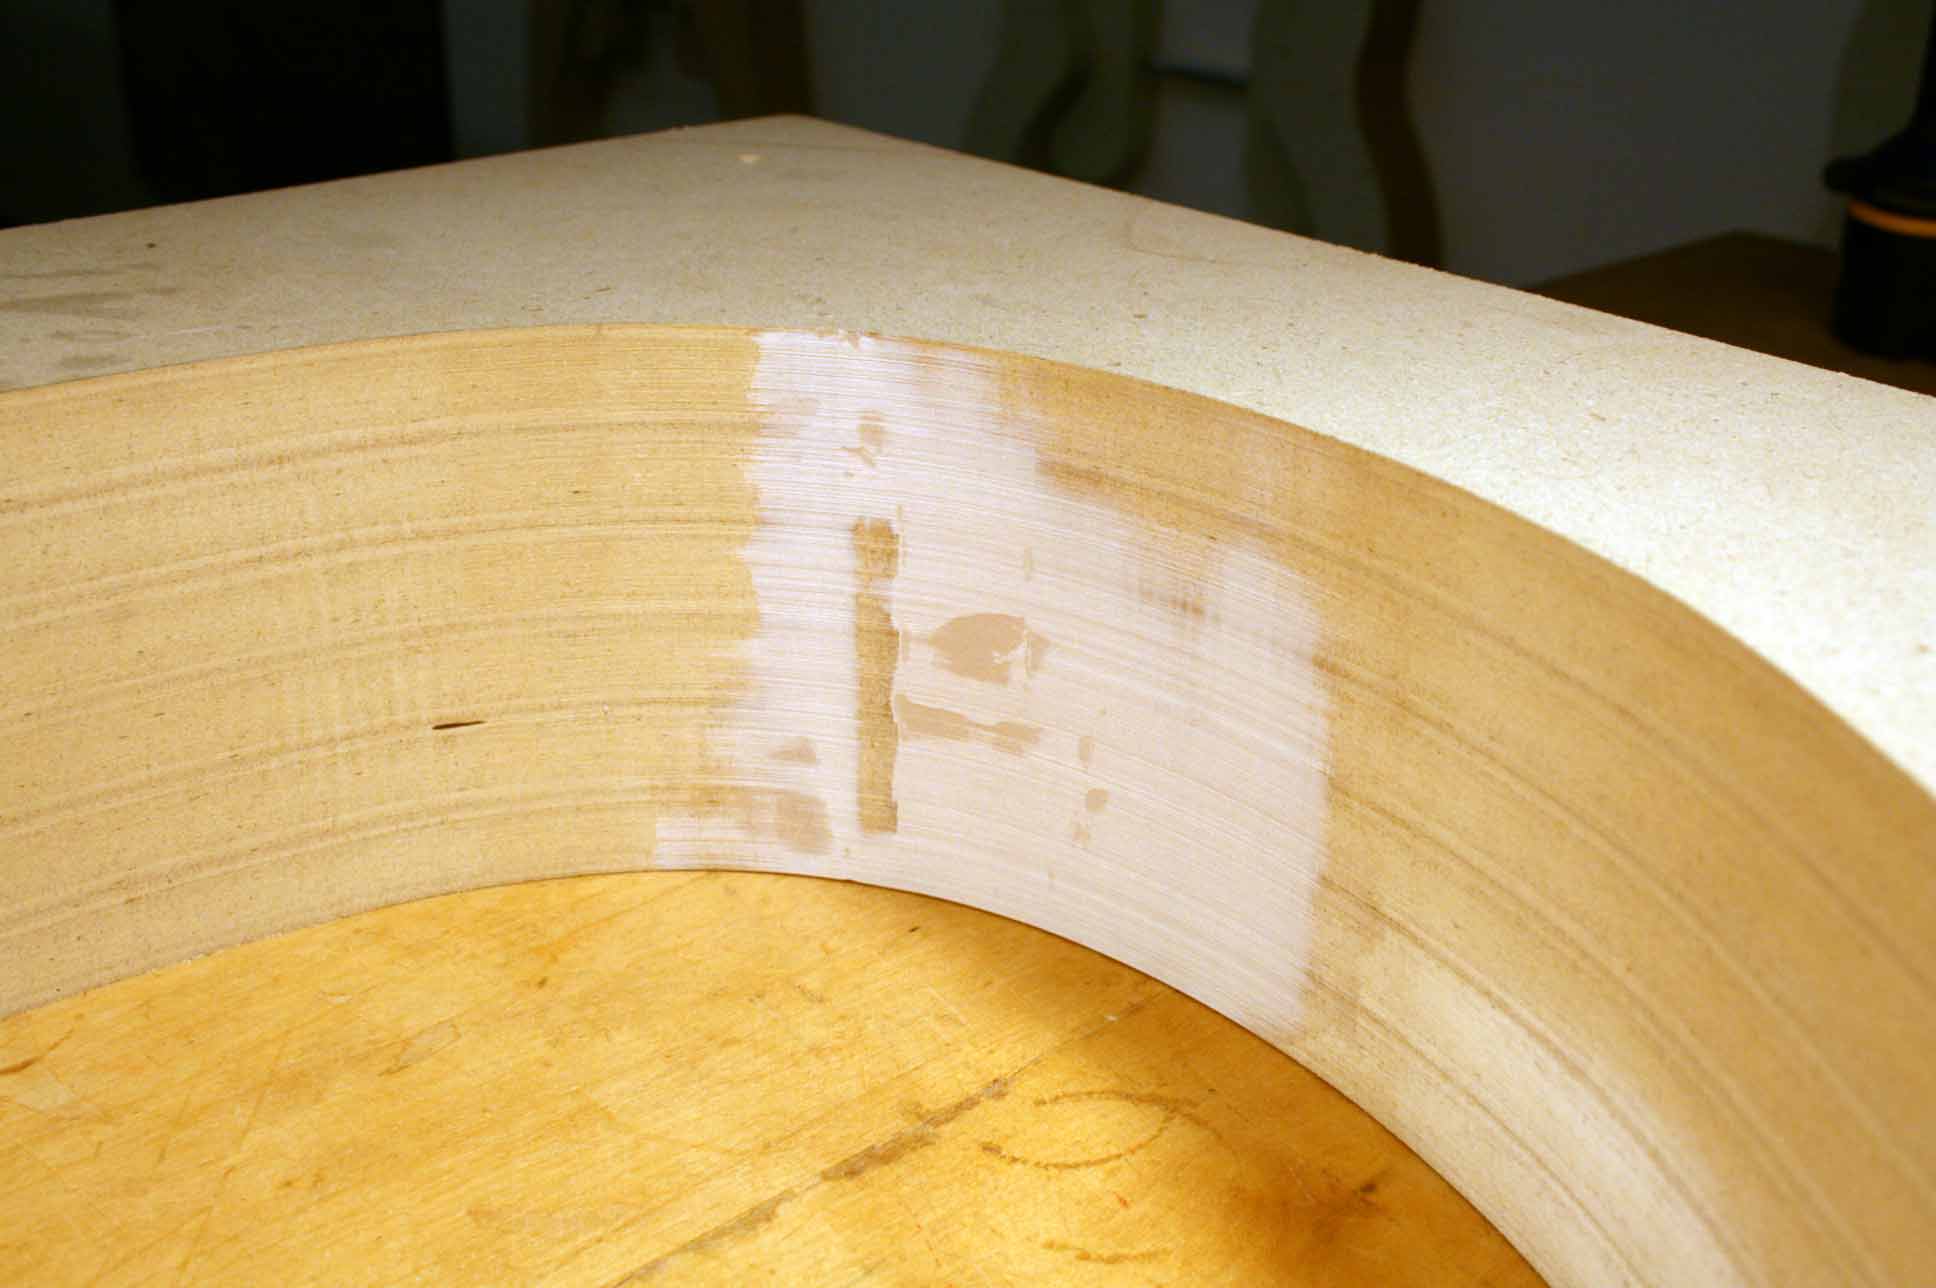 |
After it is sanded, it doesn't look too bad and will not adversely affect the shape of the guitar. |
 |
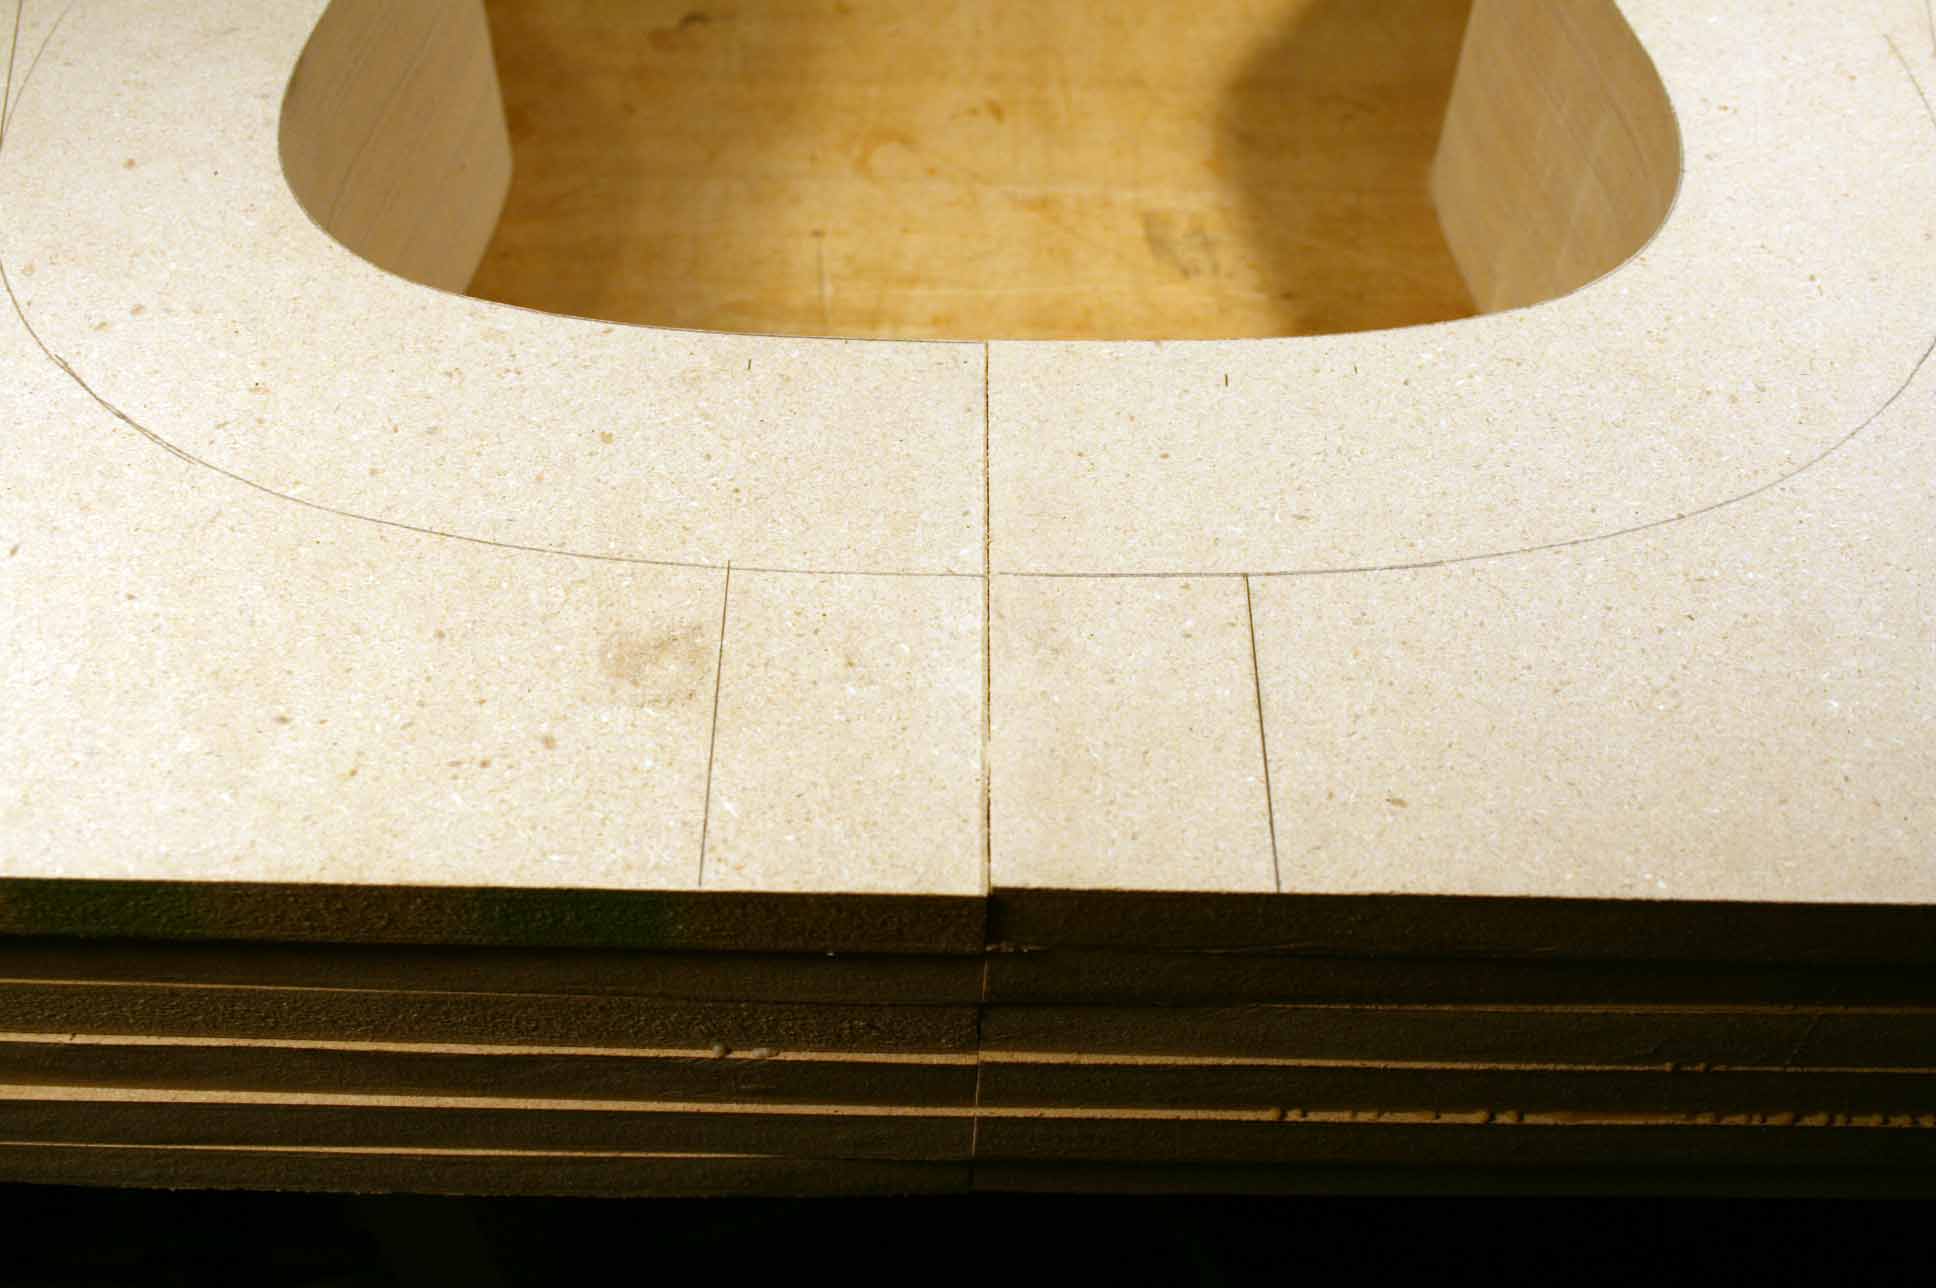
(Step 4). |
 |
(Step 5). |
 |
(Step 6). |
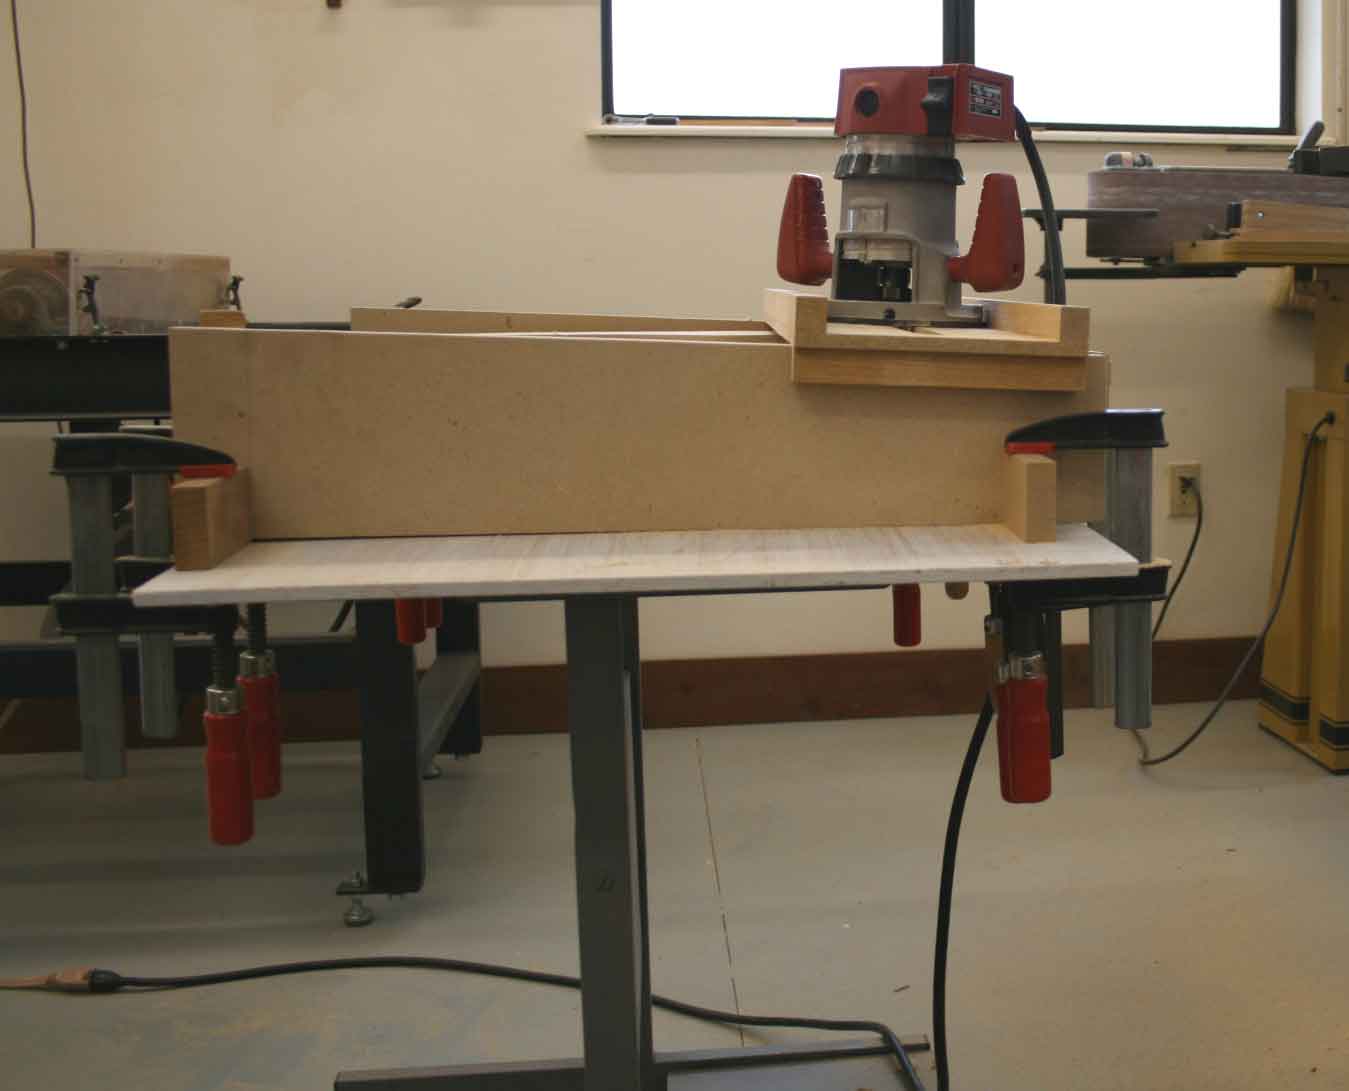 |
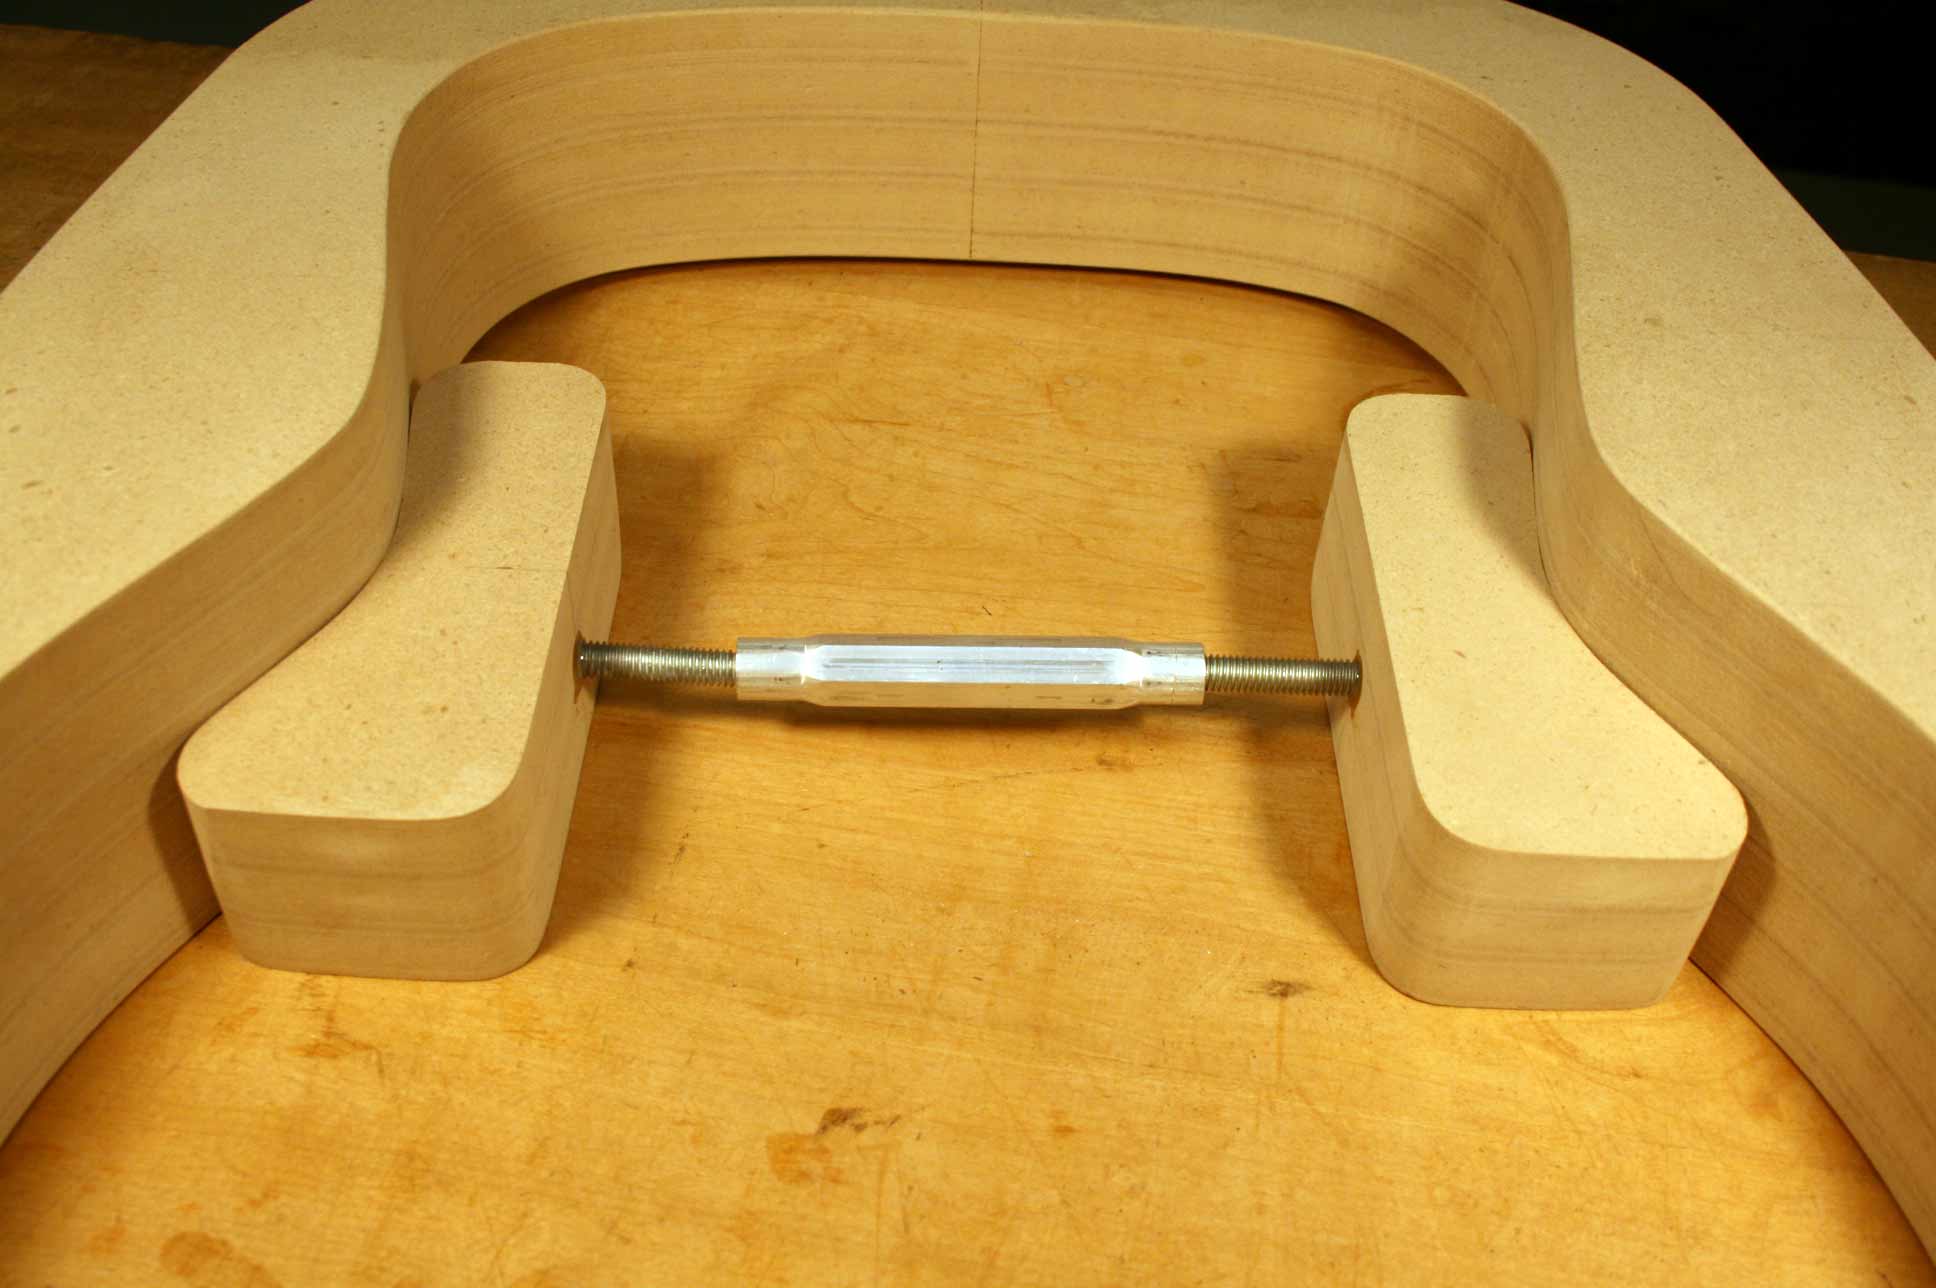
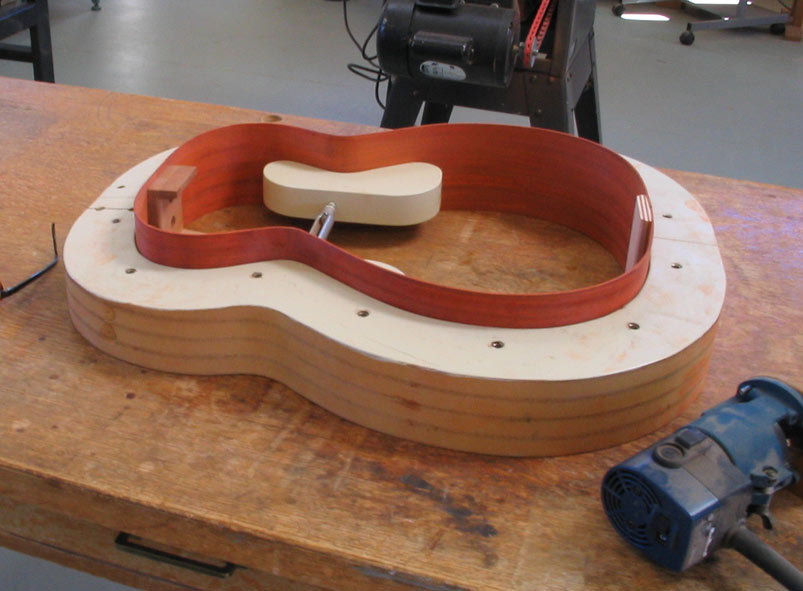
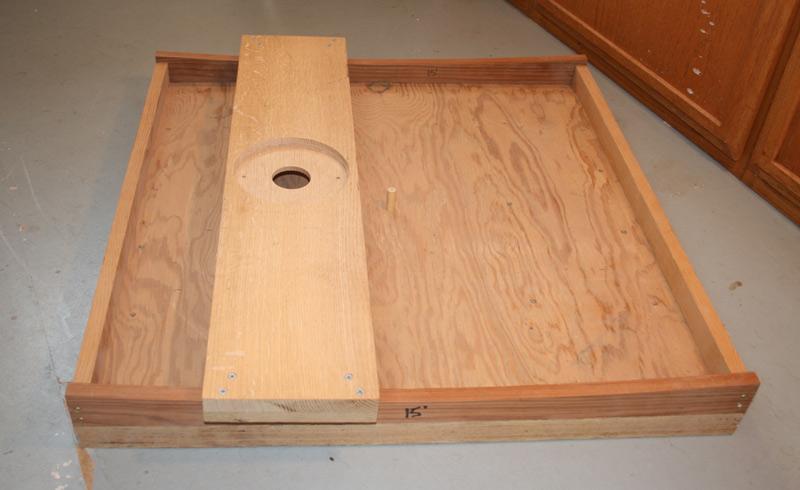
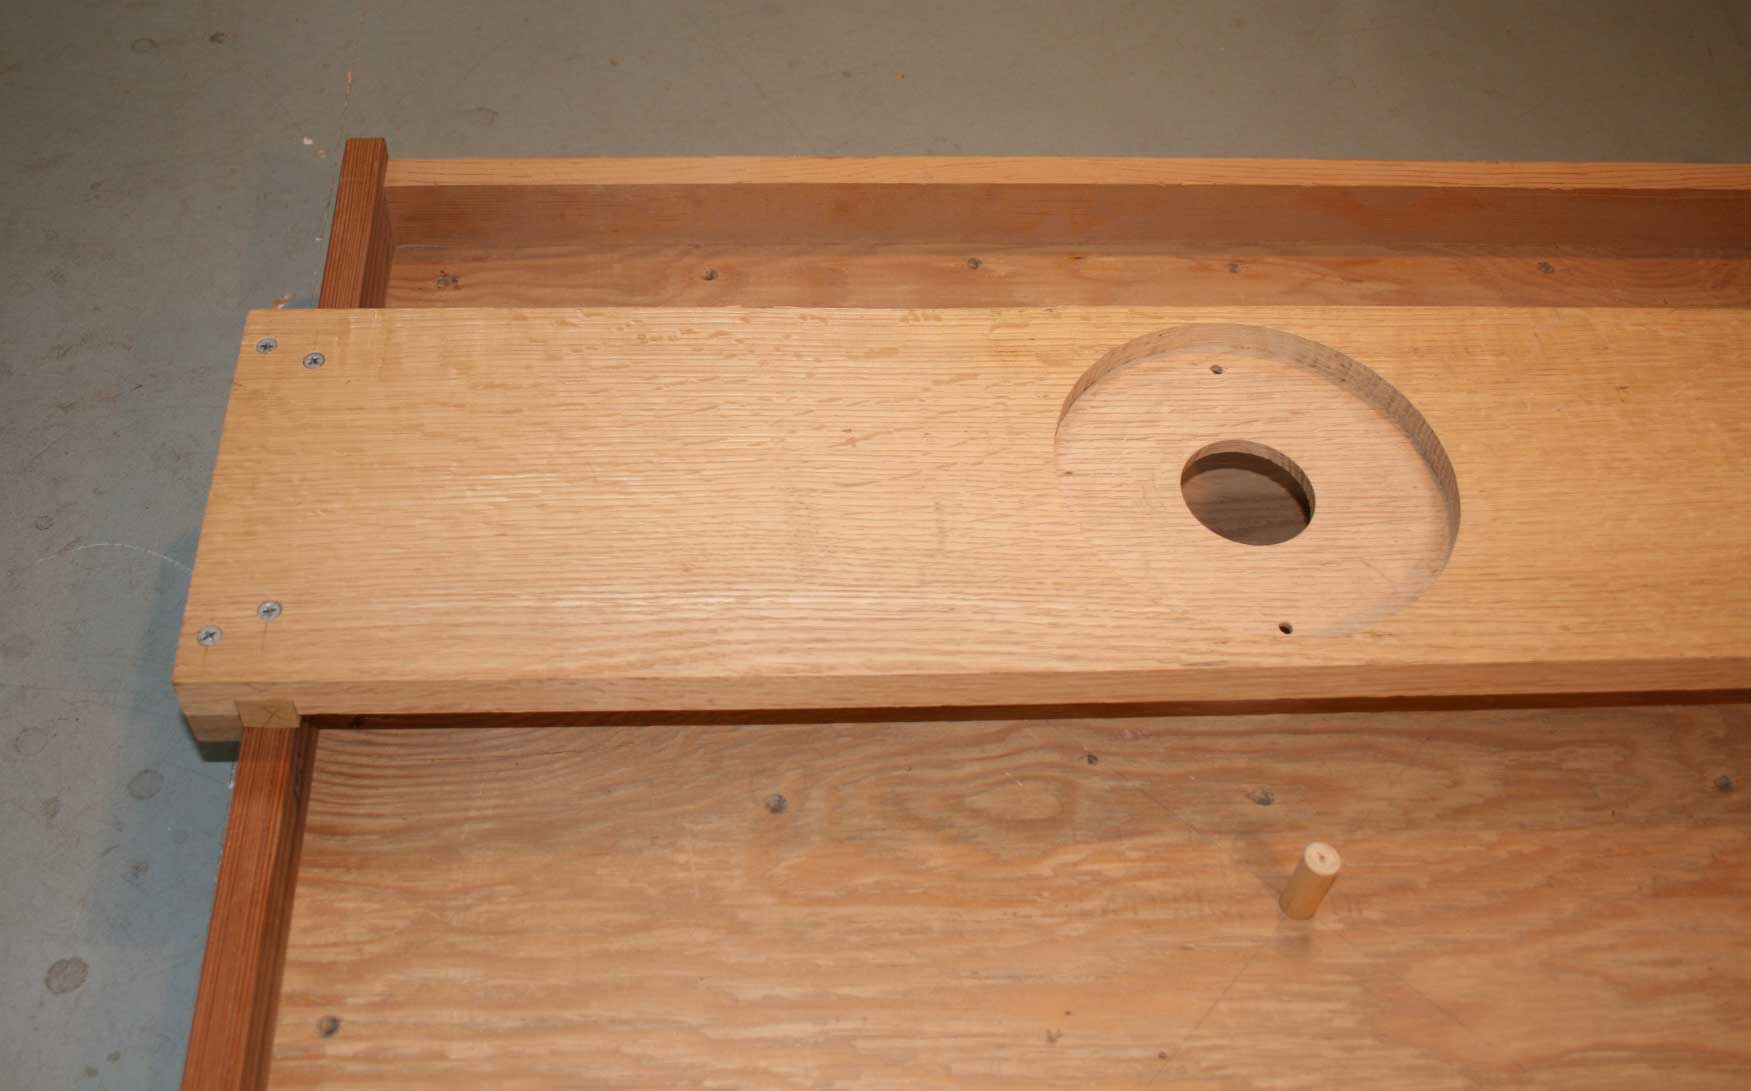
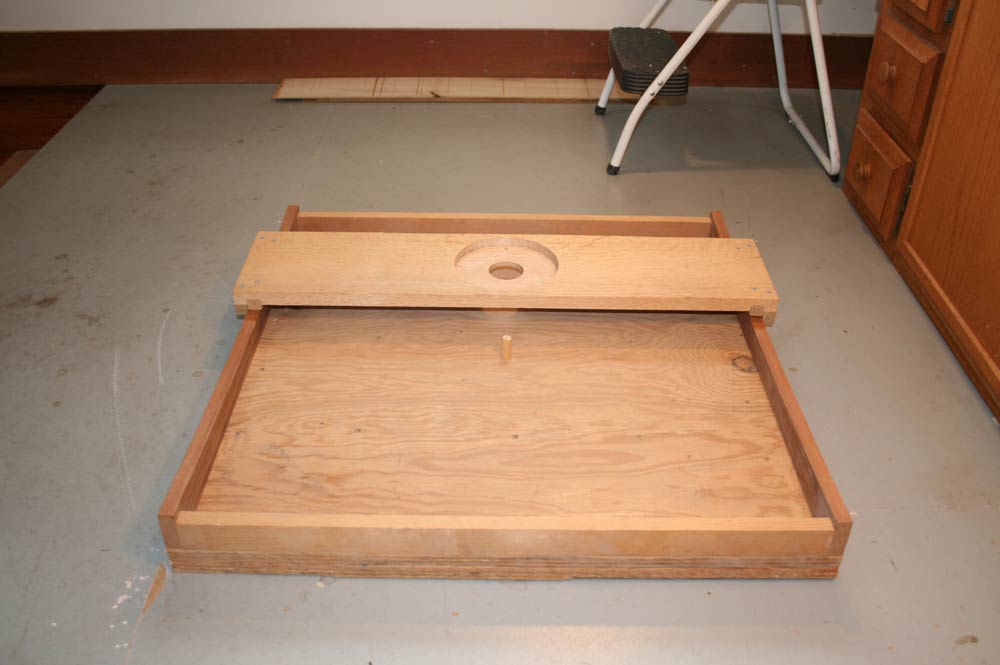
(Step 7) Tapering the mold from the butt to the neck end. Cut some MDF or plywood to the required taper and let it run past the mold on each end. Make a simple sled to index off the tapered MDF. |
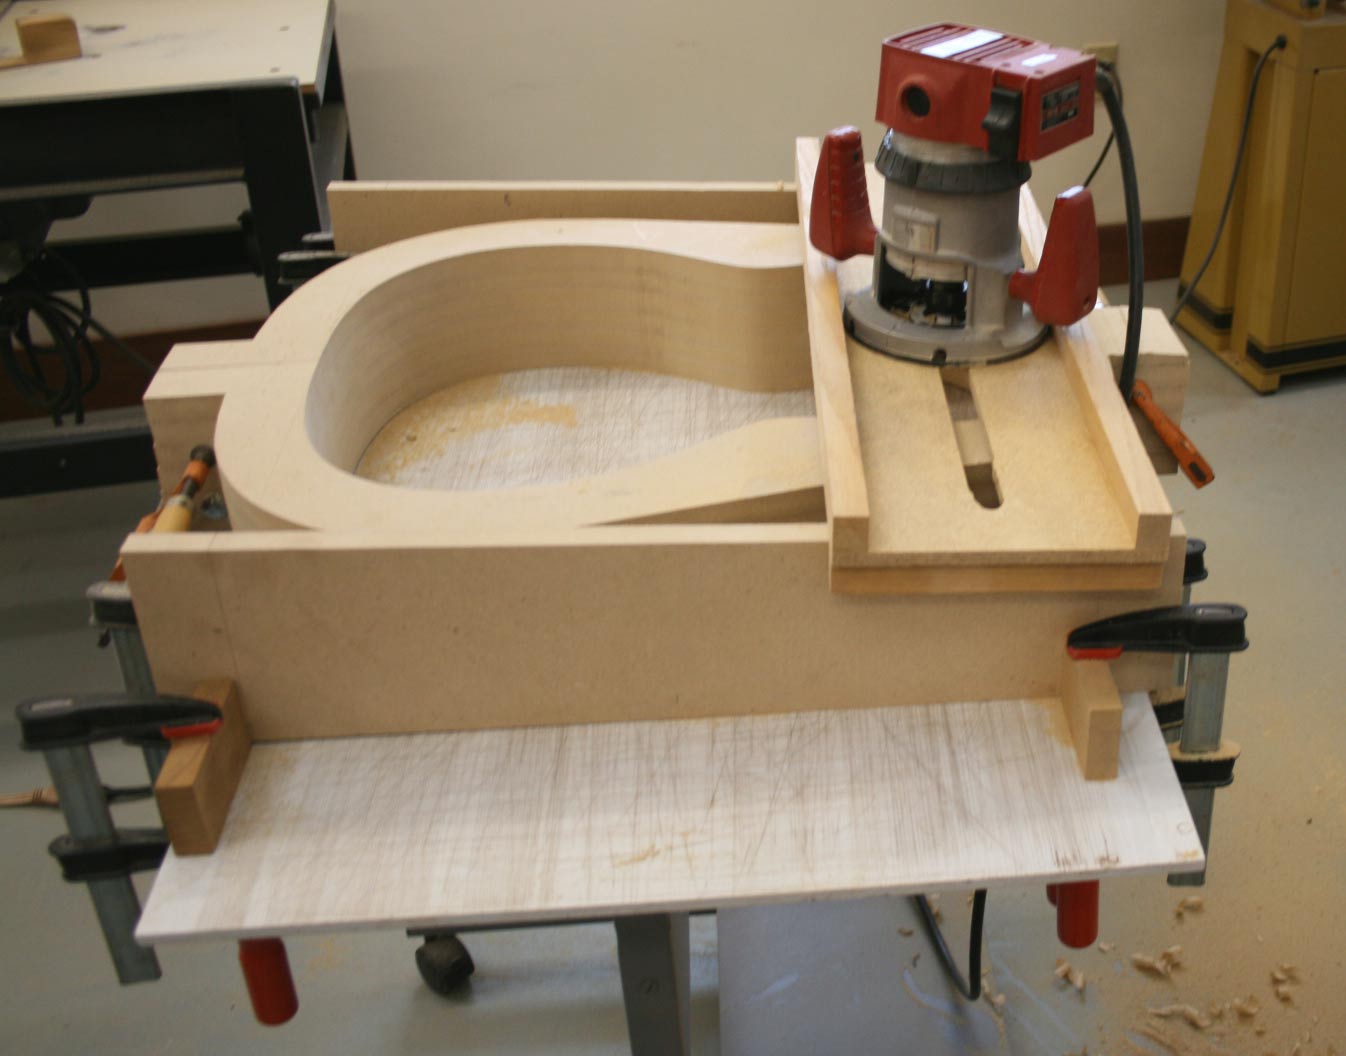 |
I am using a 3/4" straight bit. |
 |
|
 |
|
 |
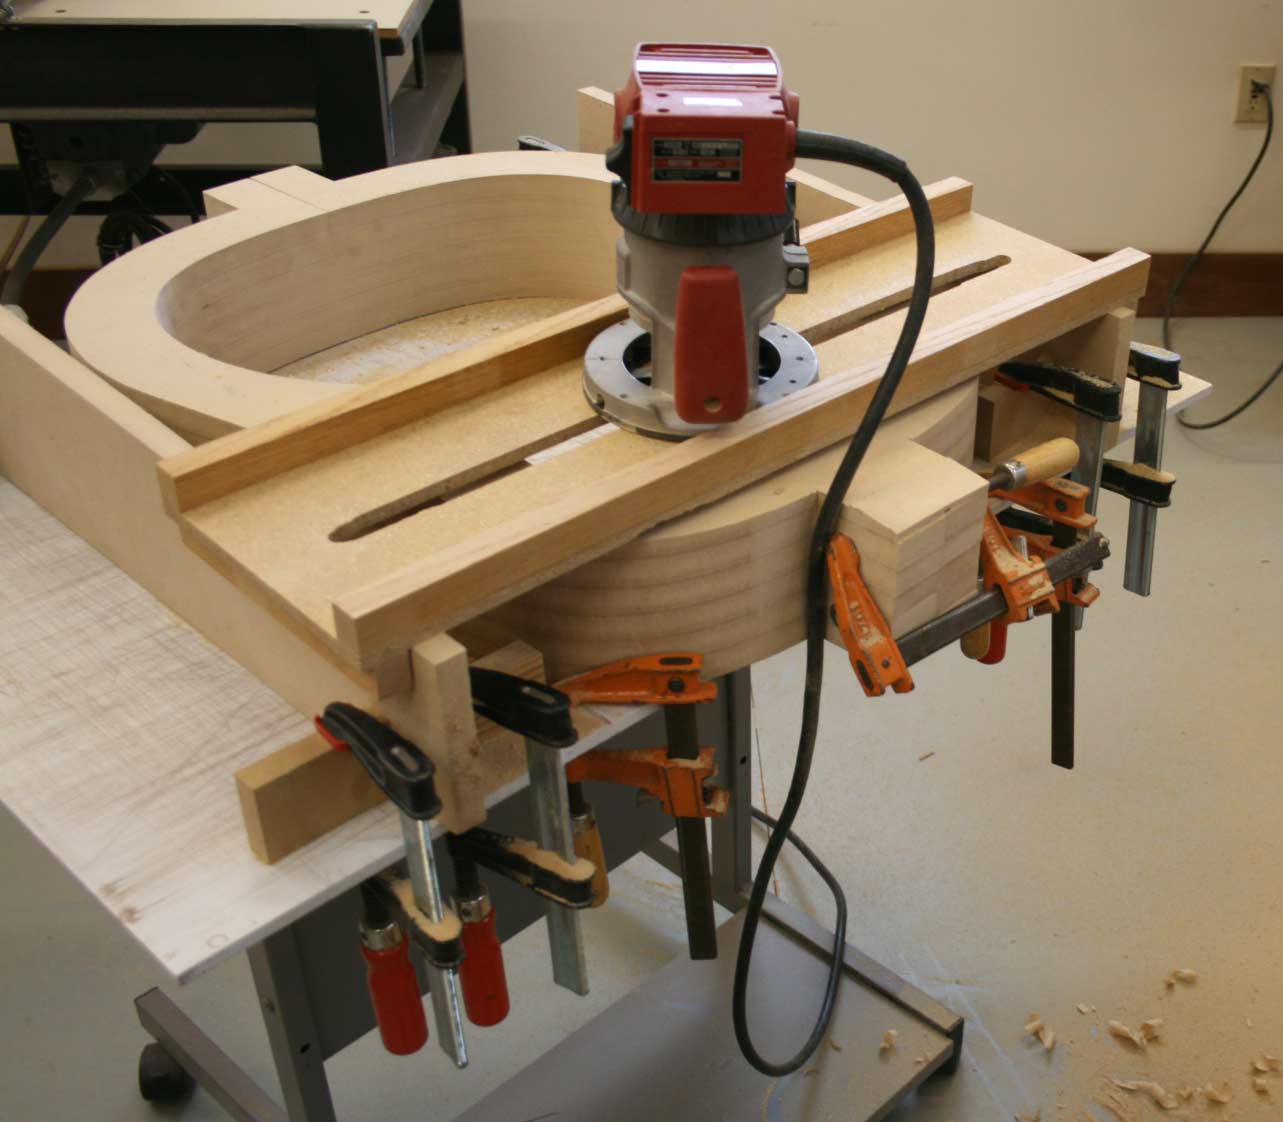
The taper is complete. You can do this on the bandsaw if you have one large enough, but it is not real convenient. |
 |
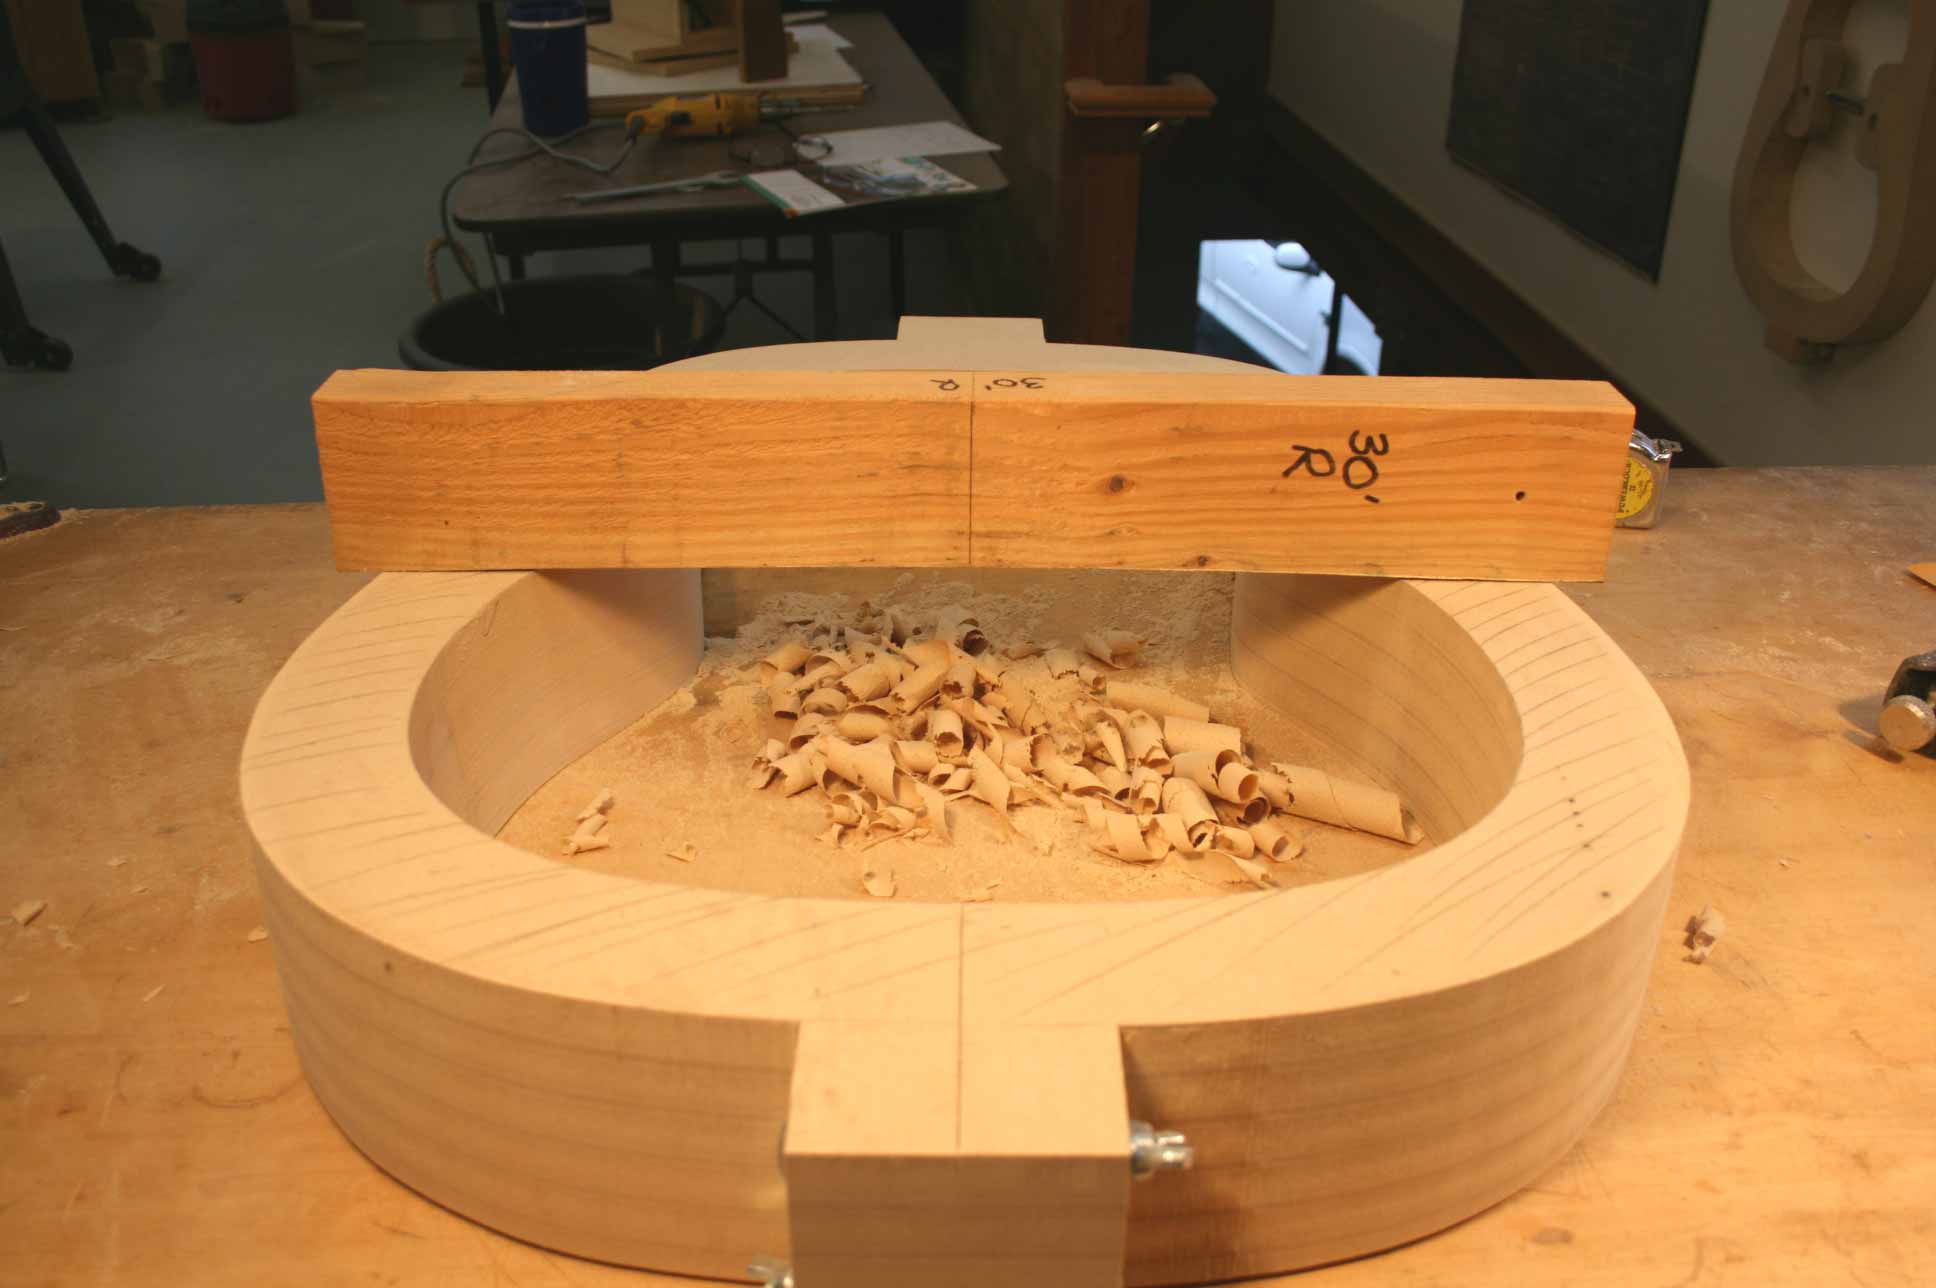
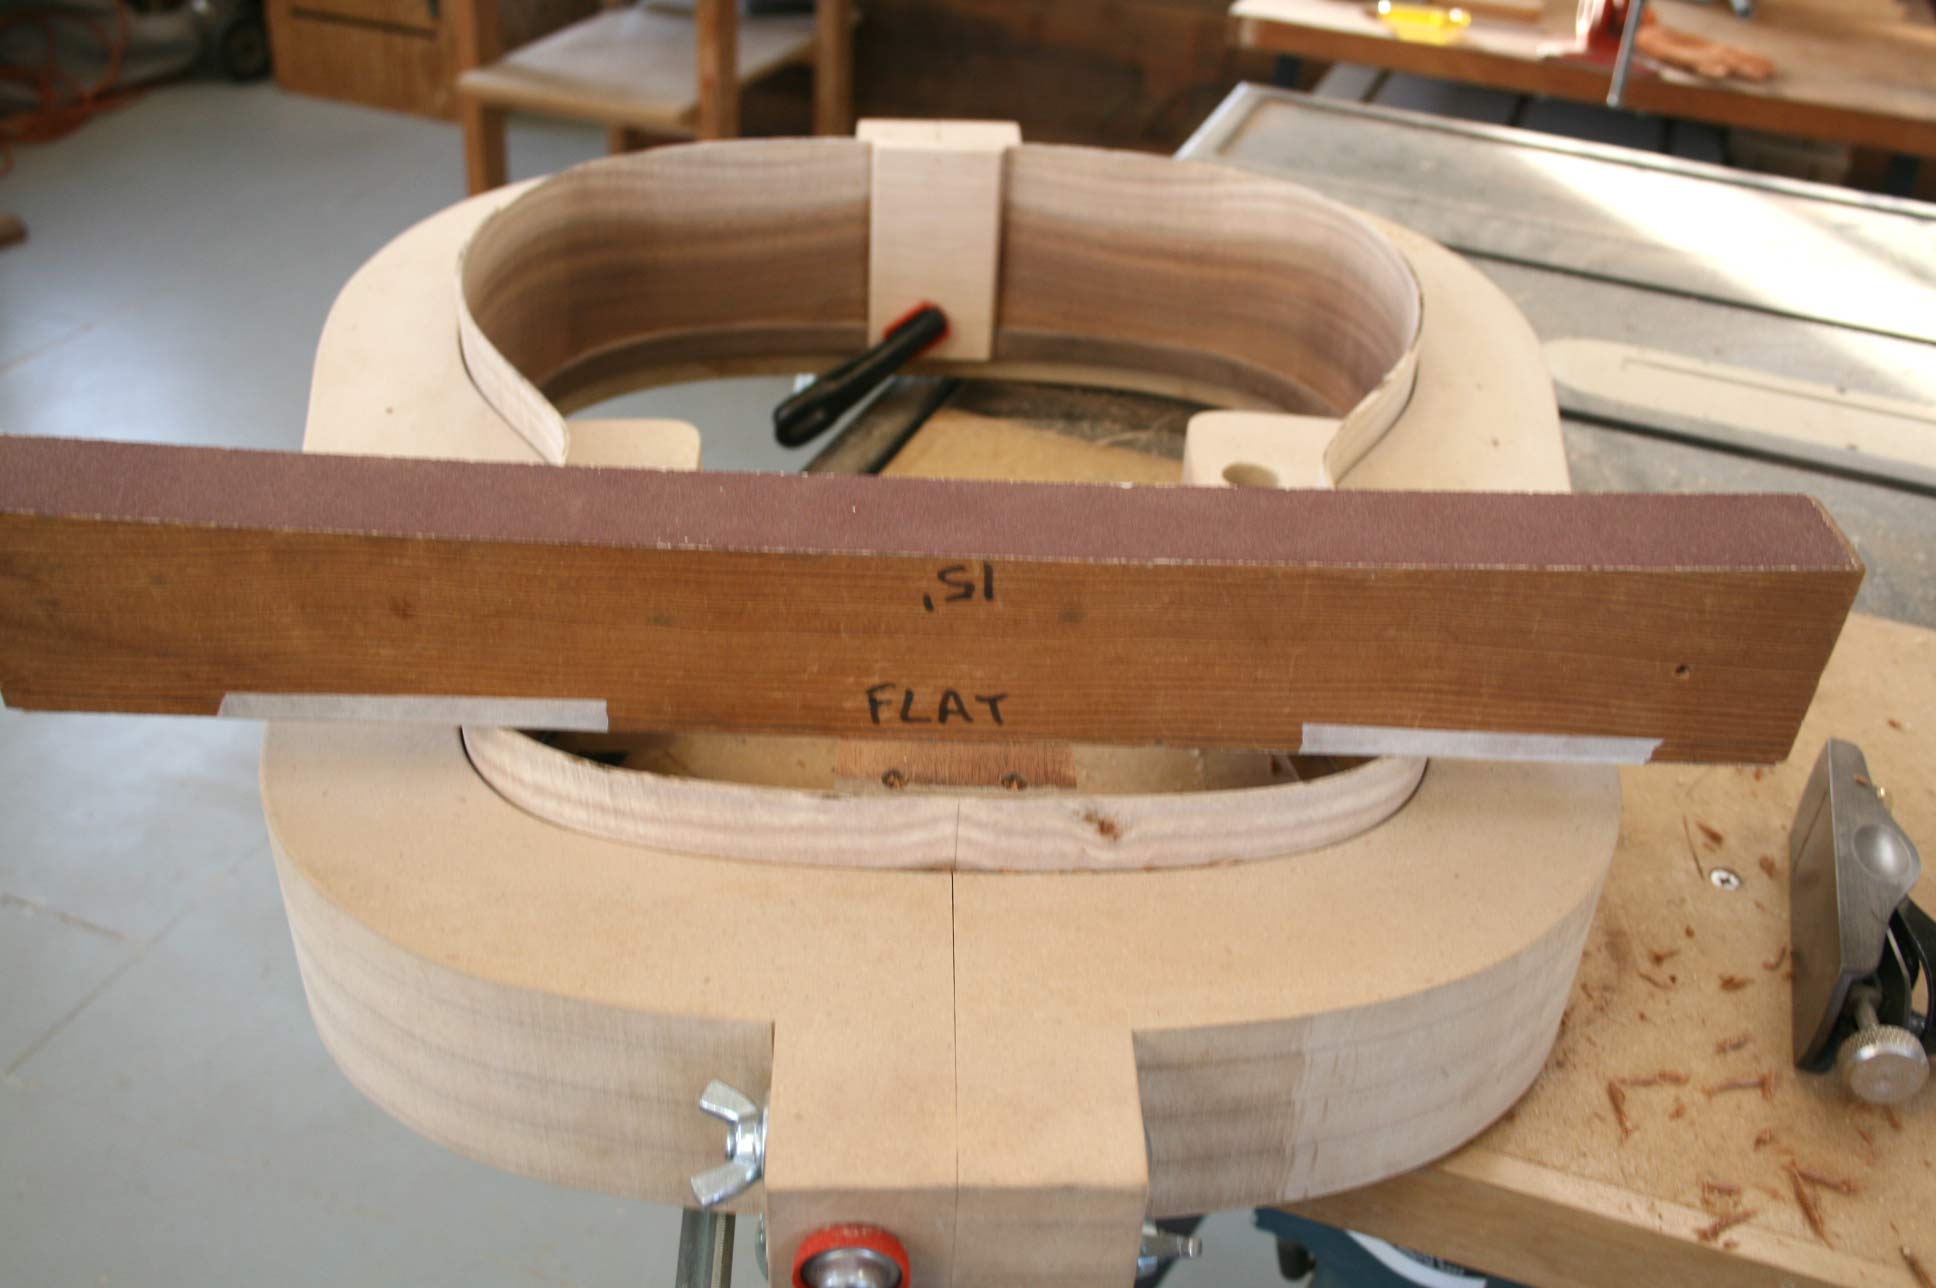
(Fast-forward to step 10) The hollow form with 80 grit sandpaper is free to pivot on the 1/2" diameter shaft. The other end of the shaft is held in place by the 2x2 on the other side of the mold and is clamped in the vise. This hollow form has sandpaper glued to both sides. The one we can see is a 30' radius and the one against the mold is 15'. |
 |
It would take too long to sand this much surface. Take a pencil and make some lines on the mold. The sandpaper on the hollow form will remove part of the lines revealing areas that can be hand planned. |
 |
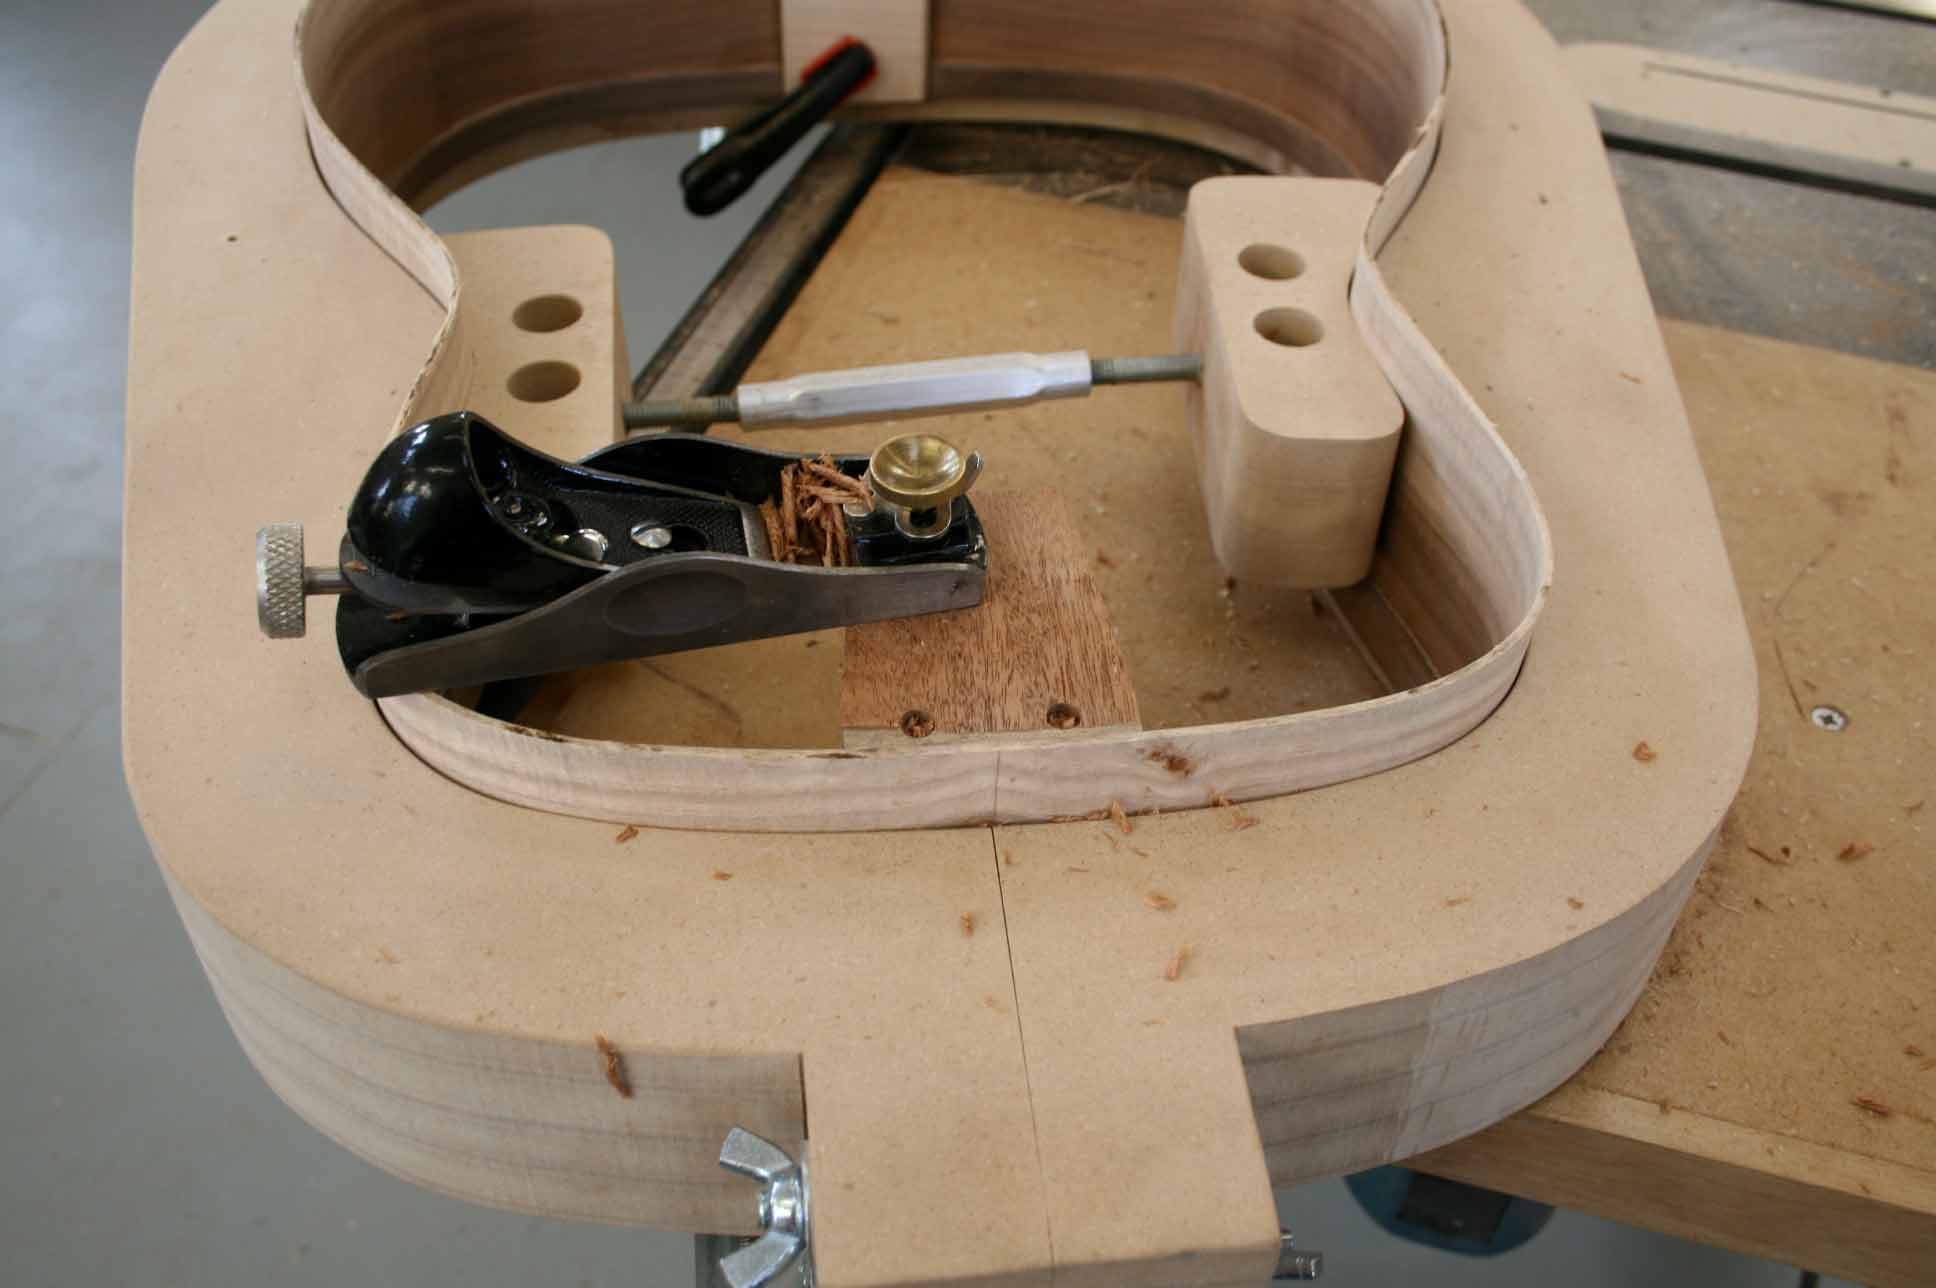
Take a block plane and remove this material quickly. |
 |
Work between sanding with the hollow form and block planning until you get pretty close. The lines left should be left in a symmetrical pattern. Check the depth of the mold so see that you are removing material evenly from both halves. Then sand until the lines are gone. |
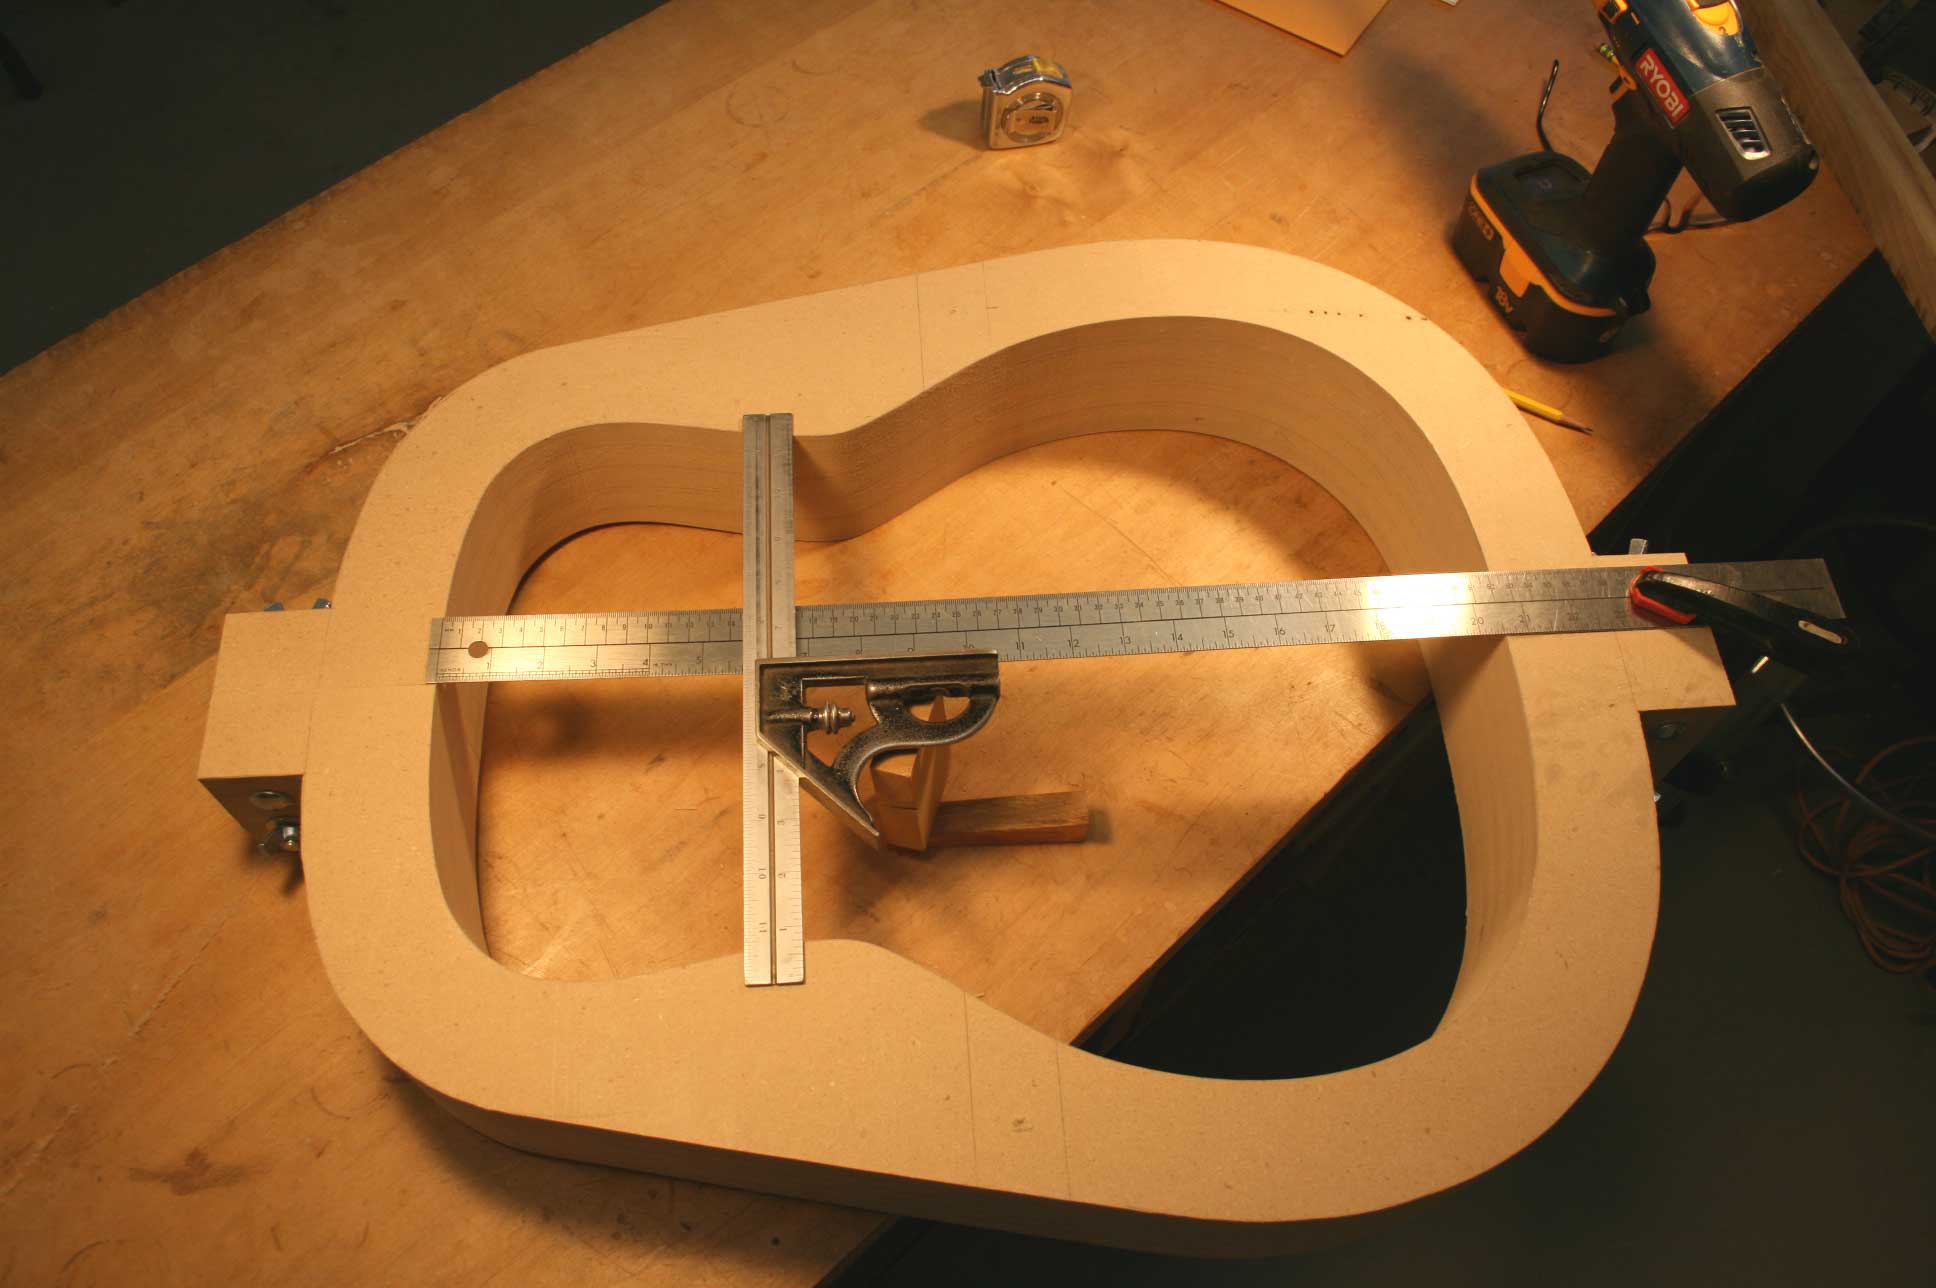 |
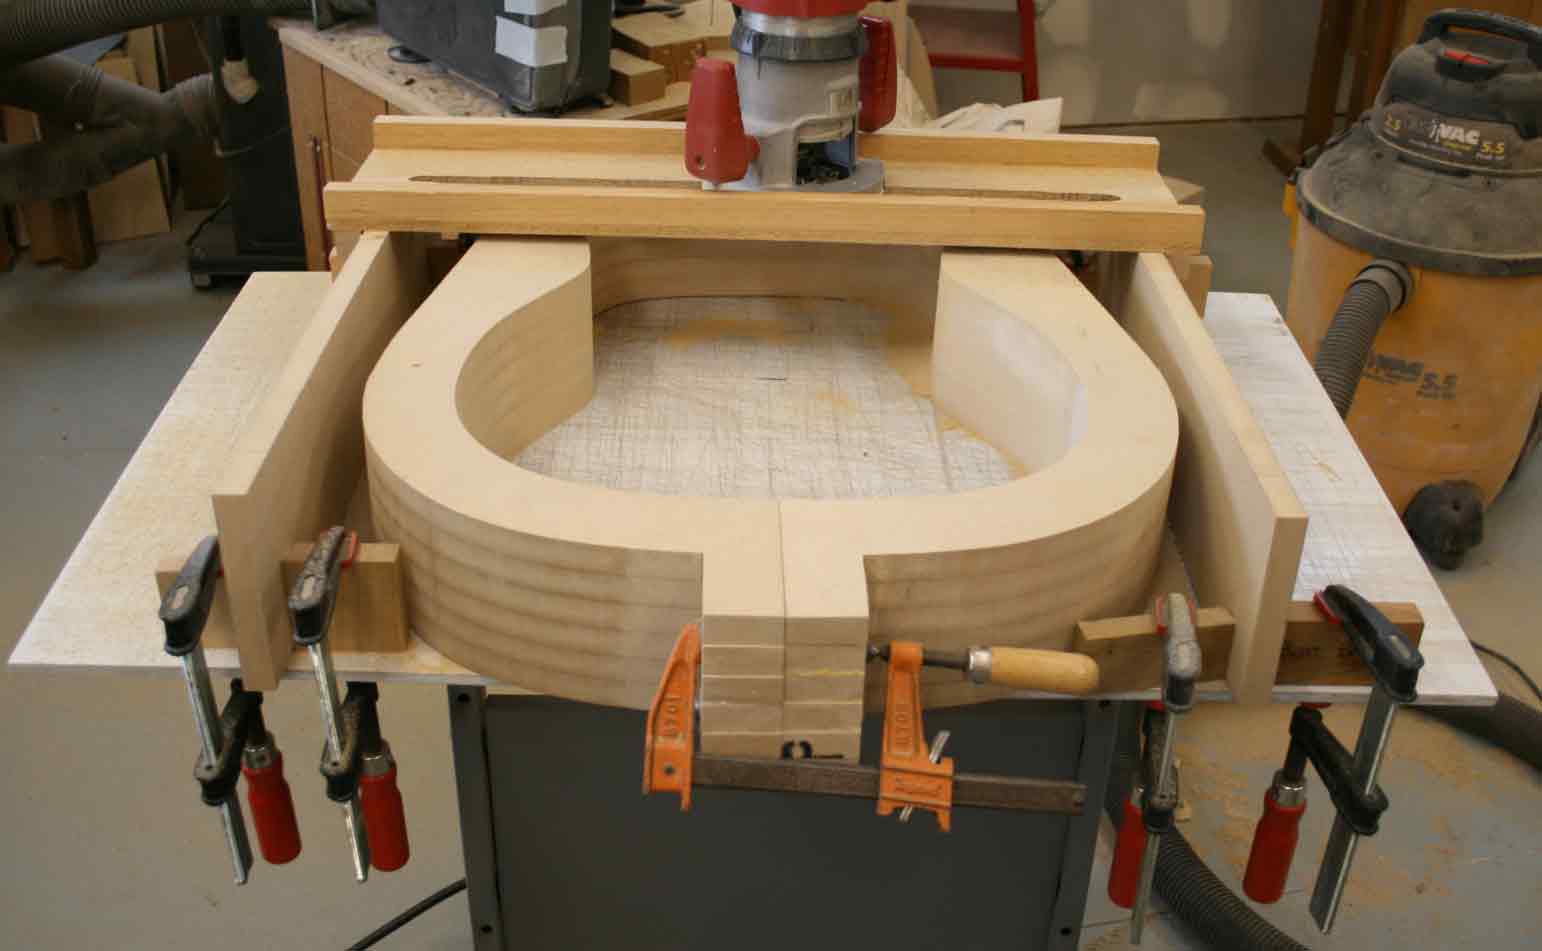
(Step 11) Measure 5 3/4" down from the neck end and mark the location of the end of the top taper. Not shown is a mark .200" down from the top surface of the mold inside. |
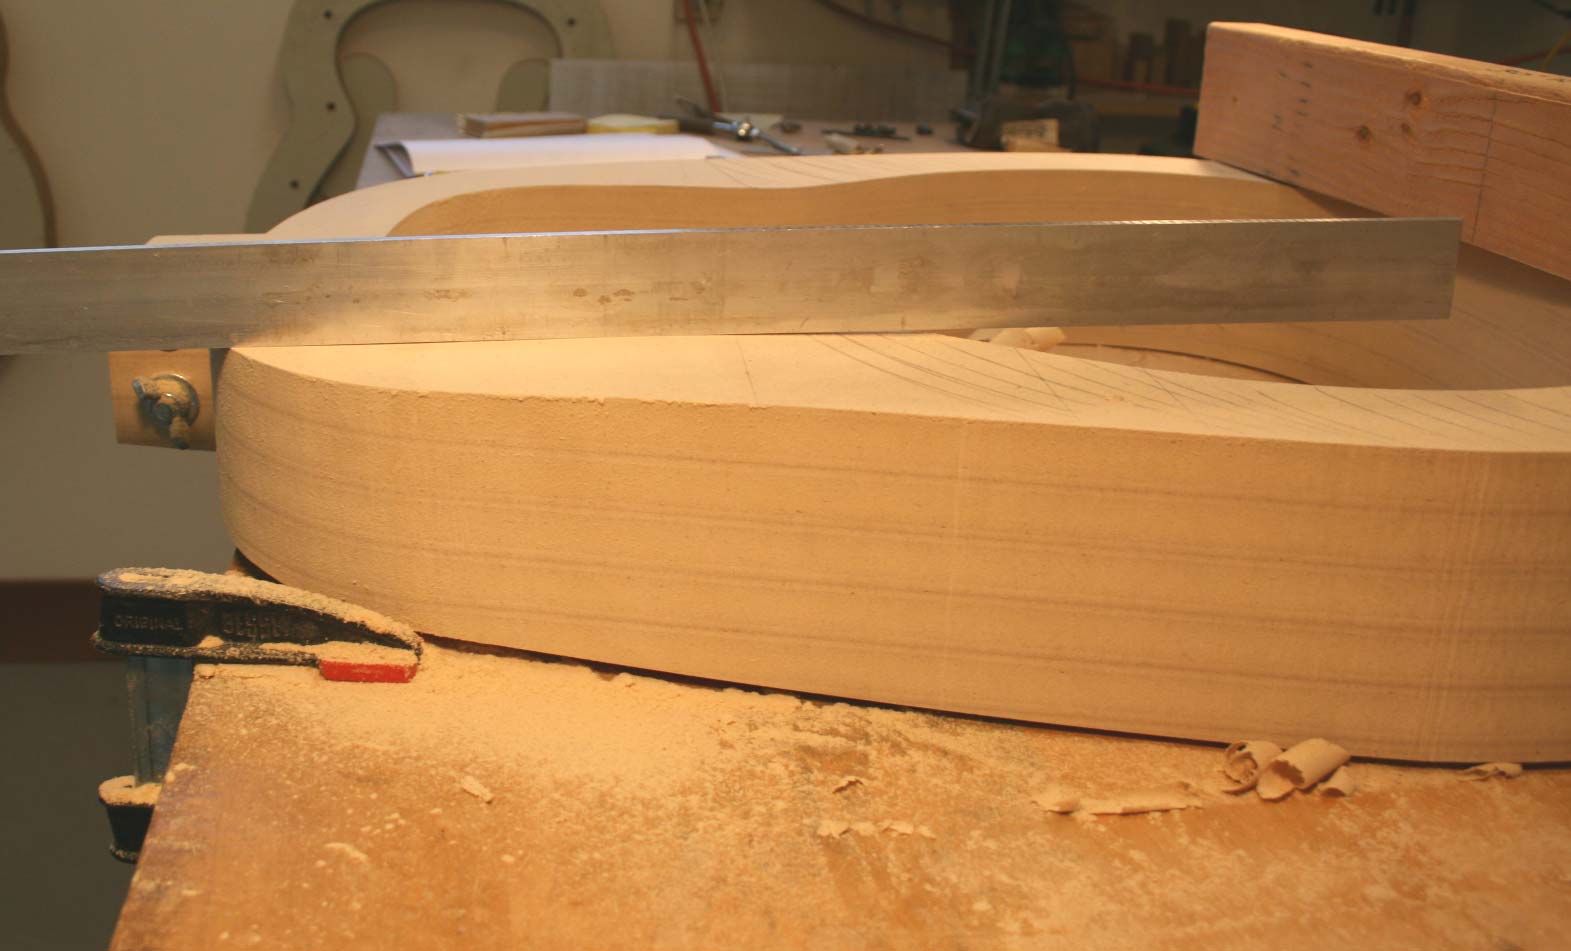 |
Plane off the taper back to the line. Work between your block plane and 80 grit sandpaper glued to a piece of flattened square tubing or a straight 2x2. Make a nice even taper to the neck end. |
 |
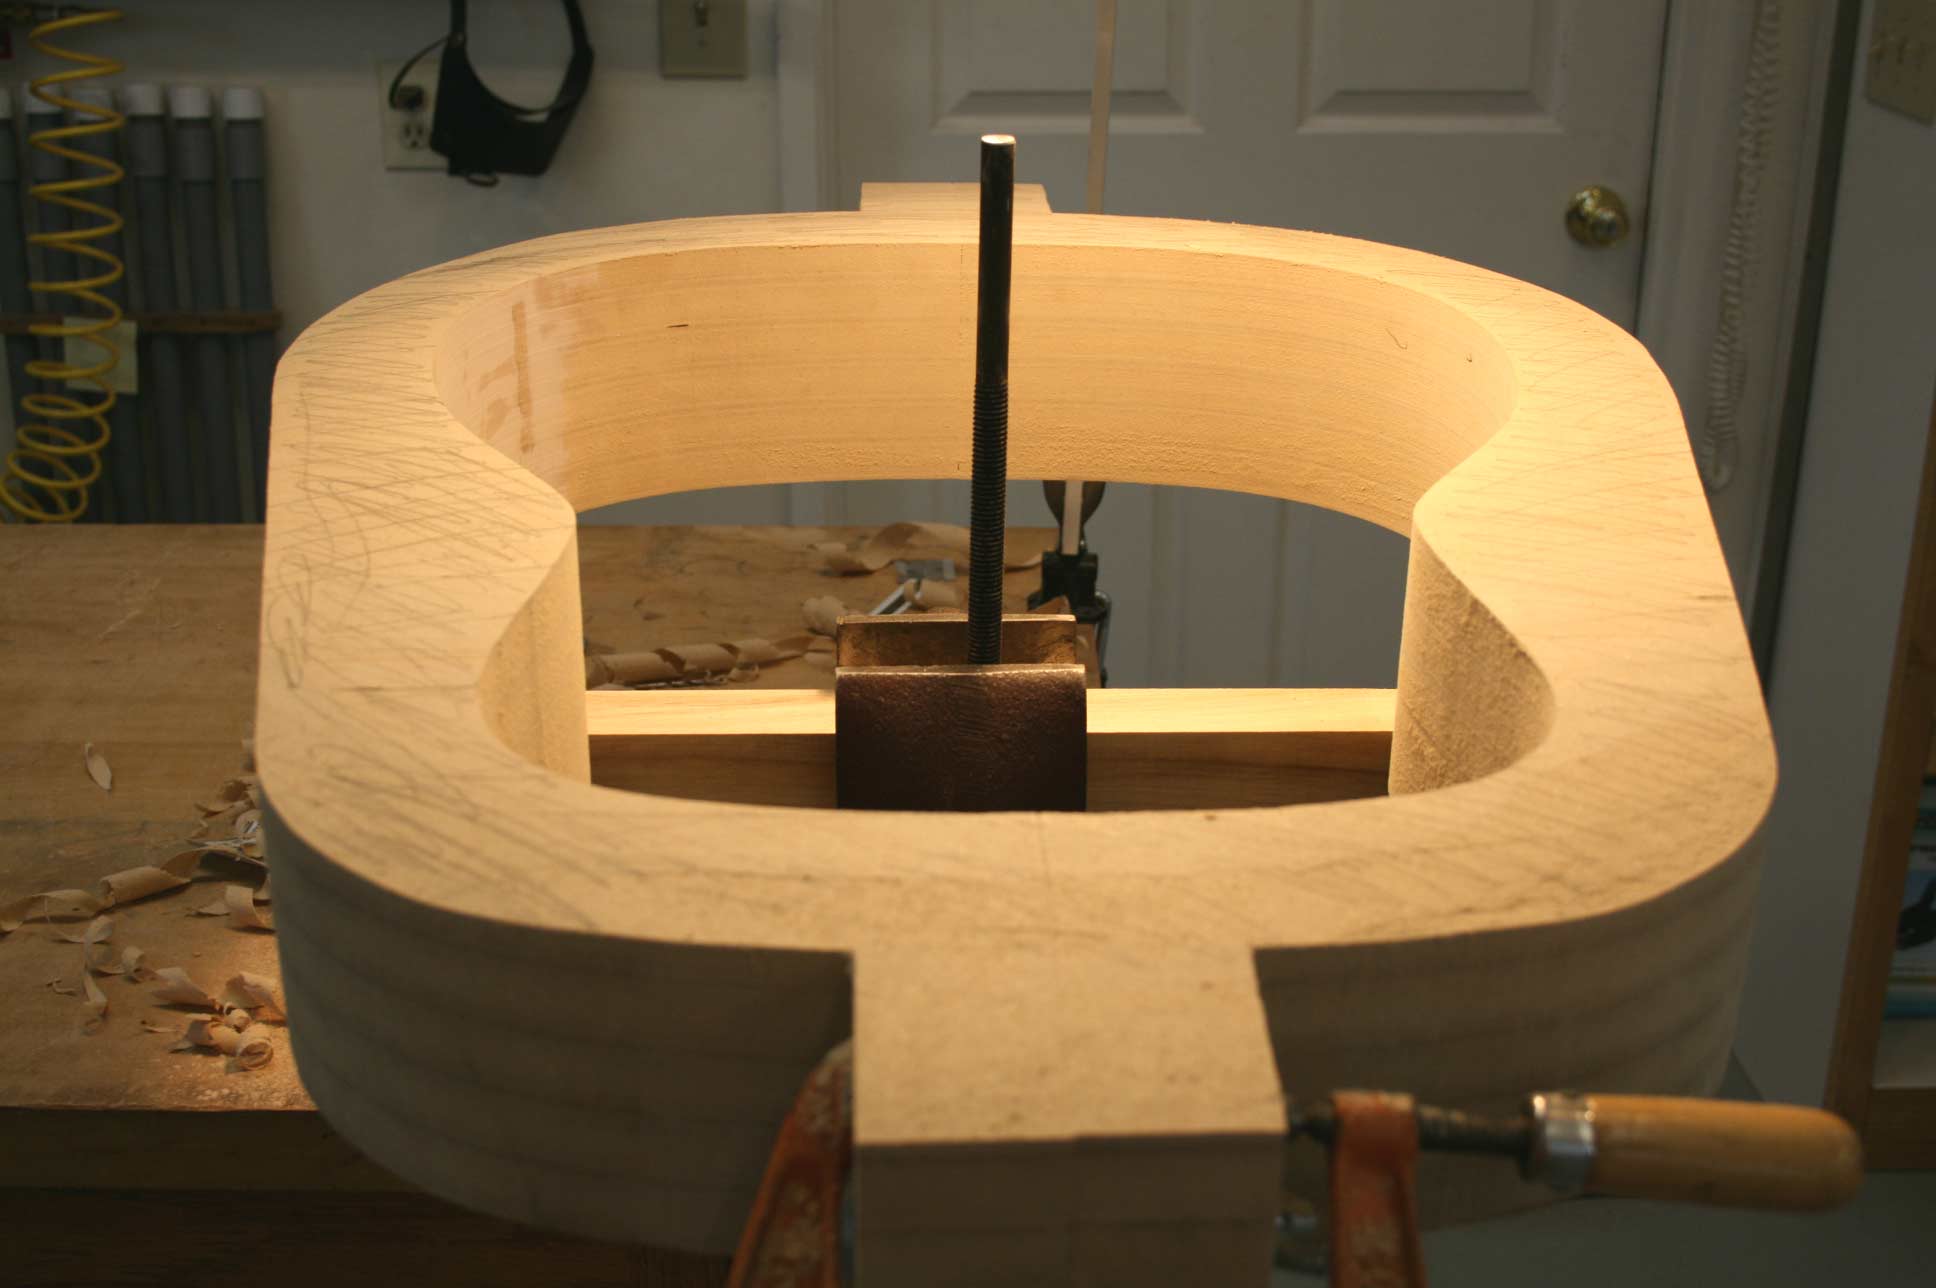
(Step 13) Do much the same as the other side using a block plane and sandpaper to make an even conical shape to nearly the beginning of the taper. |
 |
(Step 12) |
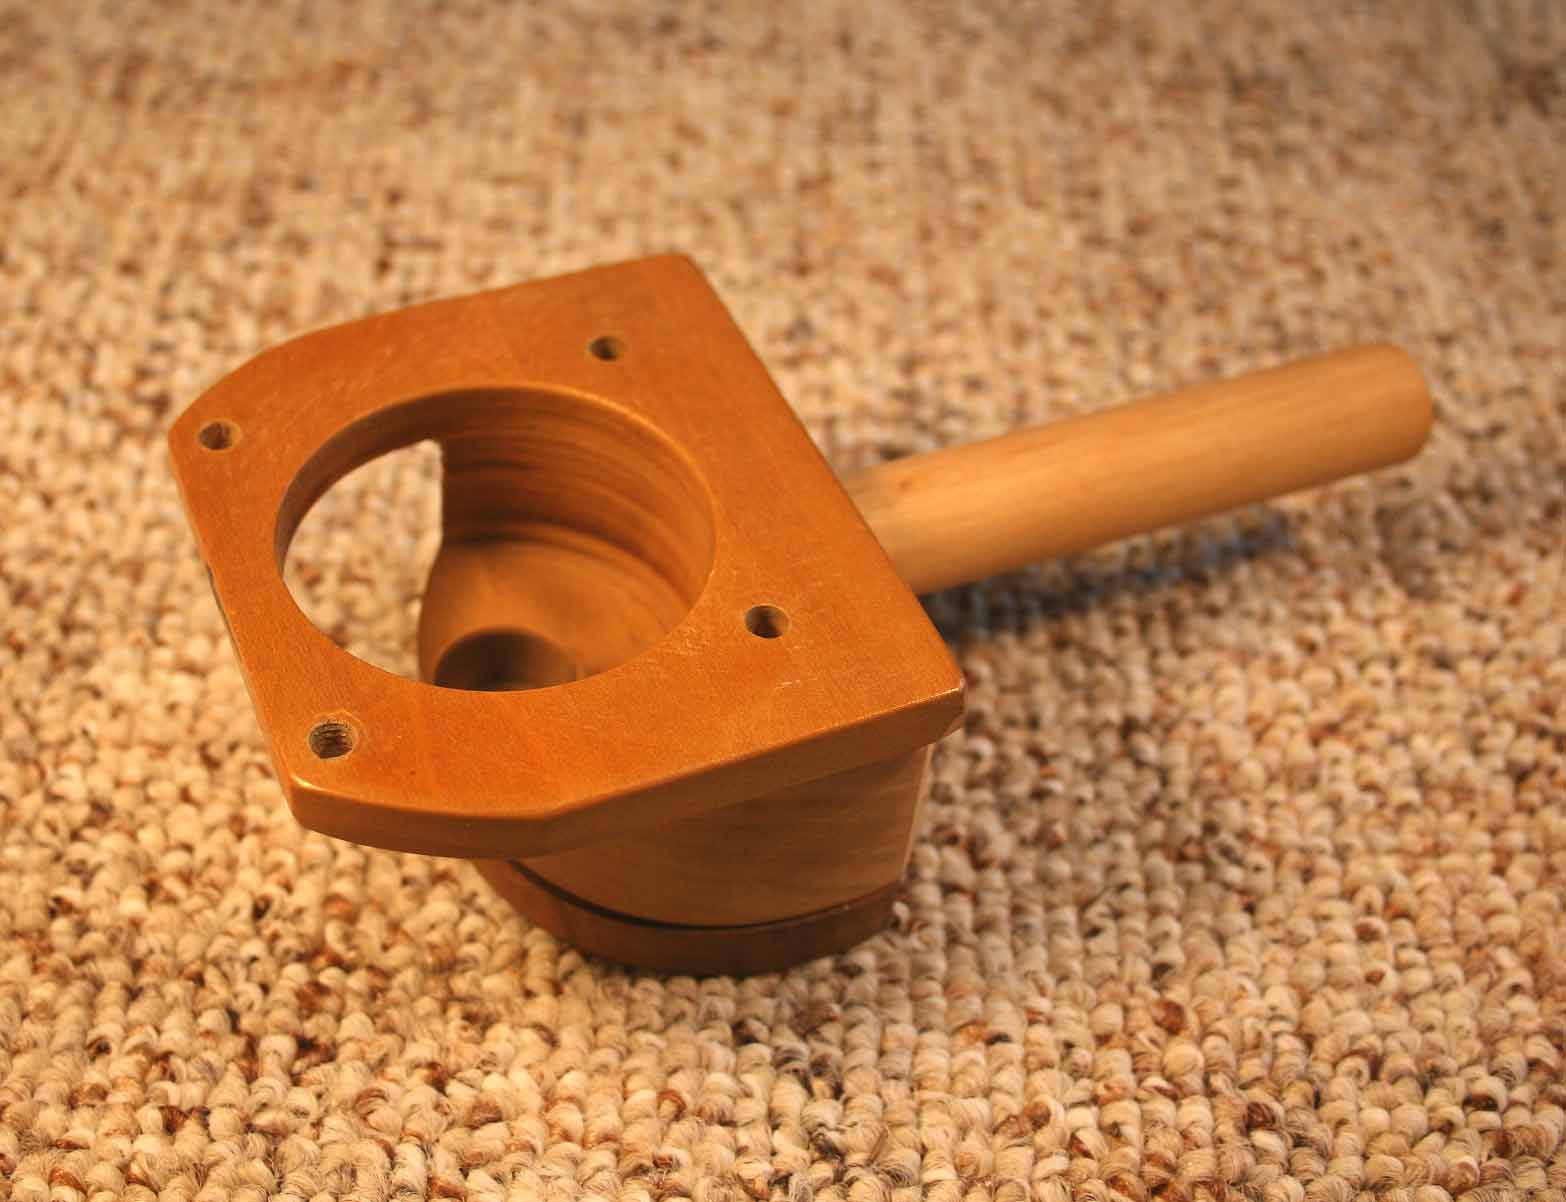 |
Here is that little trimmer base. Here's a view of the top. Click on the thumbnails for a large photo. |
 |
This is the top/front. |
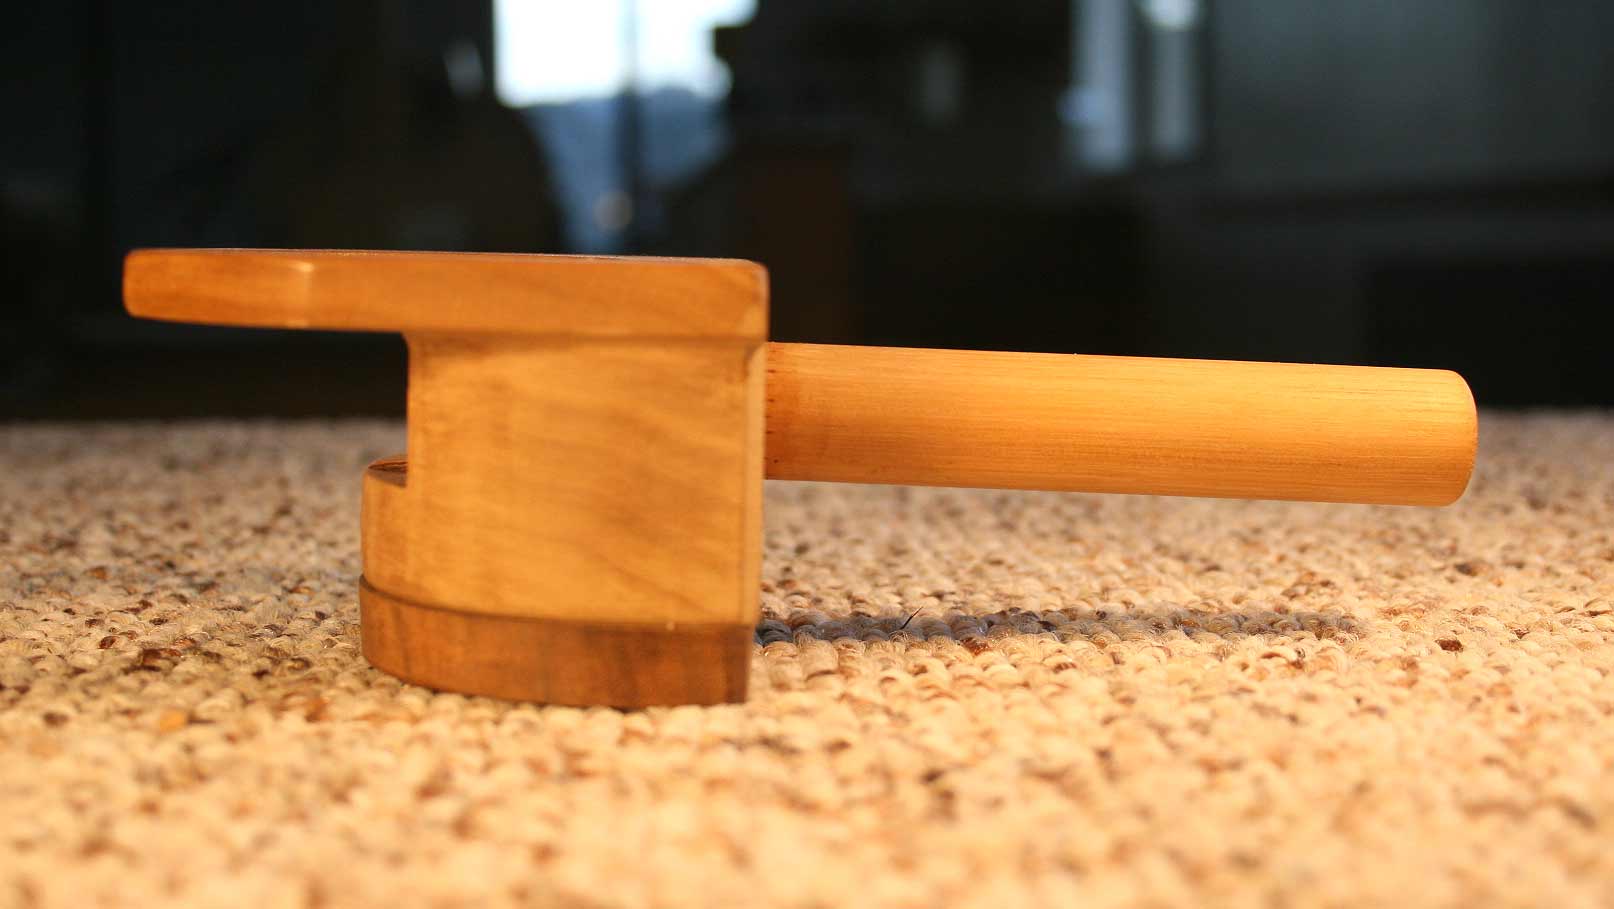 |
Side view (it's a strange little shape, isn't it?) |
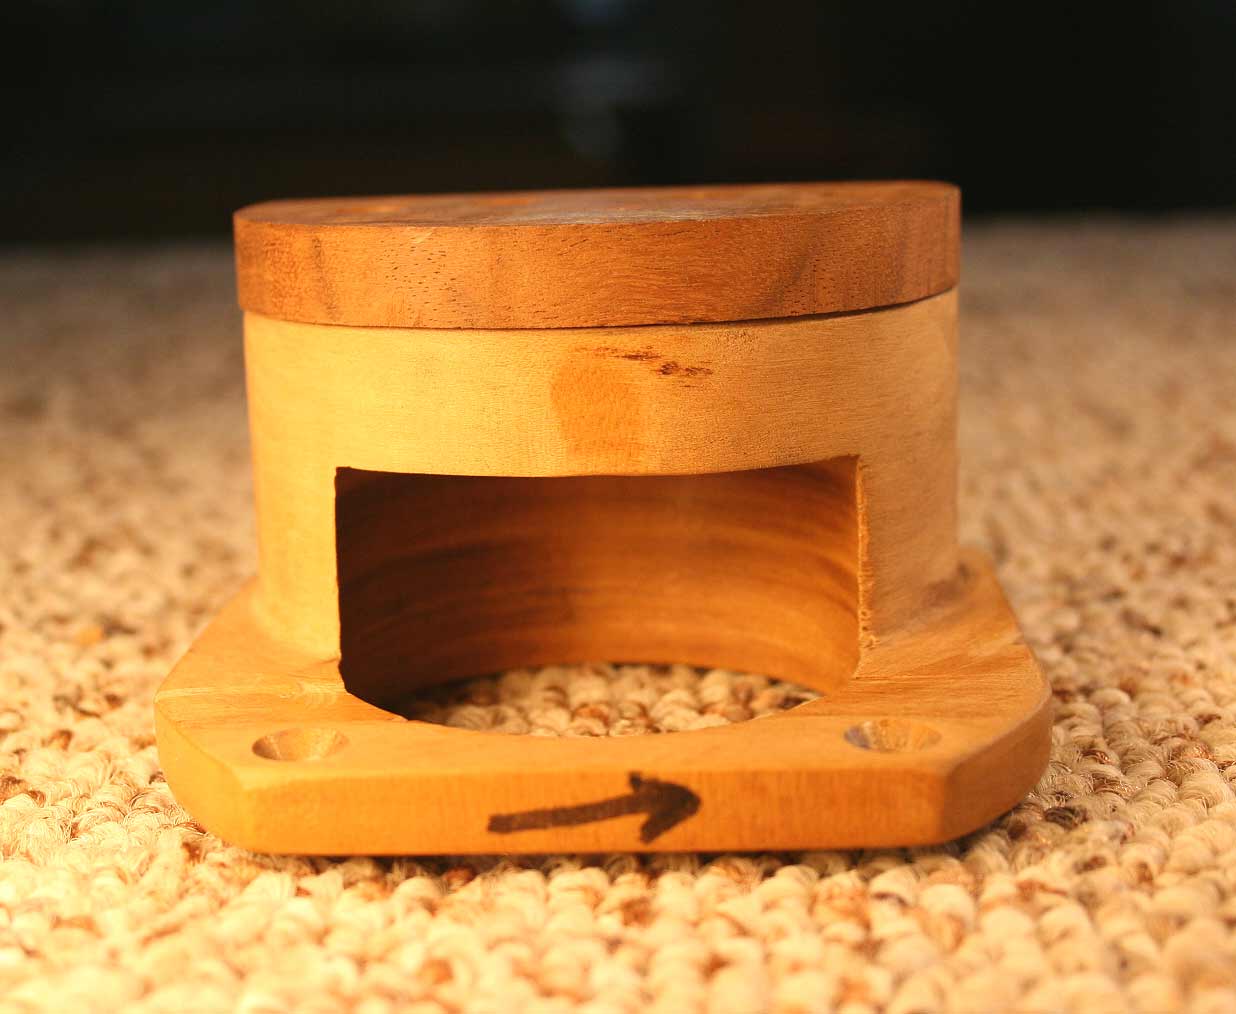 |
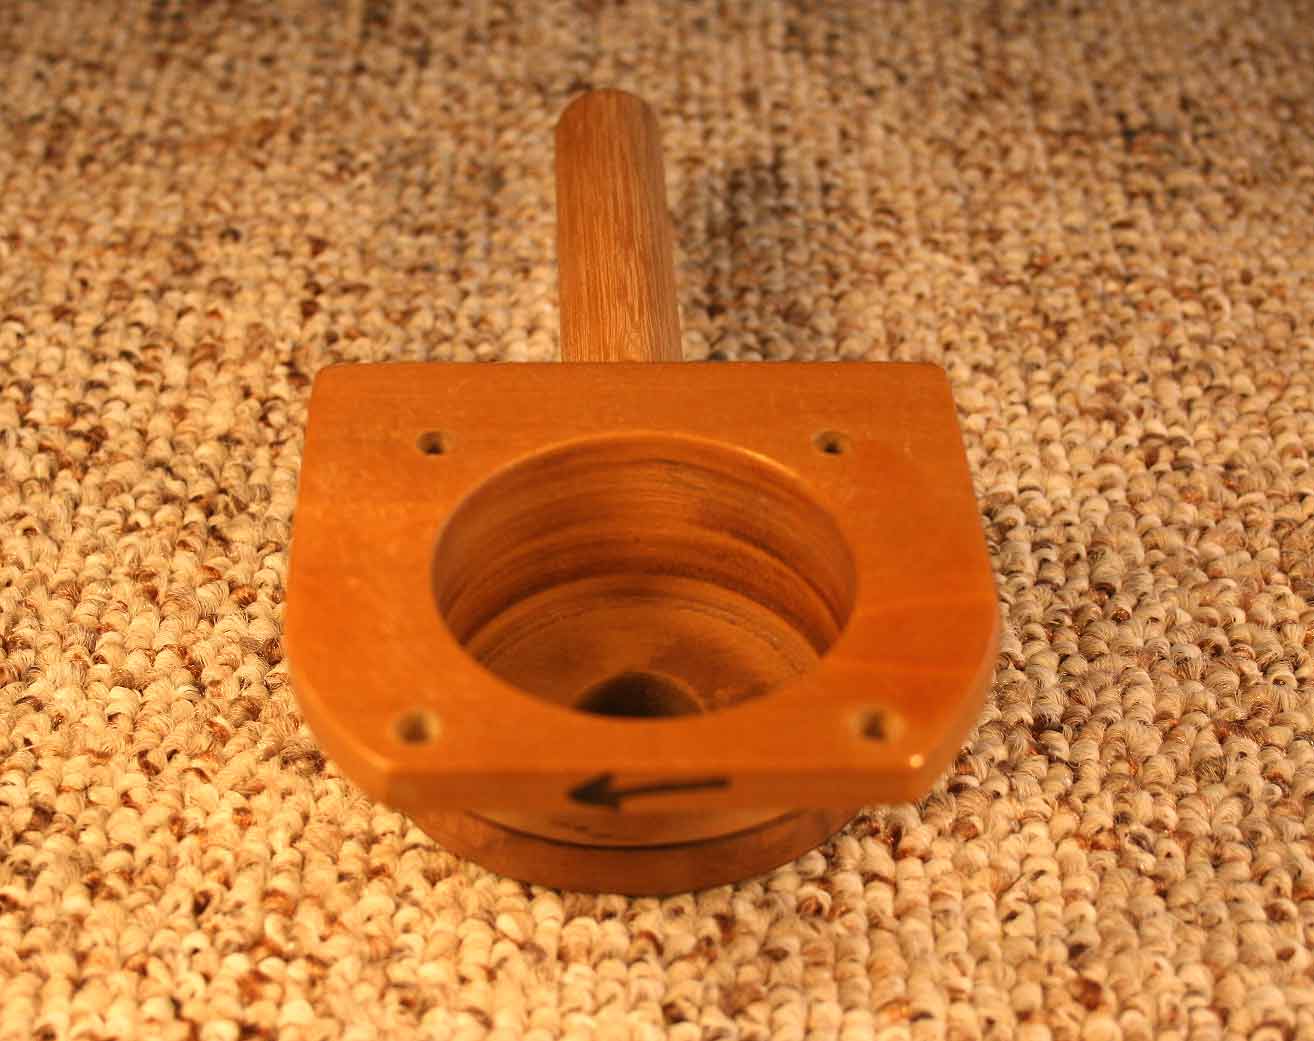
Upside down front view (notice the direction arrow) |
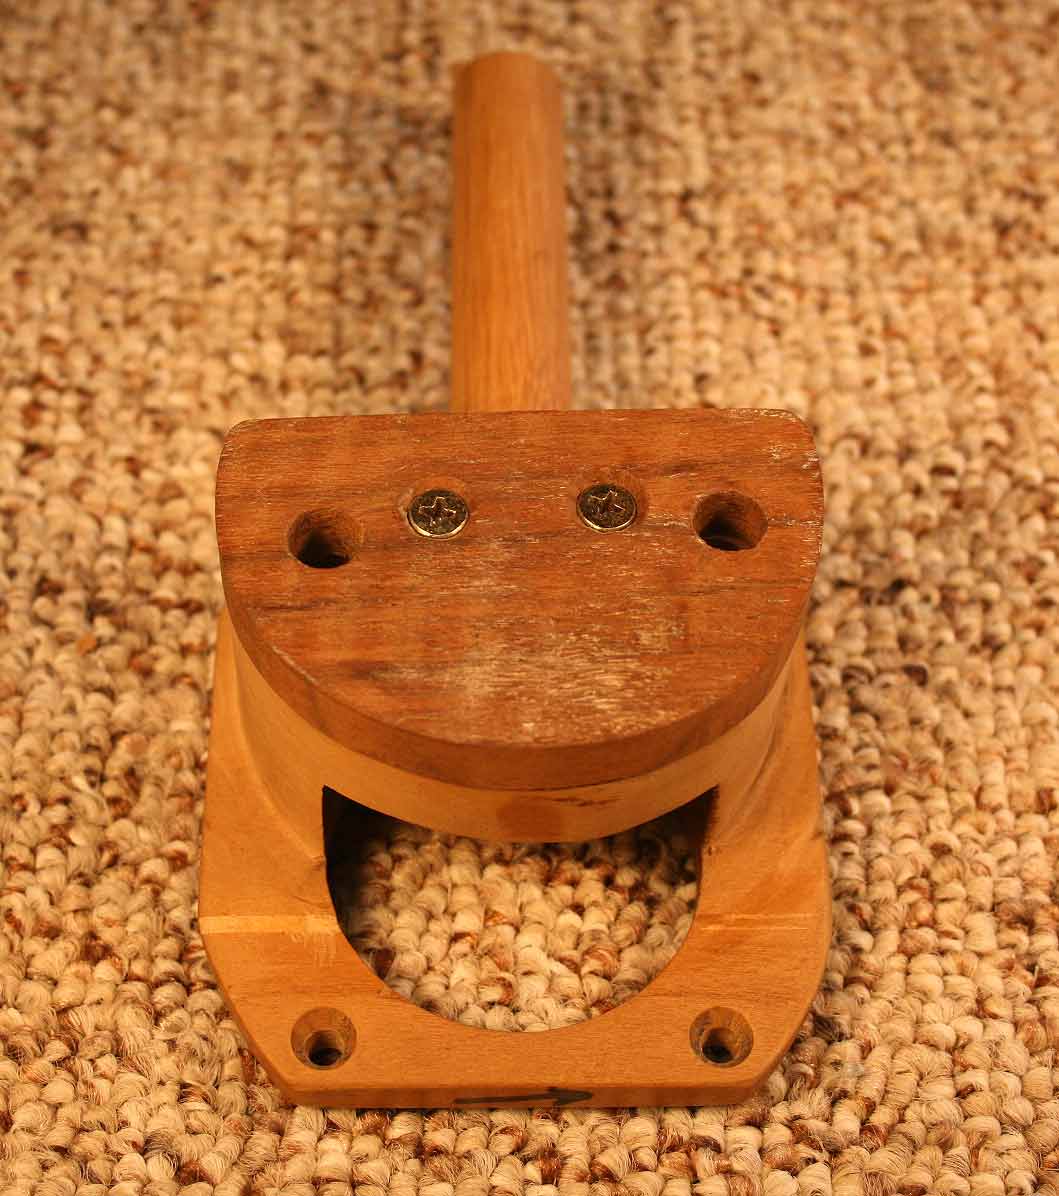 |
Upside down bottom. I made a 3/8" thick shoe for extra lift in some conditions. Notice the access holes for the base mounting screws. |
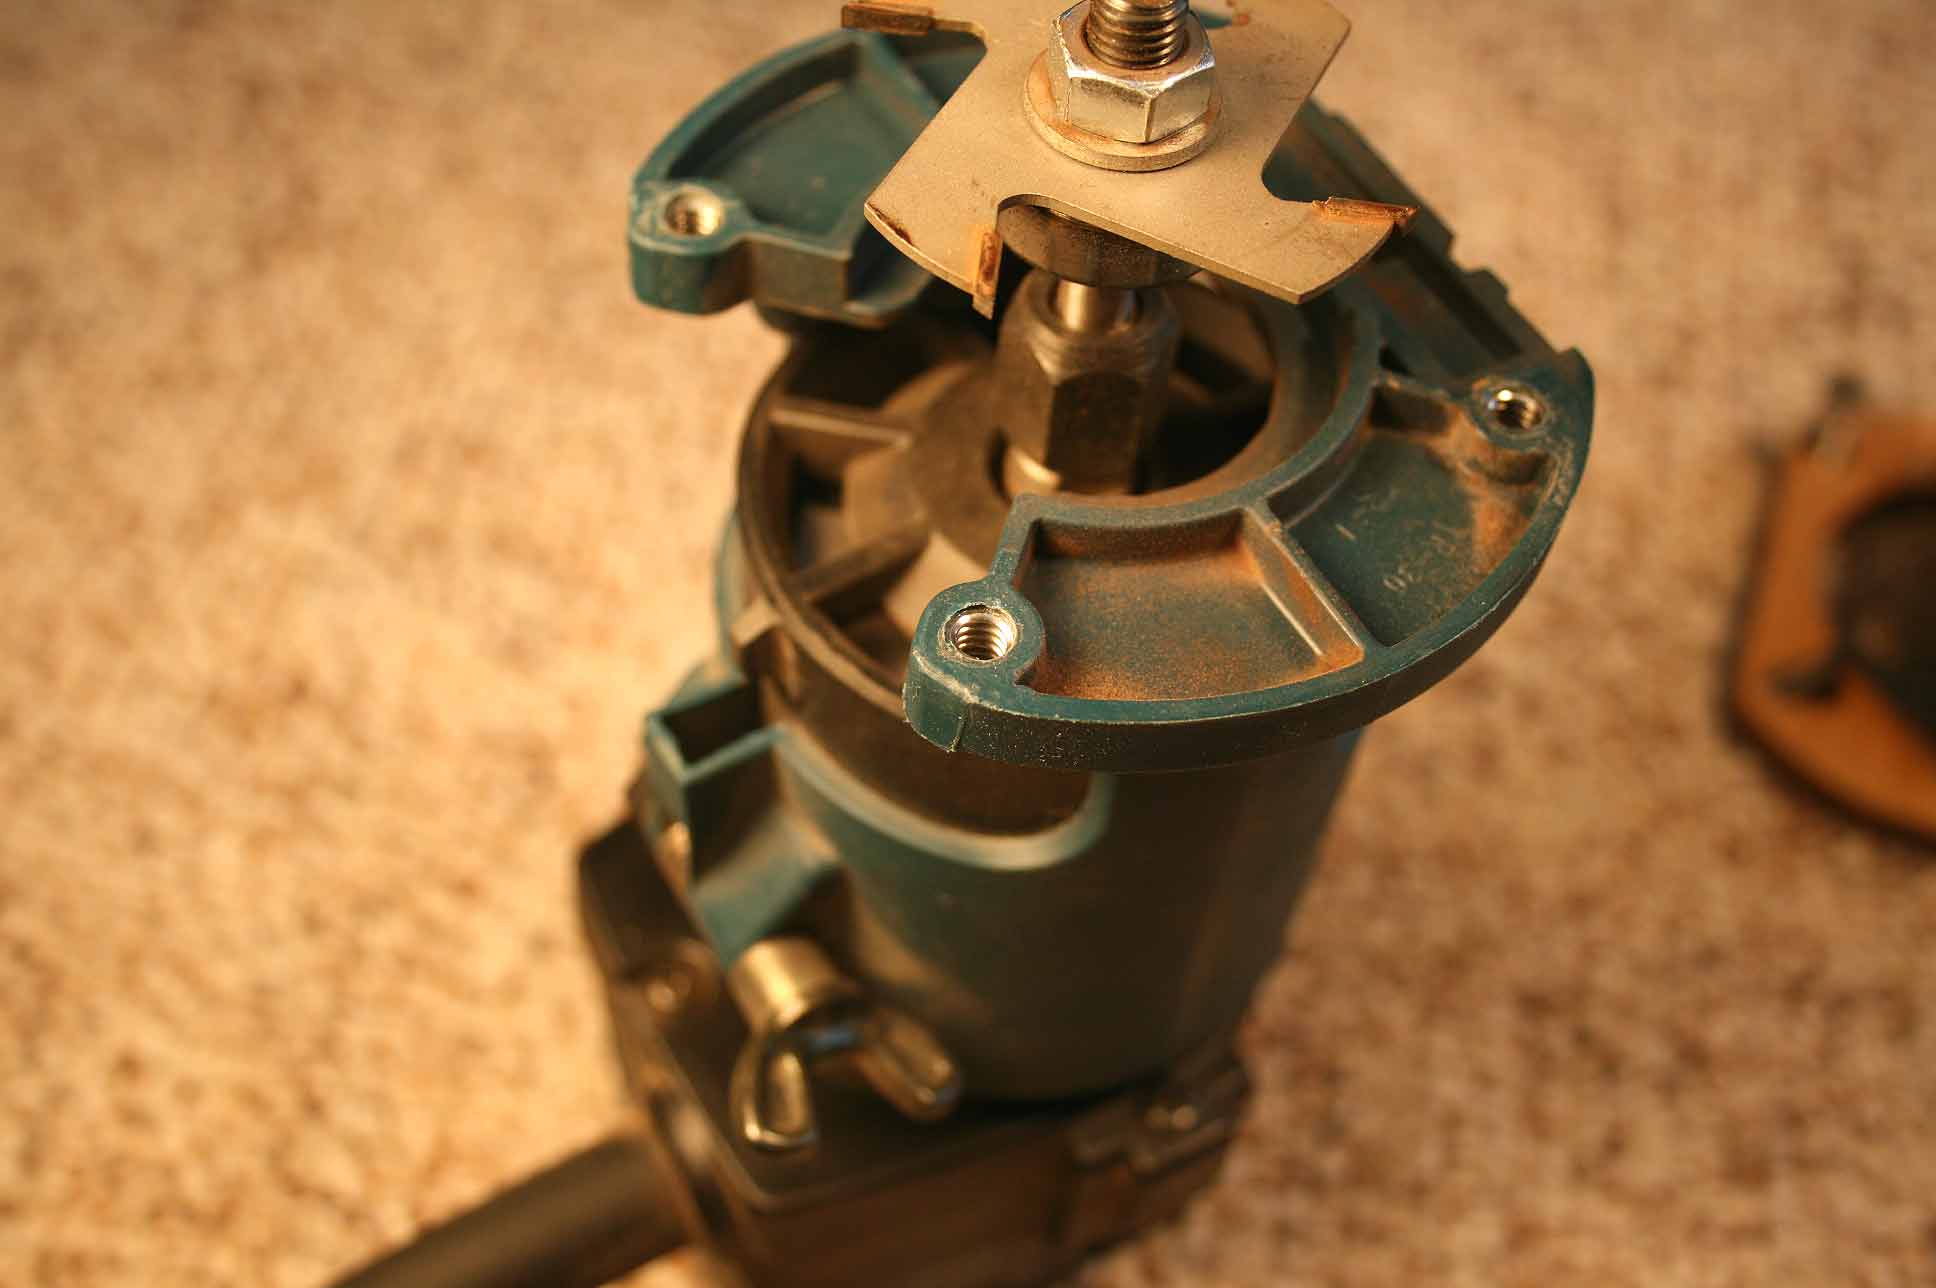 |
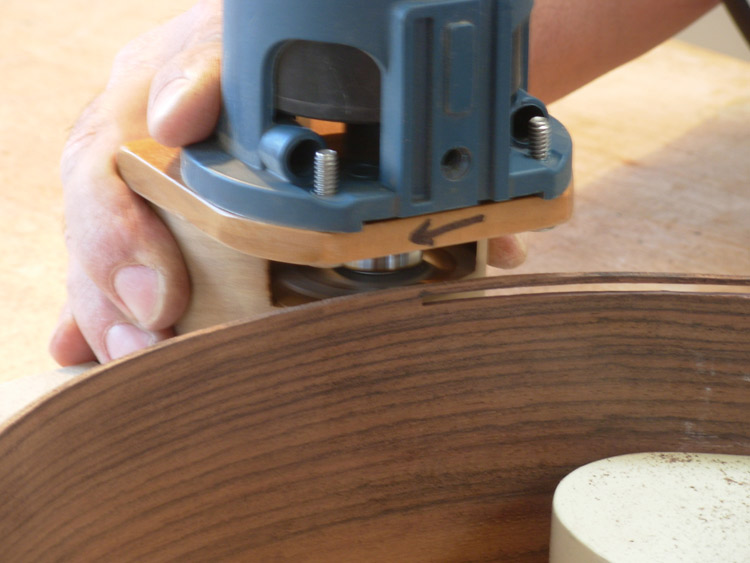
Do yourself a favor and buy a #10-24 Helicoil kit and put a decent, respectable tapped hole in your routers and trimmers. Works fine in plastic or aluminum. The same Allen wrench will work for all your tools. This is a partial shot of the slot cutter router bit too. |
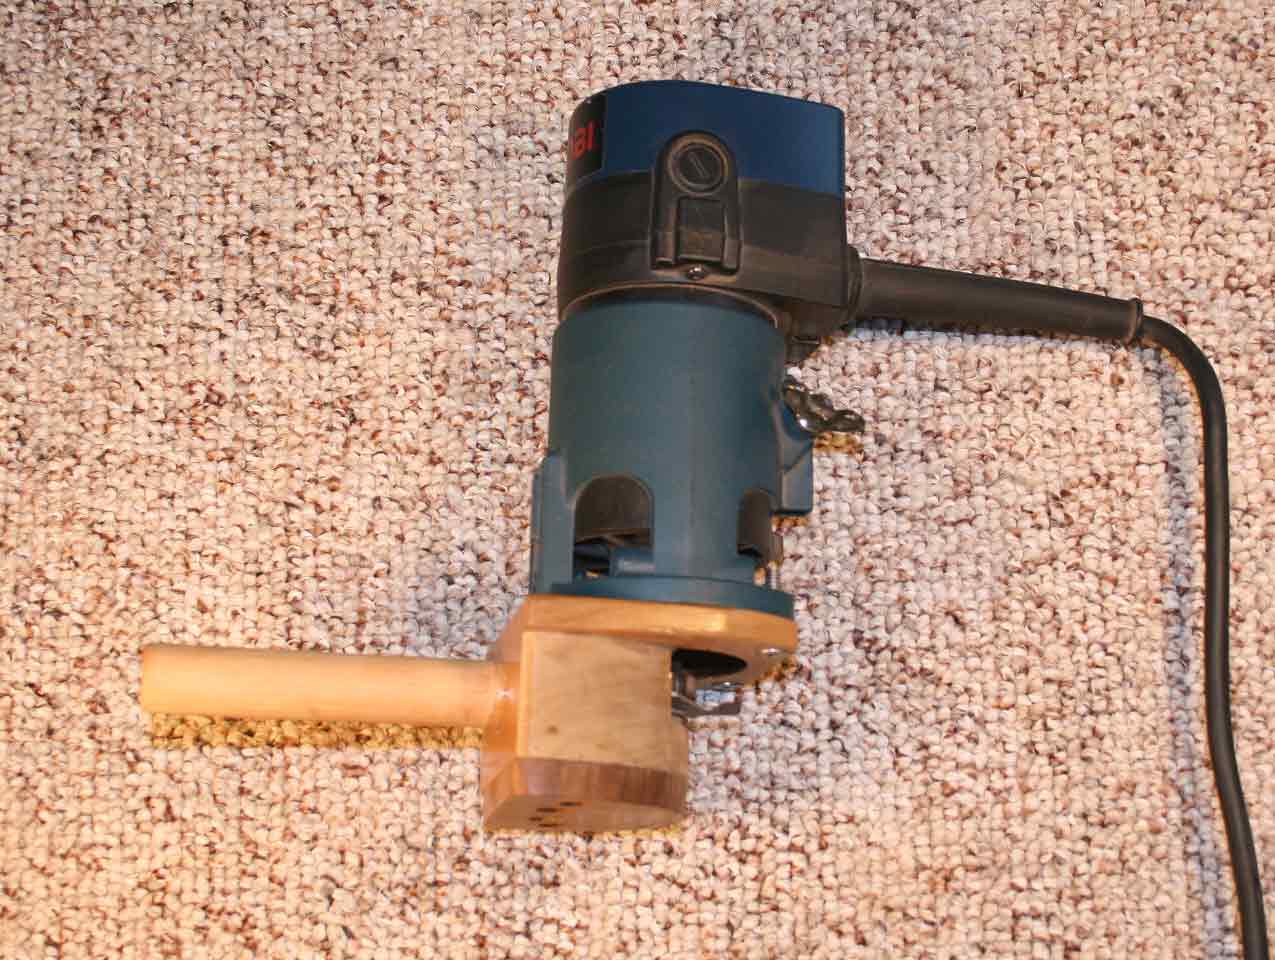 |
The trimmer is attached. |
 |
Take your time, keep your hands away from the slot cutter and go the correct direction. |
 |
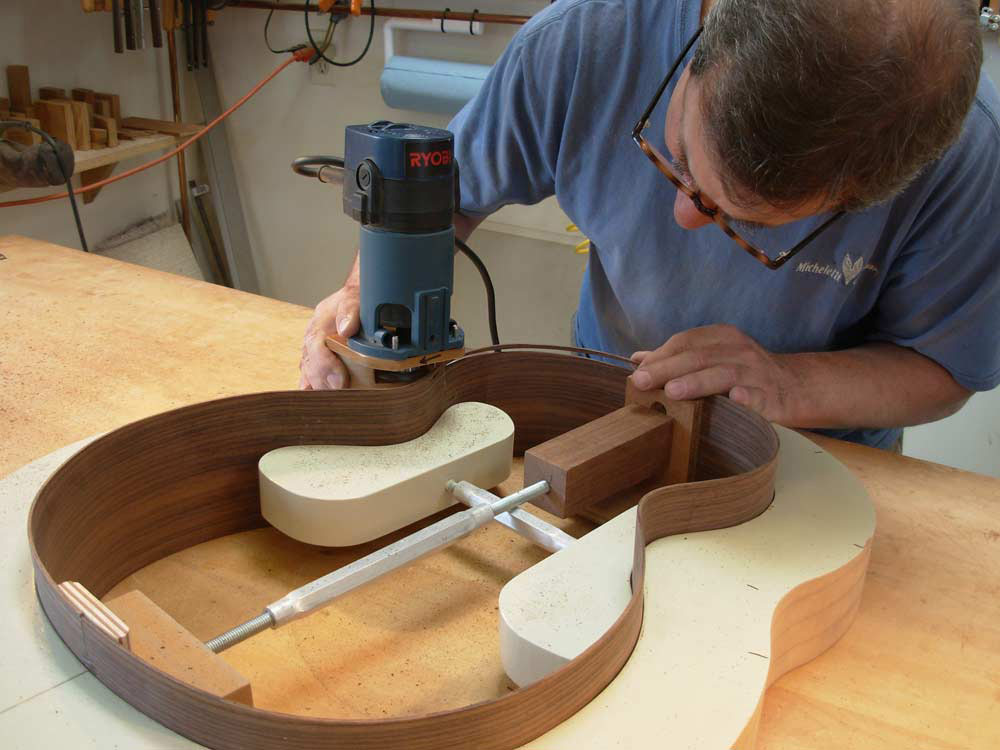
Close-up trimming |
 |
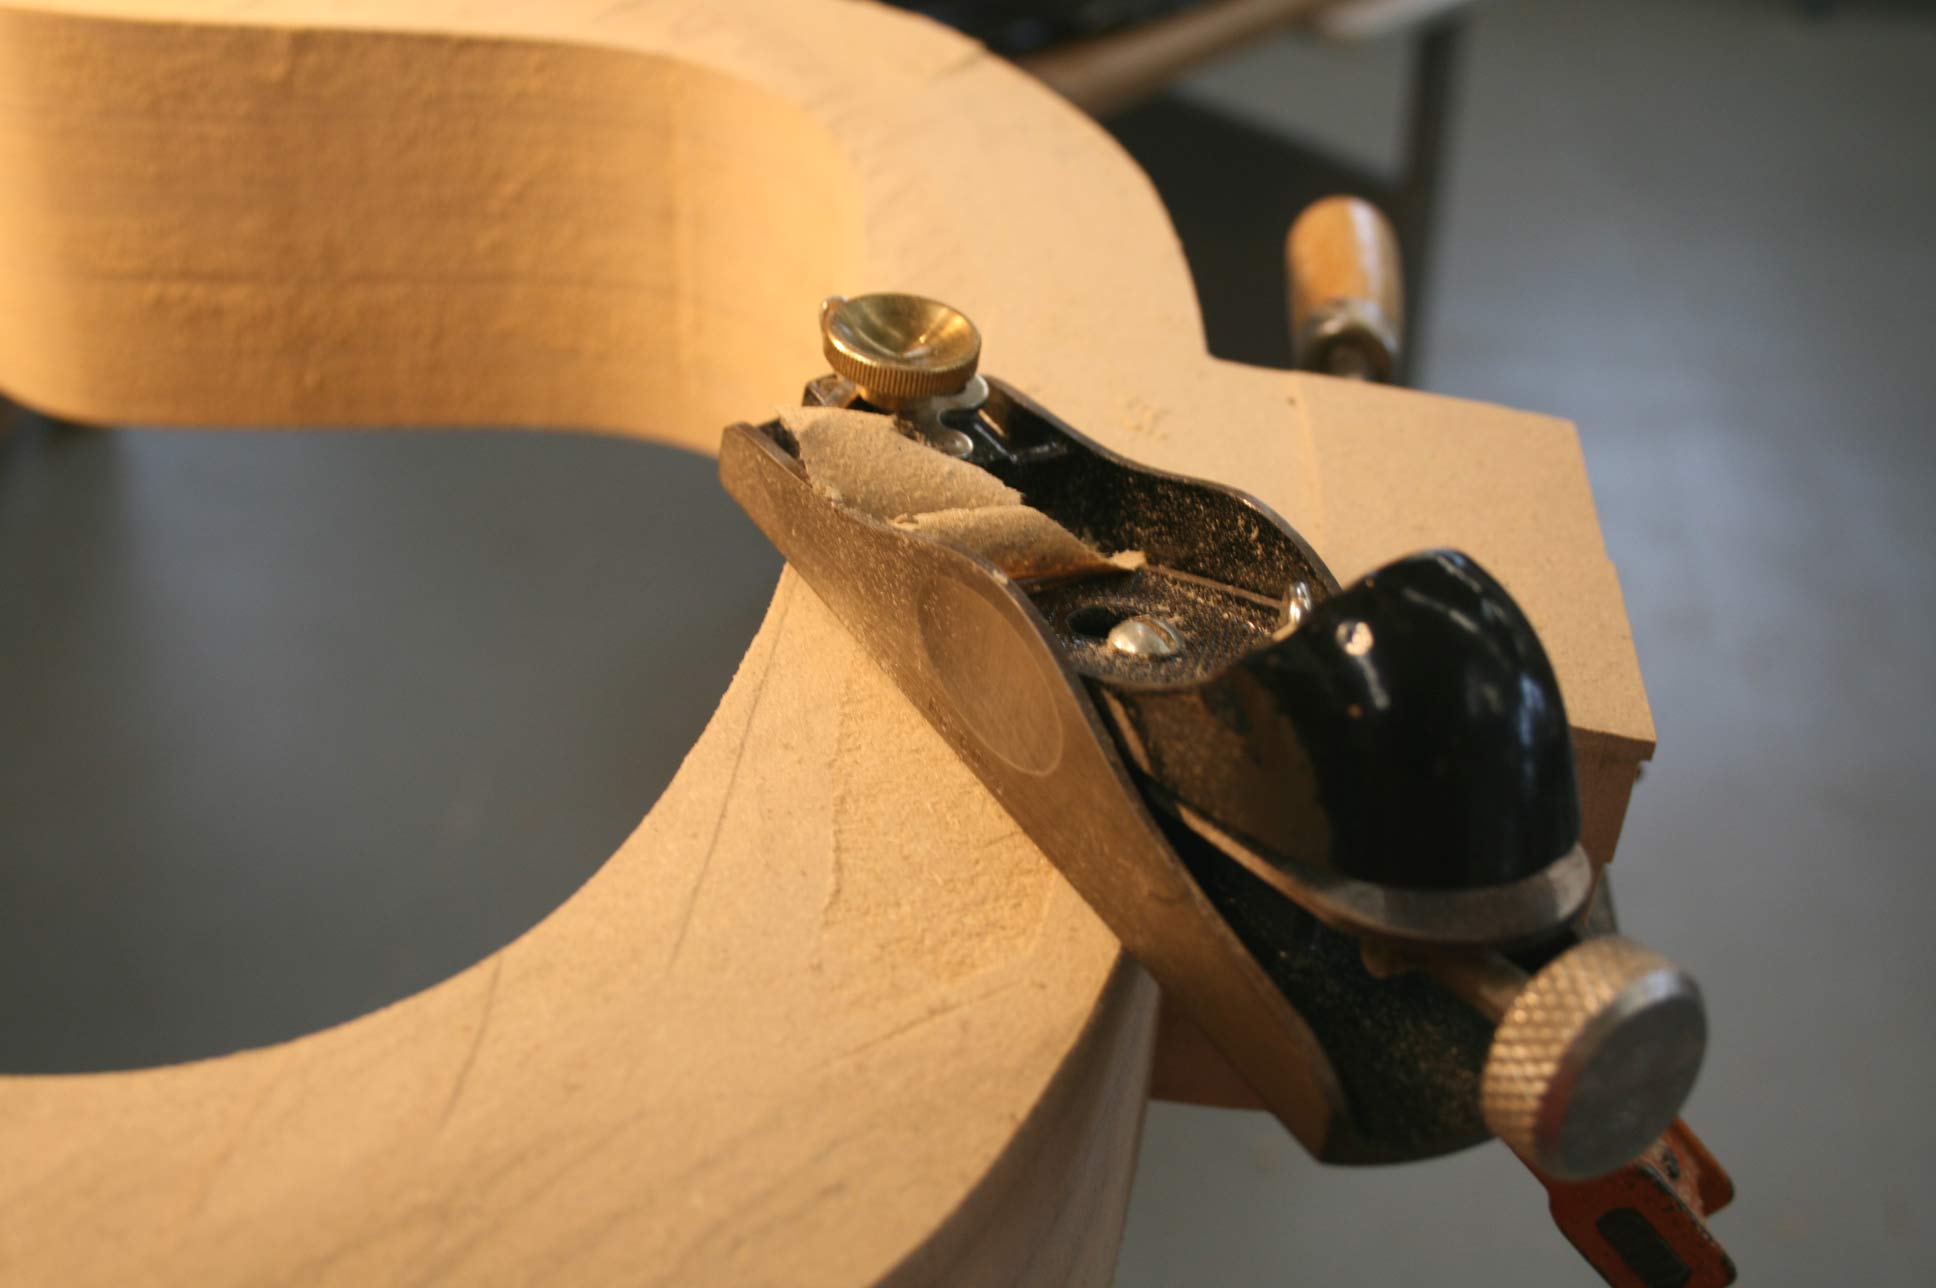
And you'll end up with beautifully shaped sides tapering toward the neck and the correct height to accept a domed back. Glue the linings on and level using the 15' radius hollow form with 80 grit sandpaper glued on. |
 |
On the top side, the trimmer will follow the 30' radius on the body and the 2 degree taper on the neck end. The neck block should be tapered to match the sides. Since I use a bolt-on neck, the upper block is pretty long and tapers nearly 1/8" in length. A block plane gets it close very quickly. |
 |
Then, take your straight 2x4 with 80 grit sandpaper glued on and make the block level to the sides. Some masking tape prevents removing material from the sides. After the lining is glued on, level this area with the 2x4 with the tape removed. Level the lower body with the 30' radius 2x4. |
 |
Shown here are the tools for making a hollow form. It's pretty simple stuff once you have the radius laid out on the sides. This is a side view with the router sled resting on the box. |
 |
Here's a top view. The sled should be free to slide back and forth on the sides of the box without binding. |
 |
A front view. |
 |
You may be able to see the angle the neck will take by sighting along the plane of the guitar top and the finishing handle. |