|
|
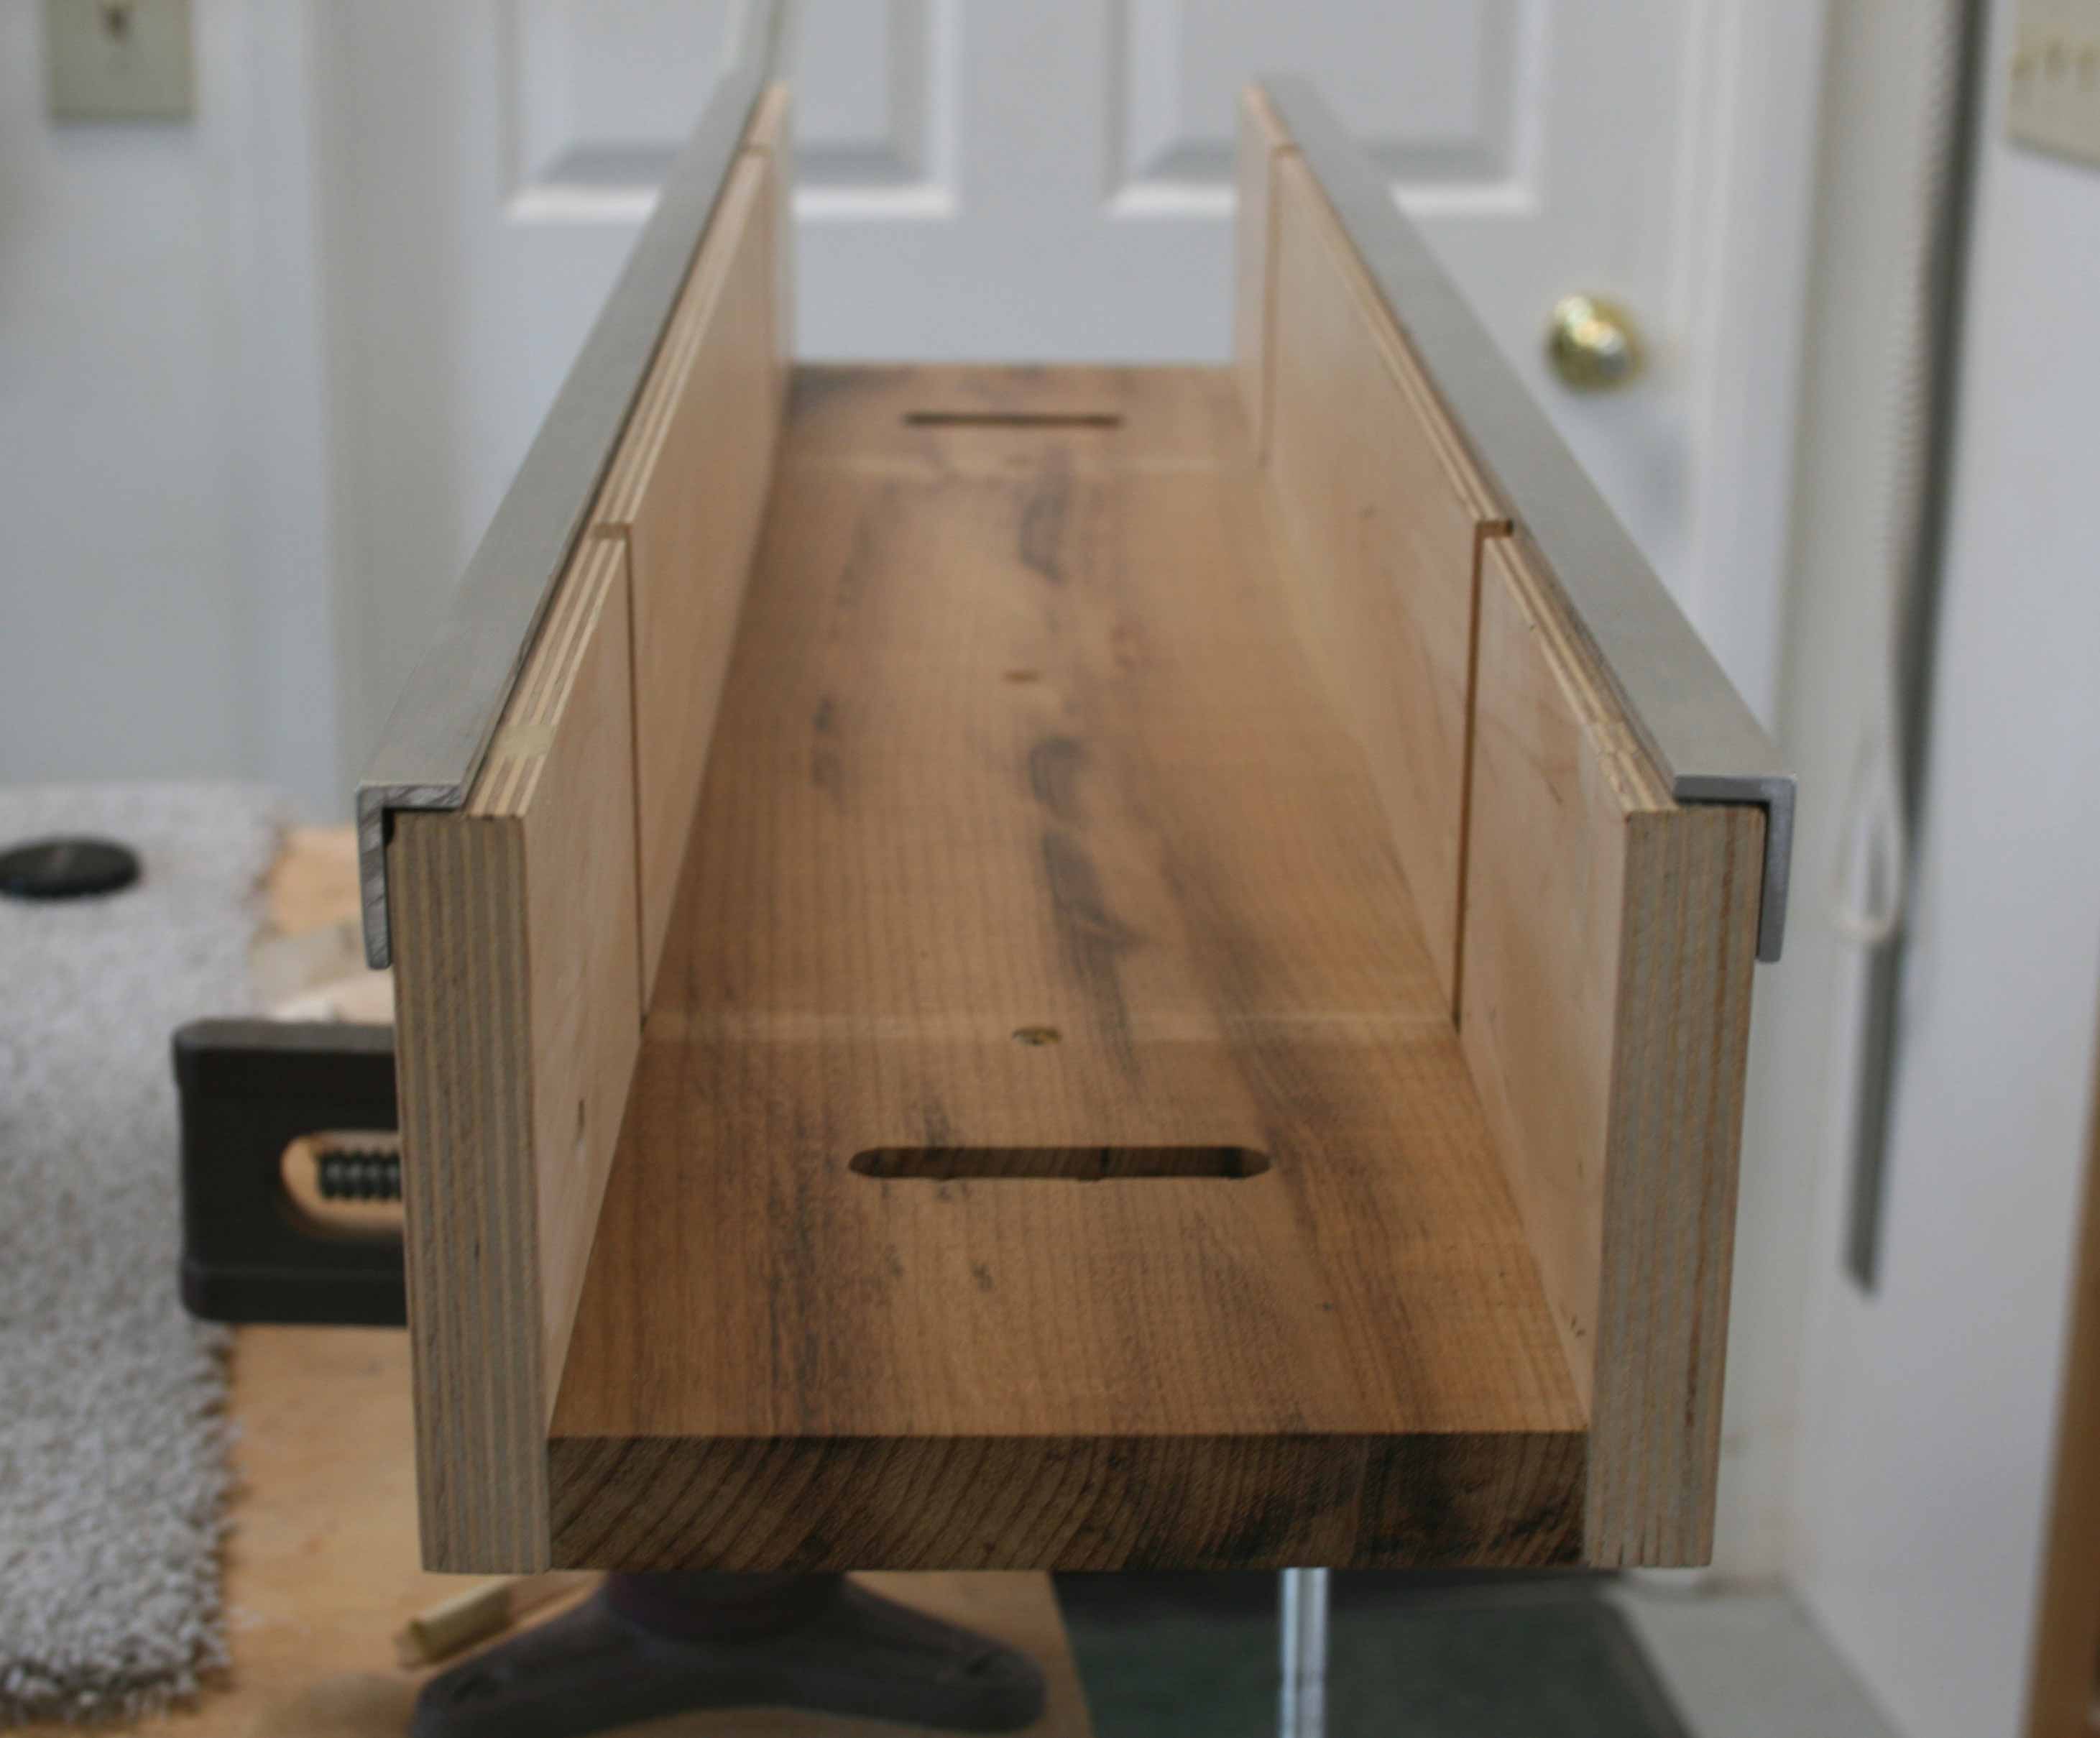
Step 1: Make the 3-sided box. Follow the drawings on sheet 2 to make the bottom and sides. Make the bottom slots by drilling 1/2" diameter holes on each end and cutting out the middle. This is a clearance slot for 1/4" carriage bolt. |
|
|
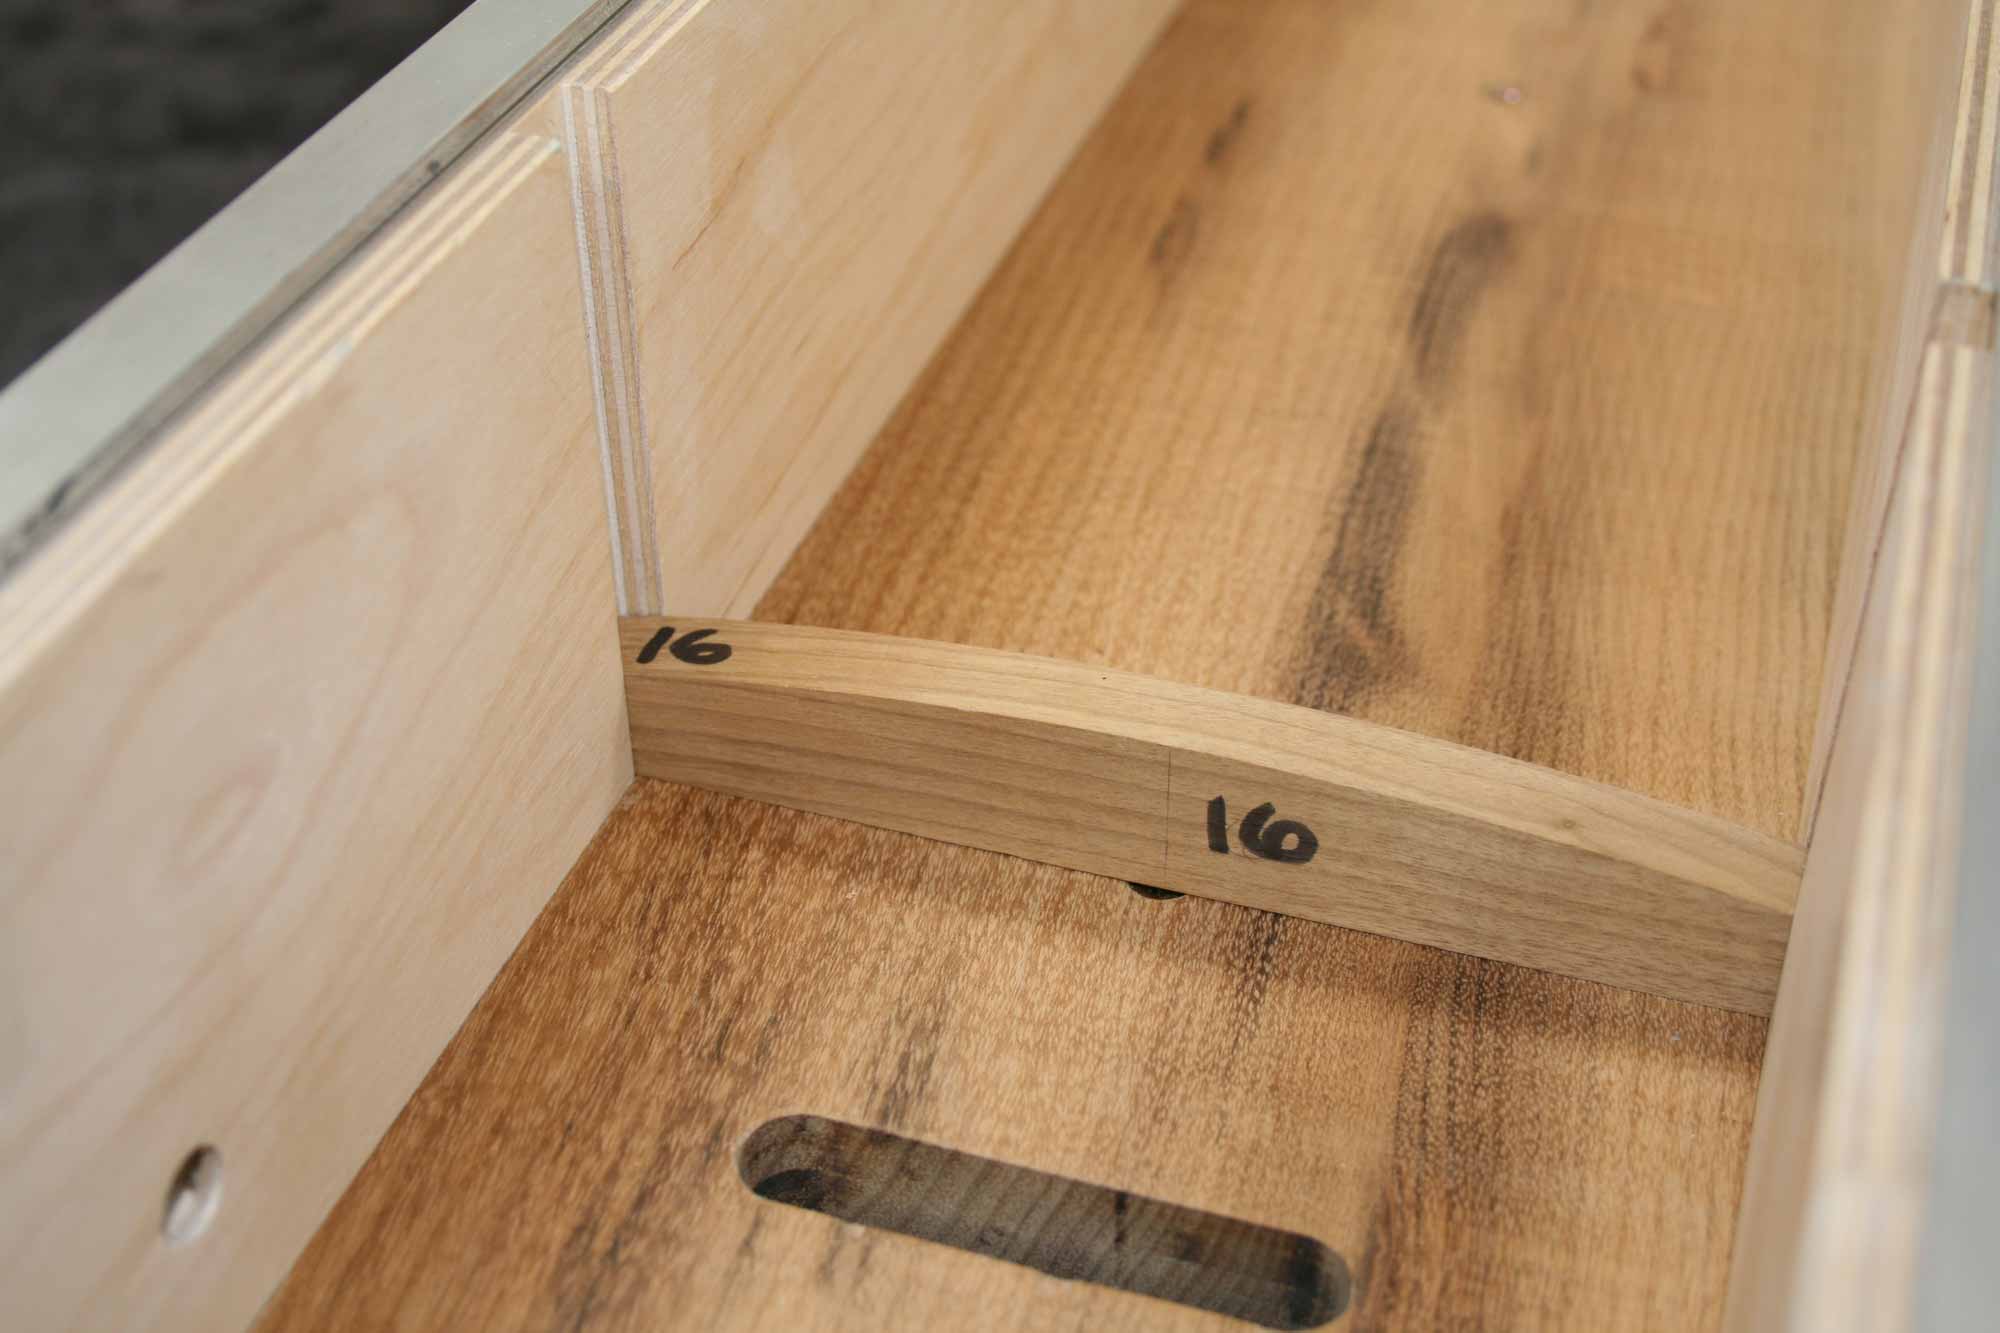
When making the sides, note that the dados face each other so the radius block can slip down to the bottom. Make the bottom brace and attach so the bottom part is very straight. |
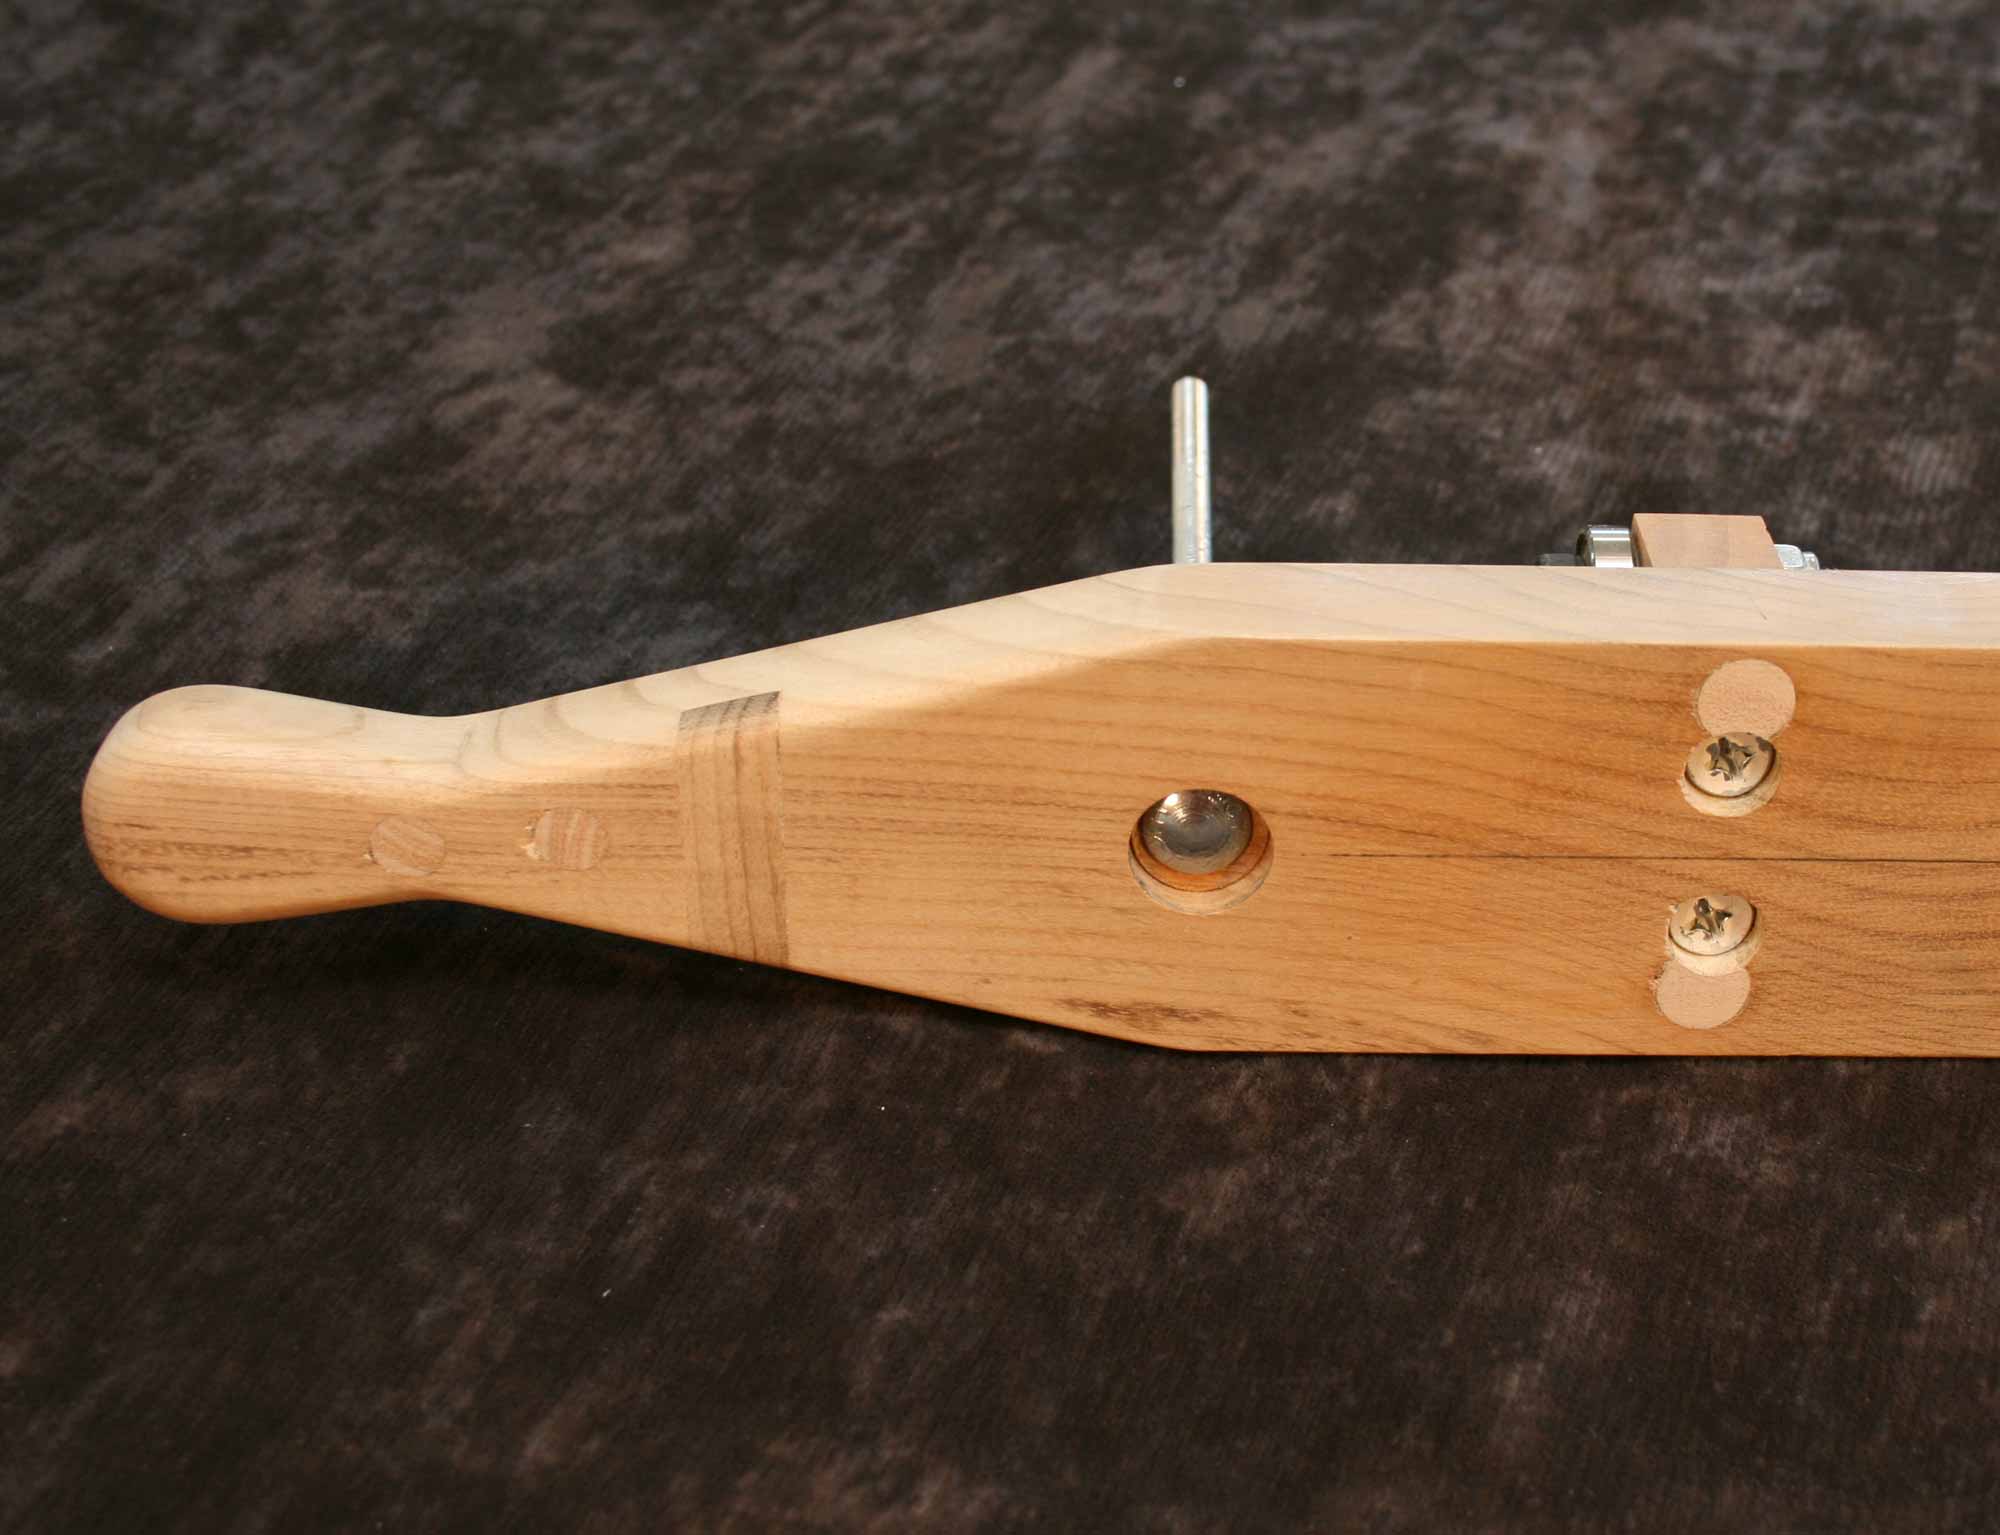 |
Step 2: Make the carriage. You can see by the photos that I did quite a bit of trial and error coming up with this fixture. Make the end shape any way that feels comfortable to you, it's not critical. |
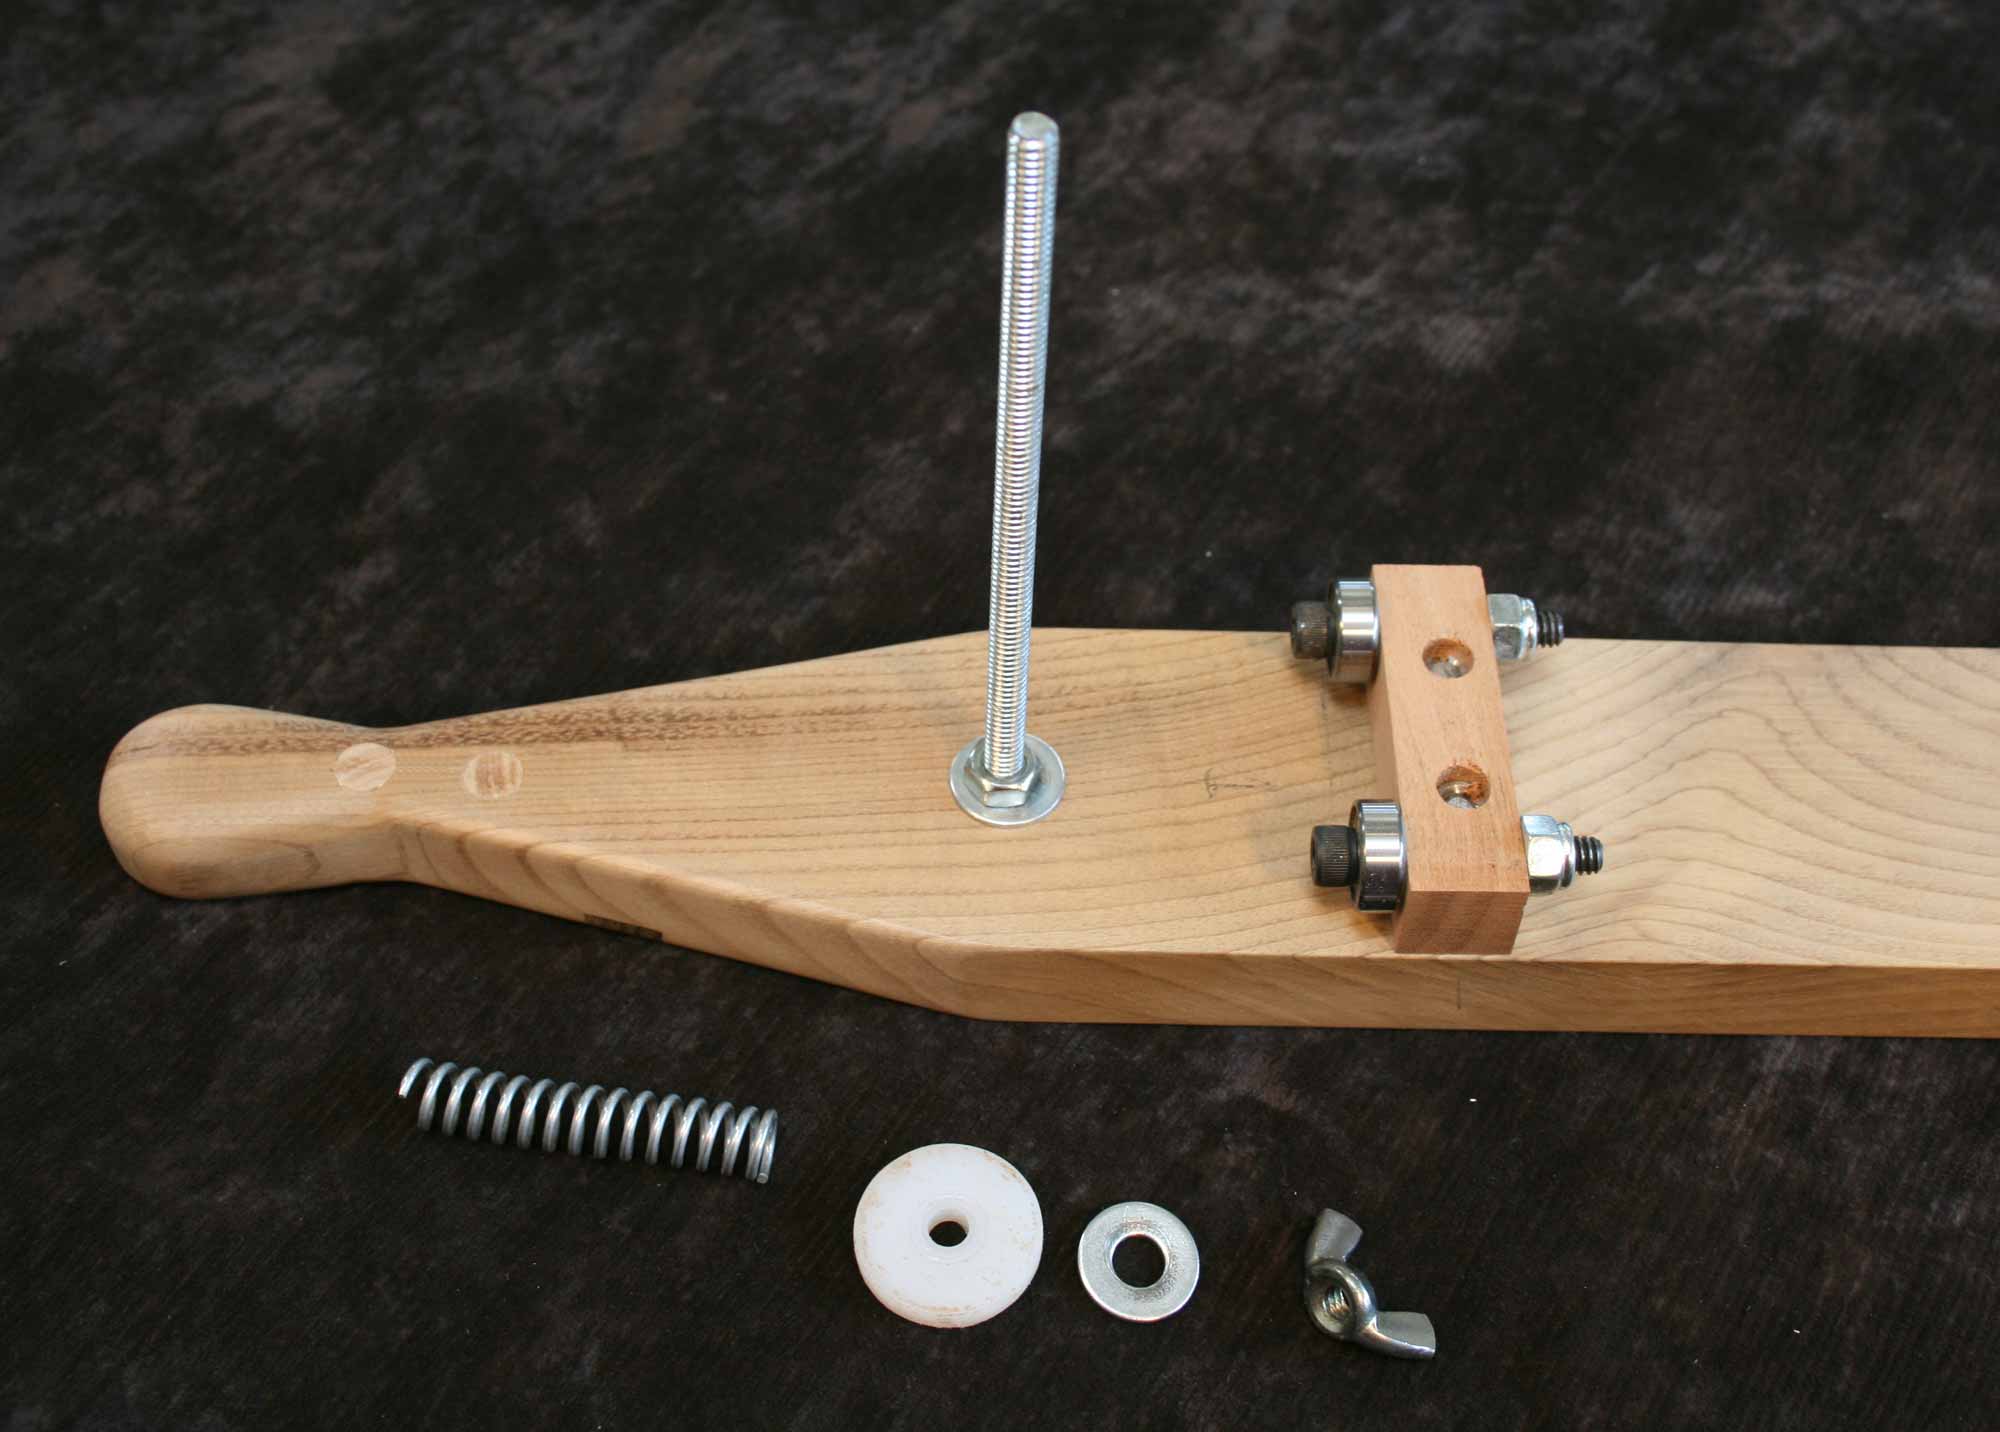 |
Make the wheel mounts as shown on the drawing and assemble the carriage. |
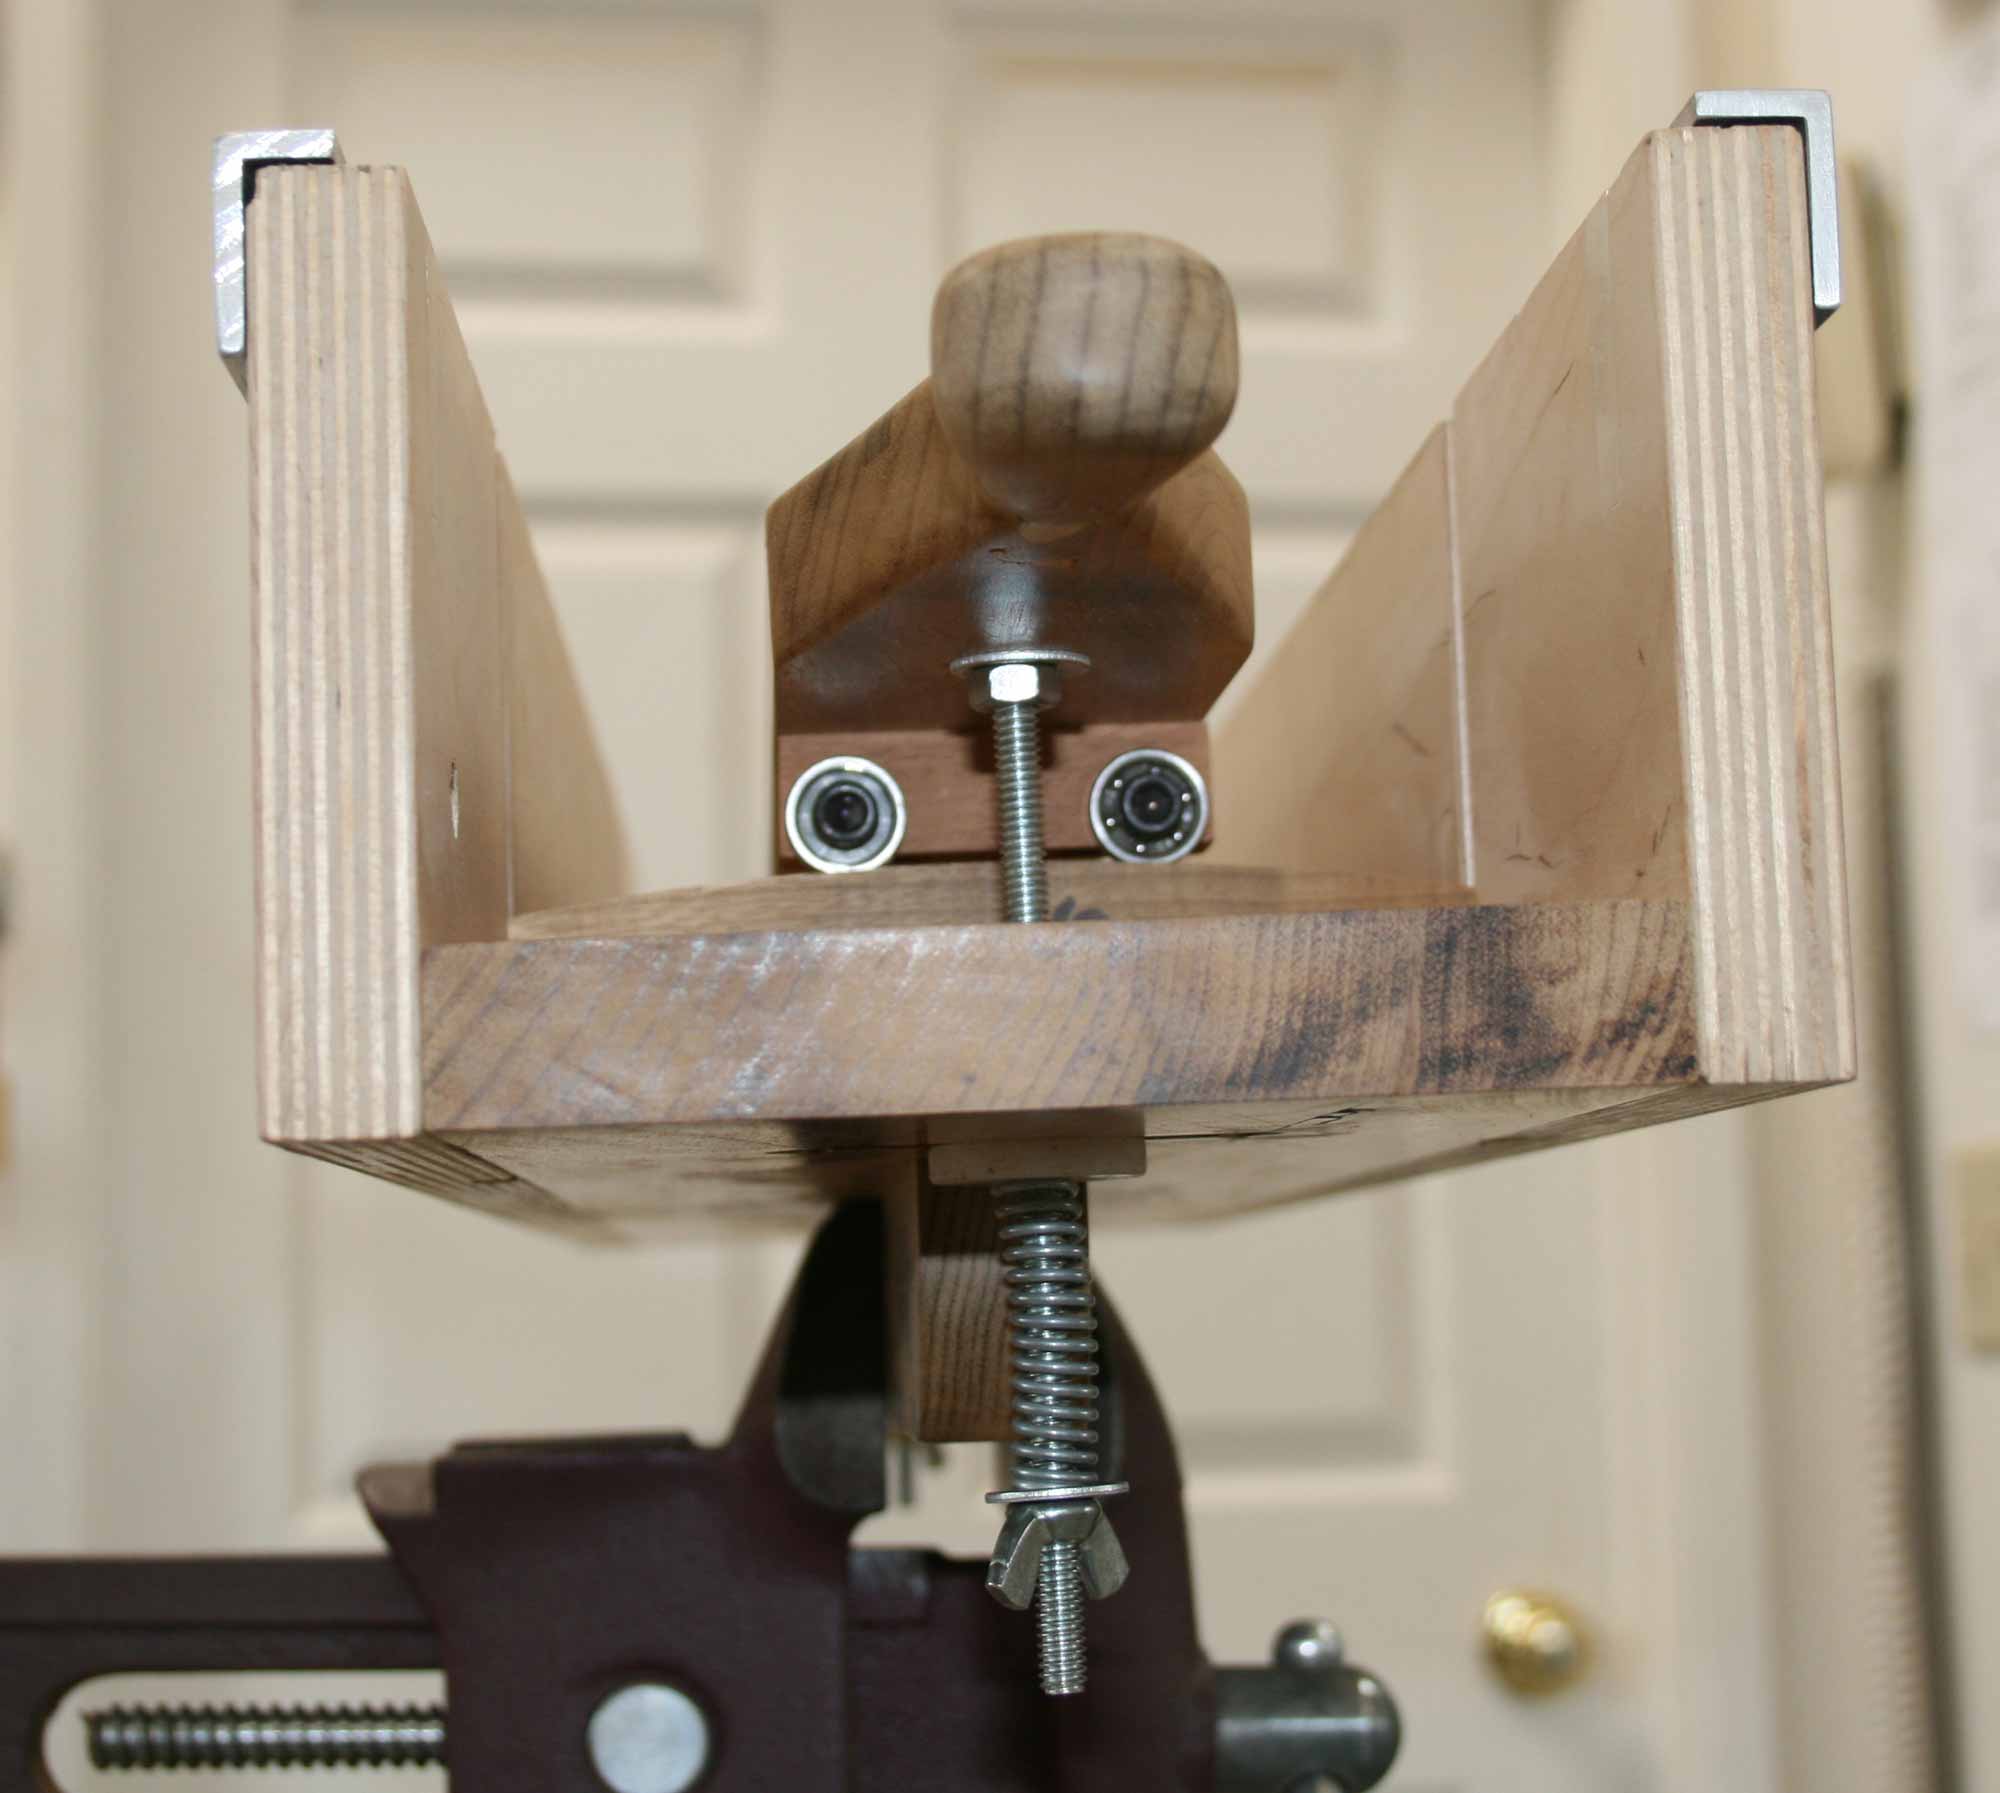 |
Slip the radius blocks in the box assembly and lower the carriage assembly down into the slots and fasten by placing the UHMW washer, spring, flat washer and wing nut as shown by the exploded view on the drawing. Adjust the tension so that the carriage moves easily but stays put when you release it. |
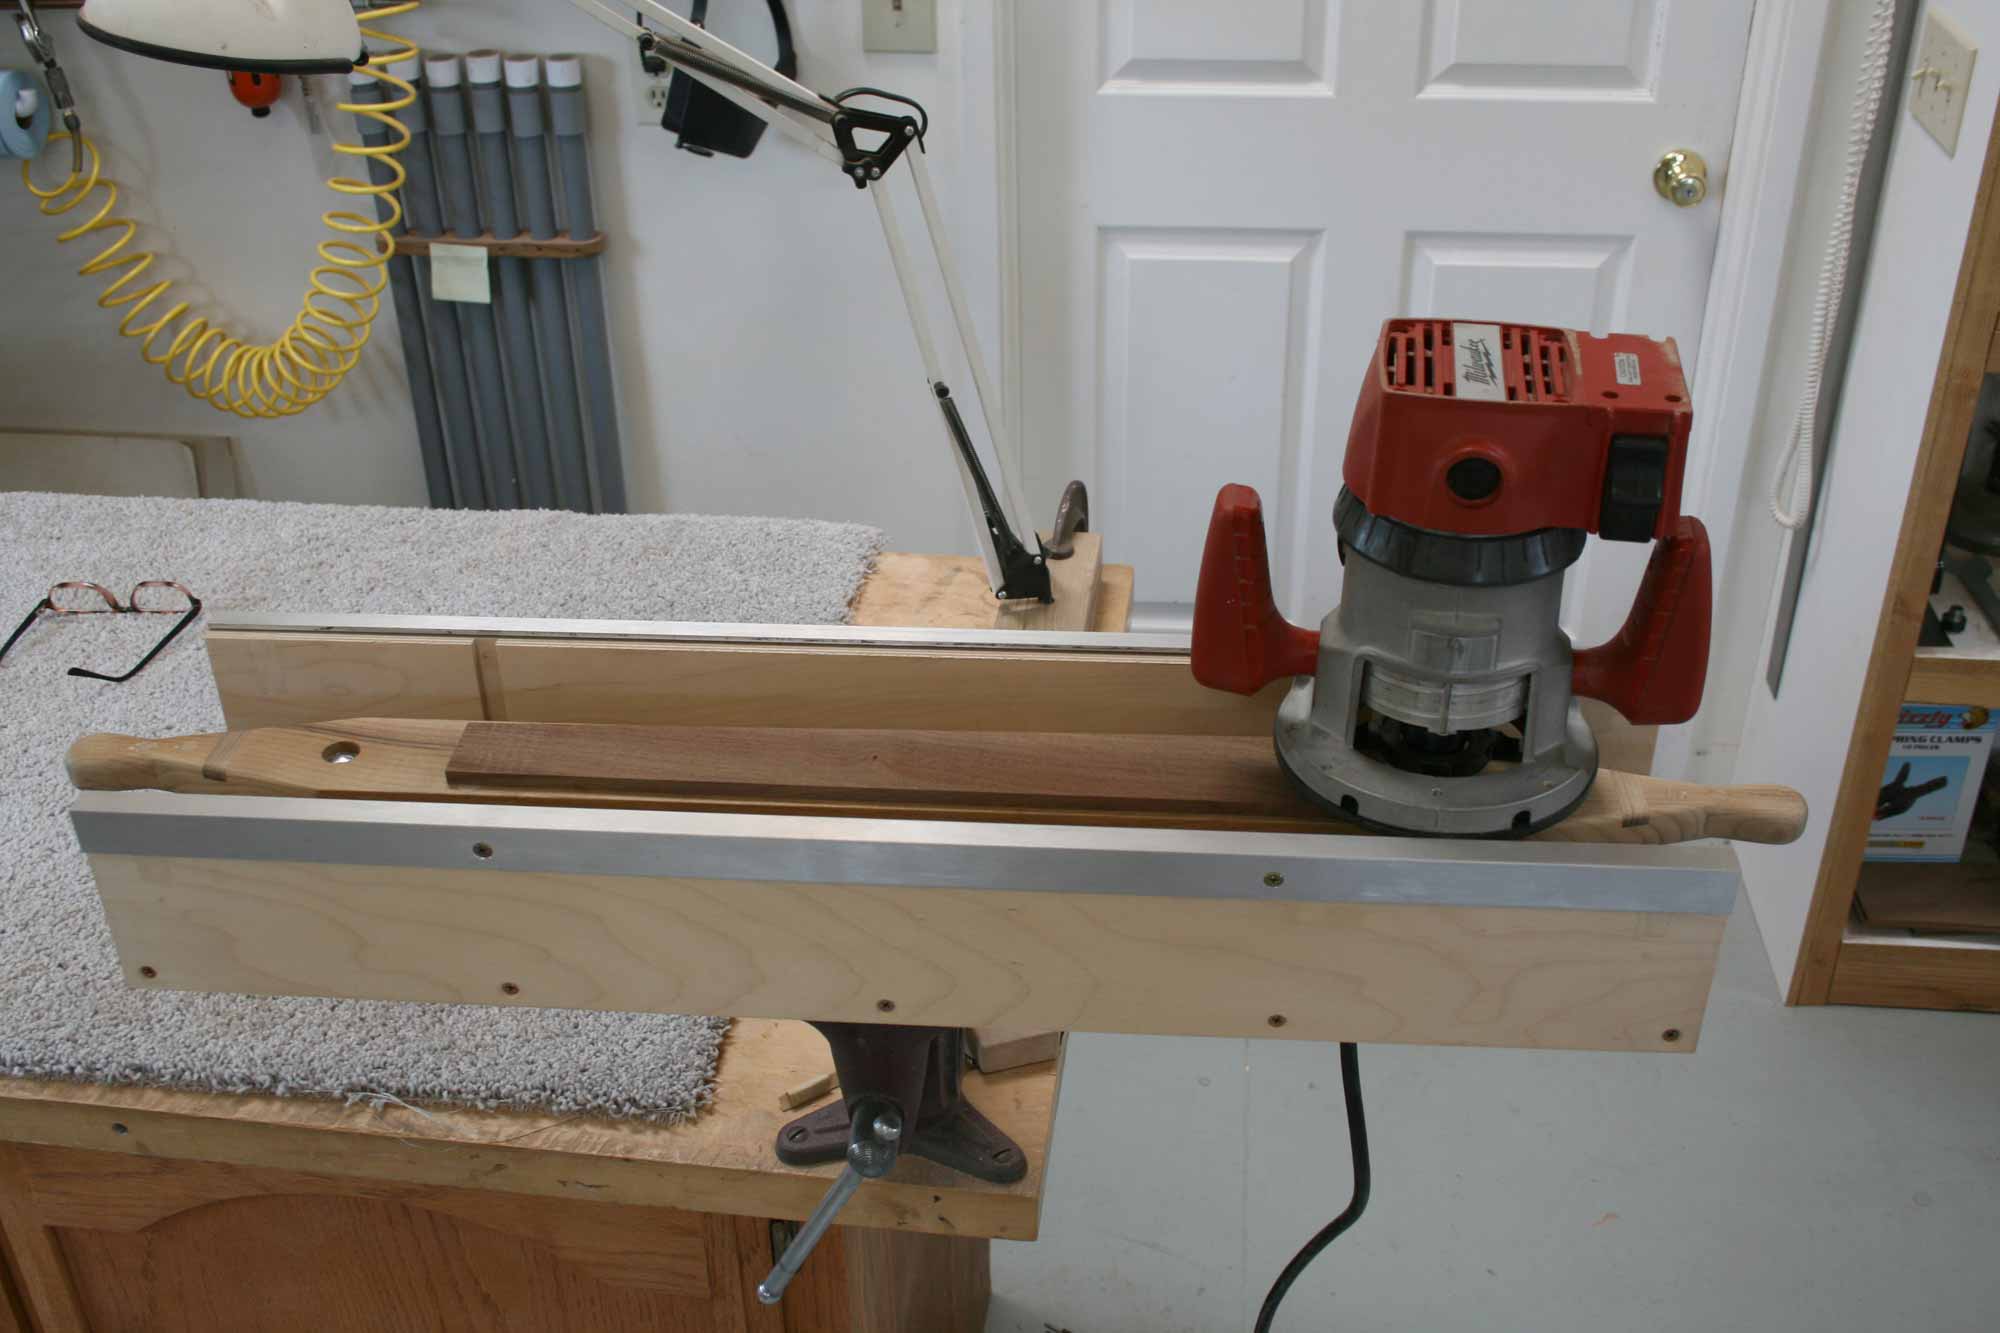 |
That's about it. The aluminum angle keeps the router from slipping off the edge of the box. Instructions for use are on the drawings. |
|
Rick wrote an article for Guitarmaker magazine about this fixture that could be of further help. It is in issue #65. If you are not a member of ASIA (Association of Stringed Instrument Artisans), consider joining as this organization offers a lot of good information for luthiers. Click here
|
|